Navigating Table Areas
Table areas let you move between the different sections of your venue, such as bar, restaurant, terrace, or private dining areas.
Choose a table area
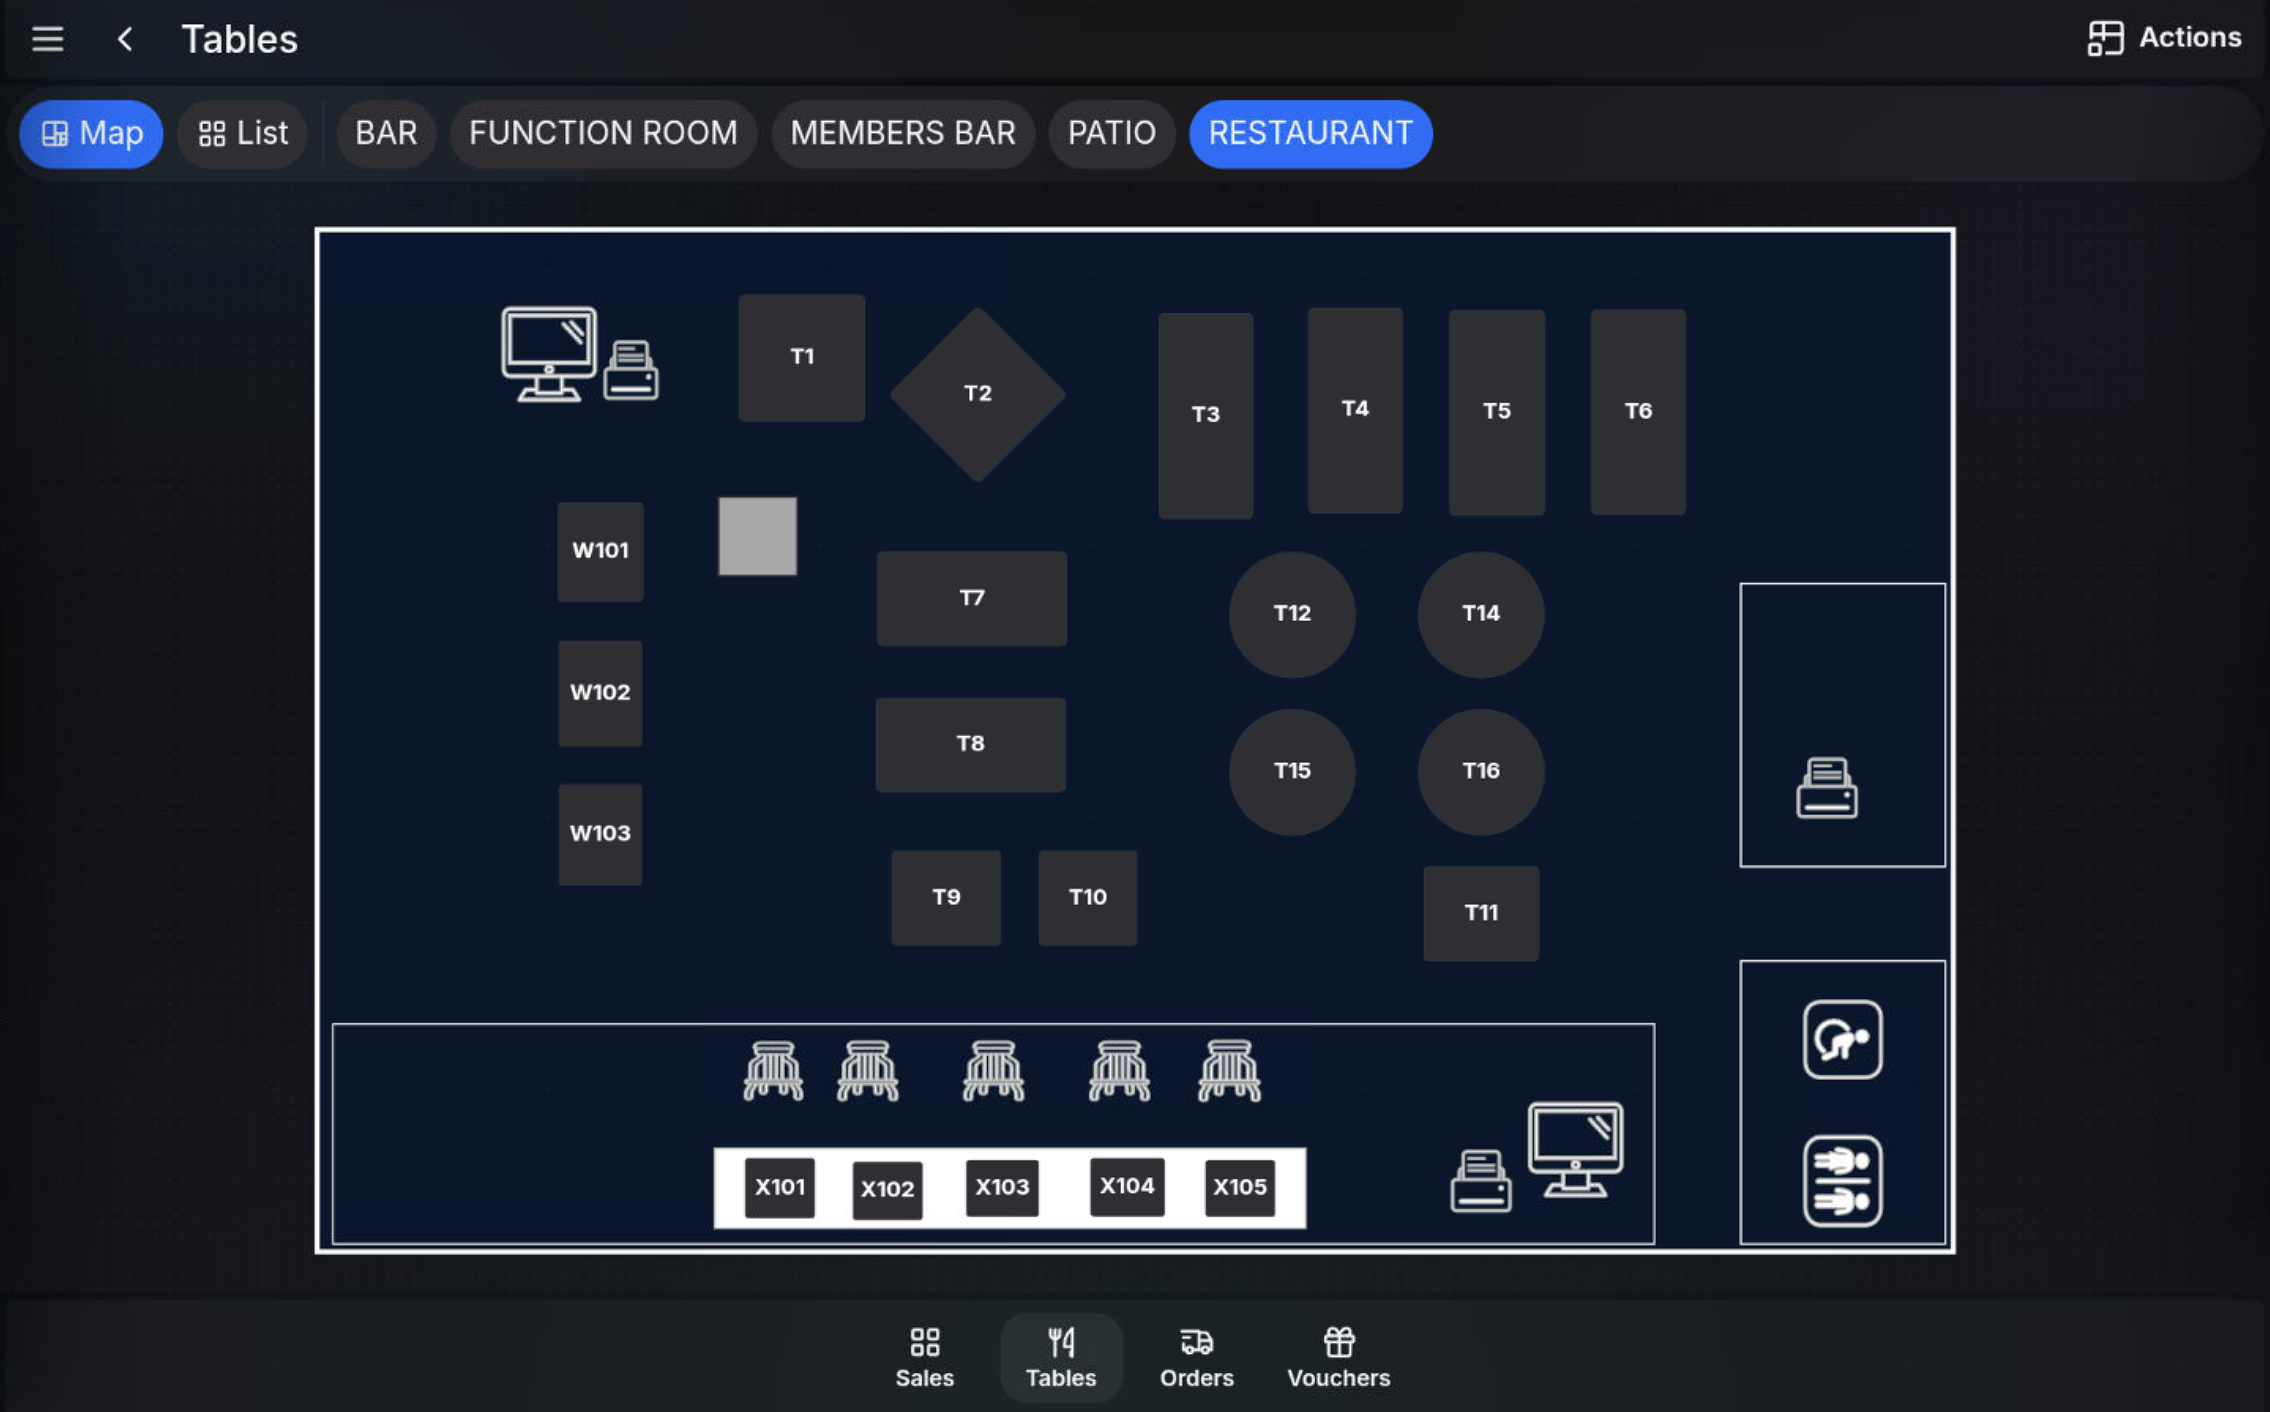
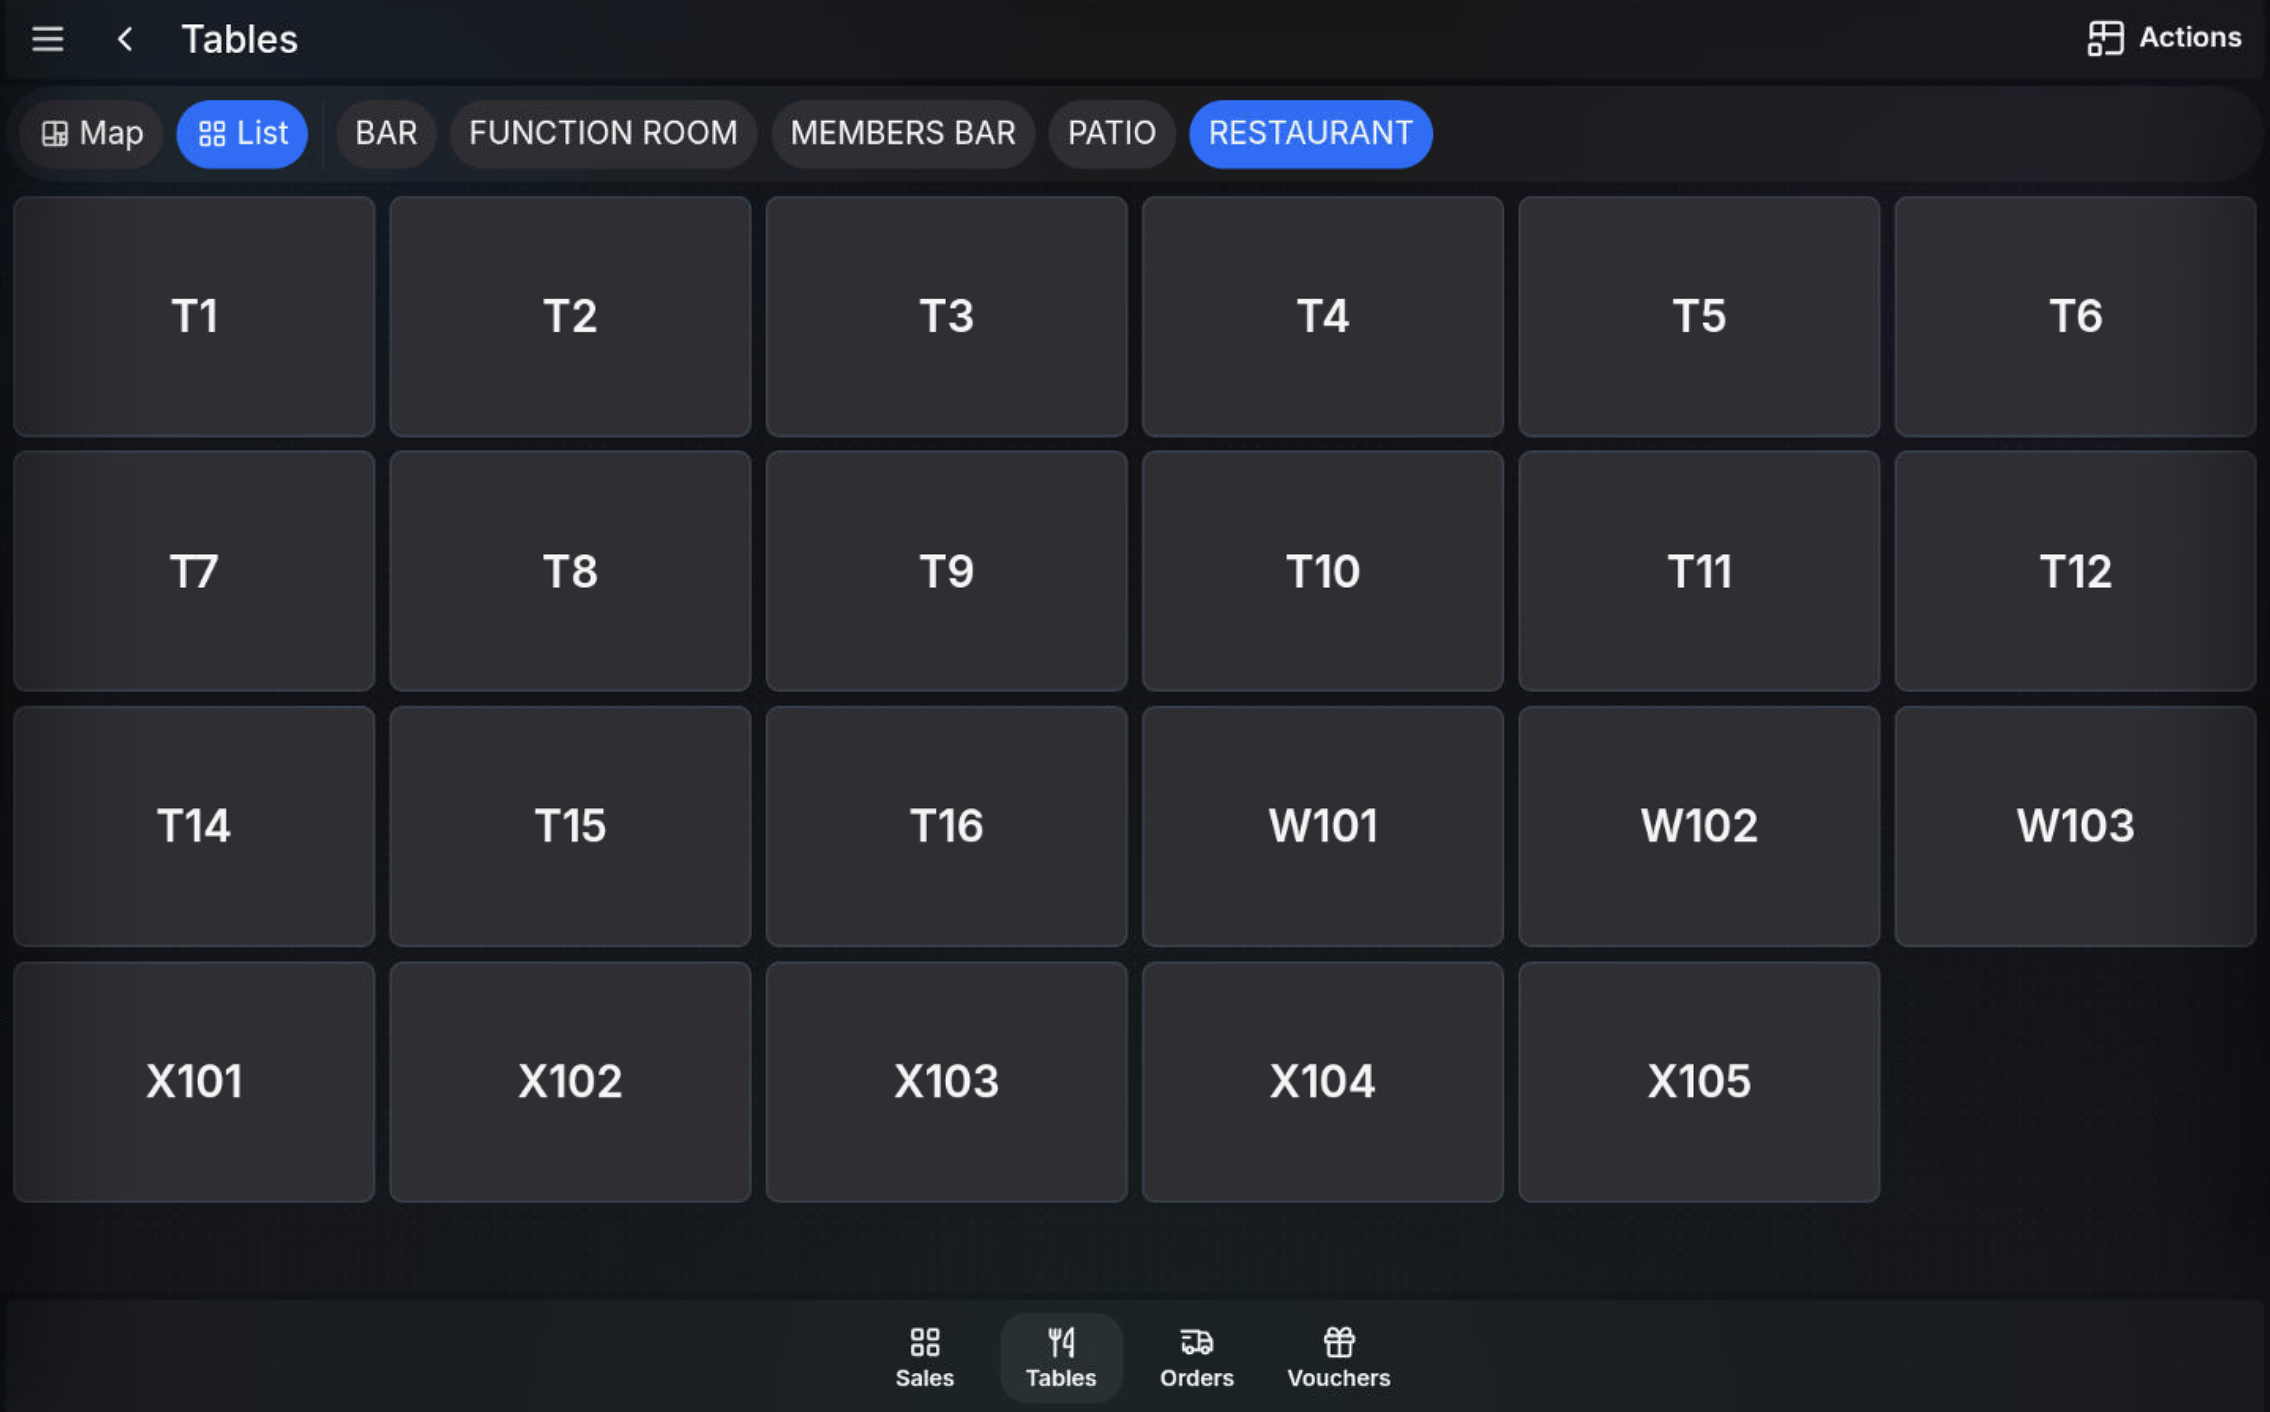
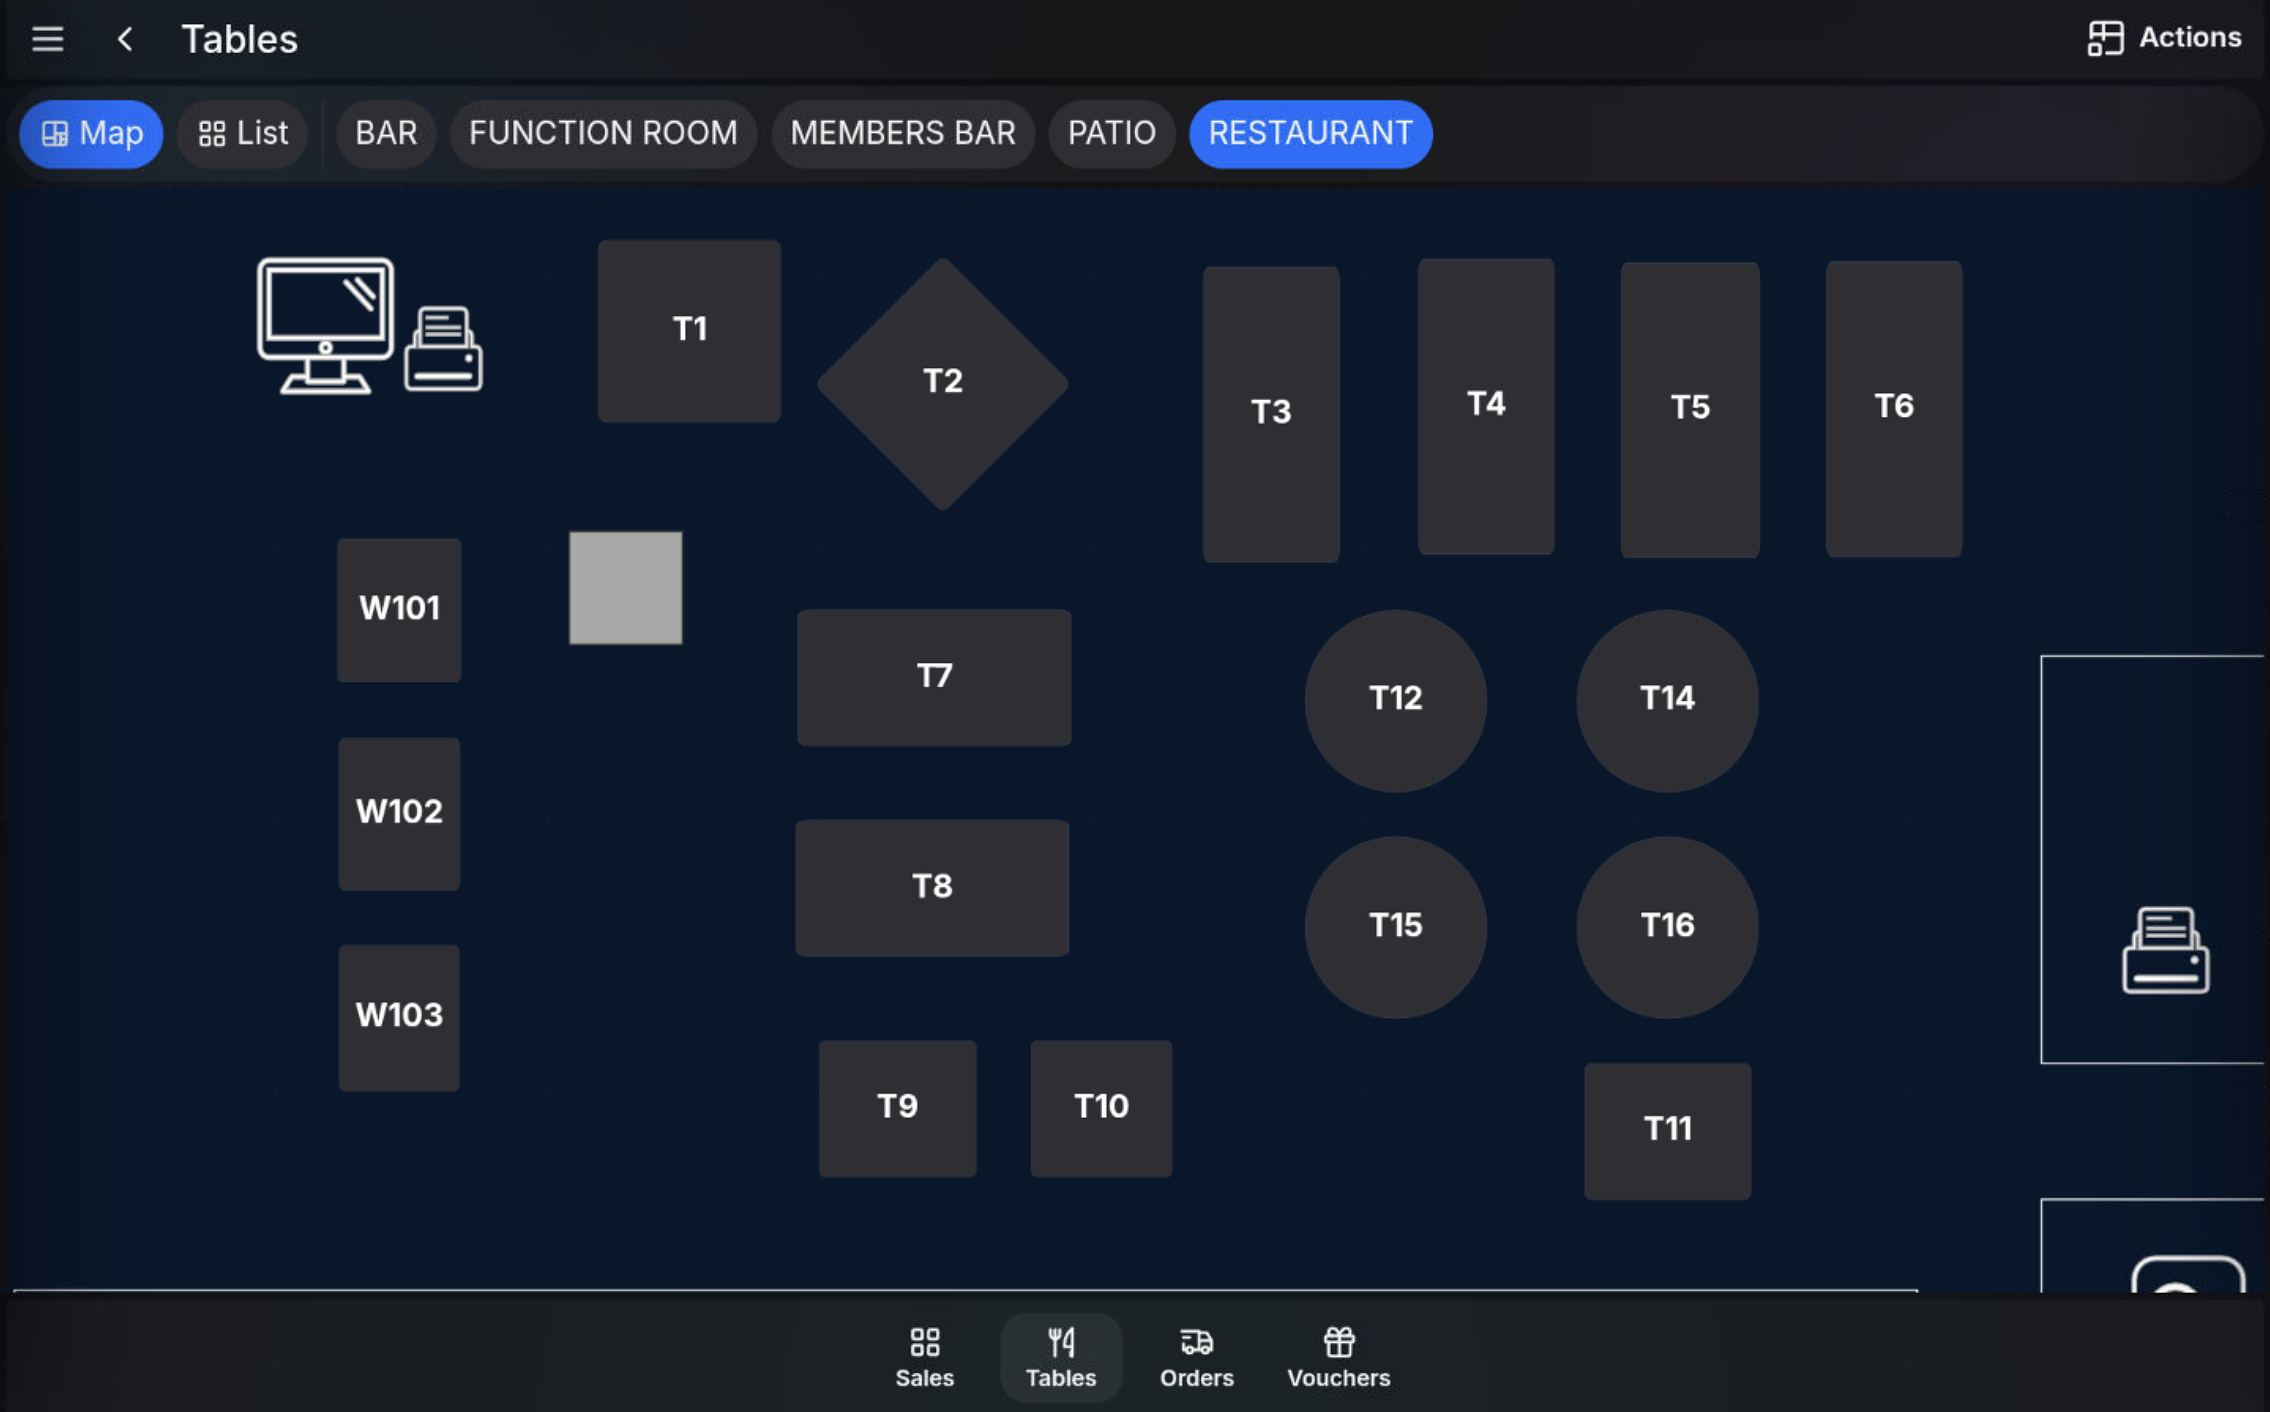
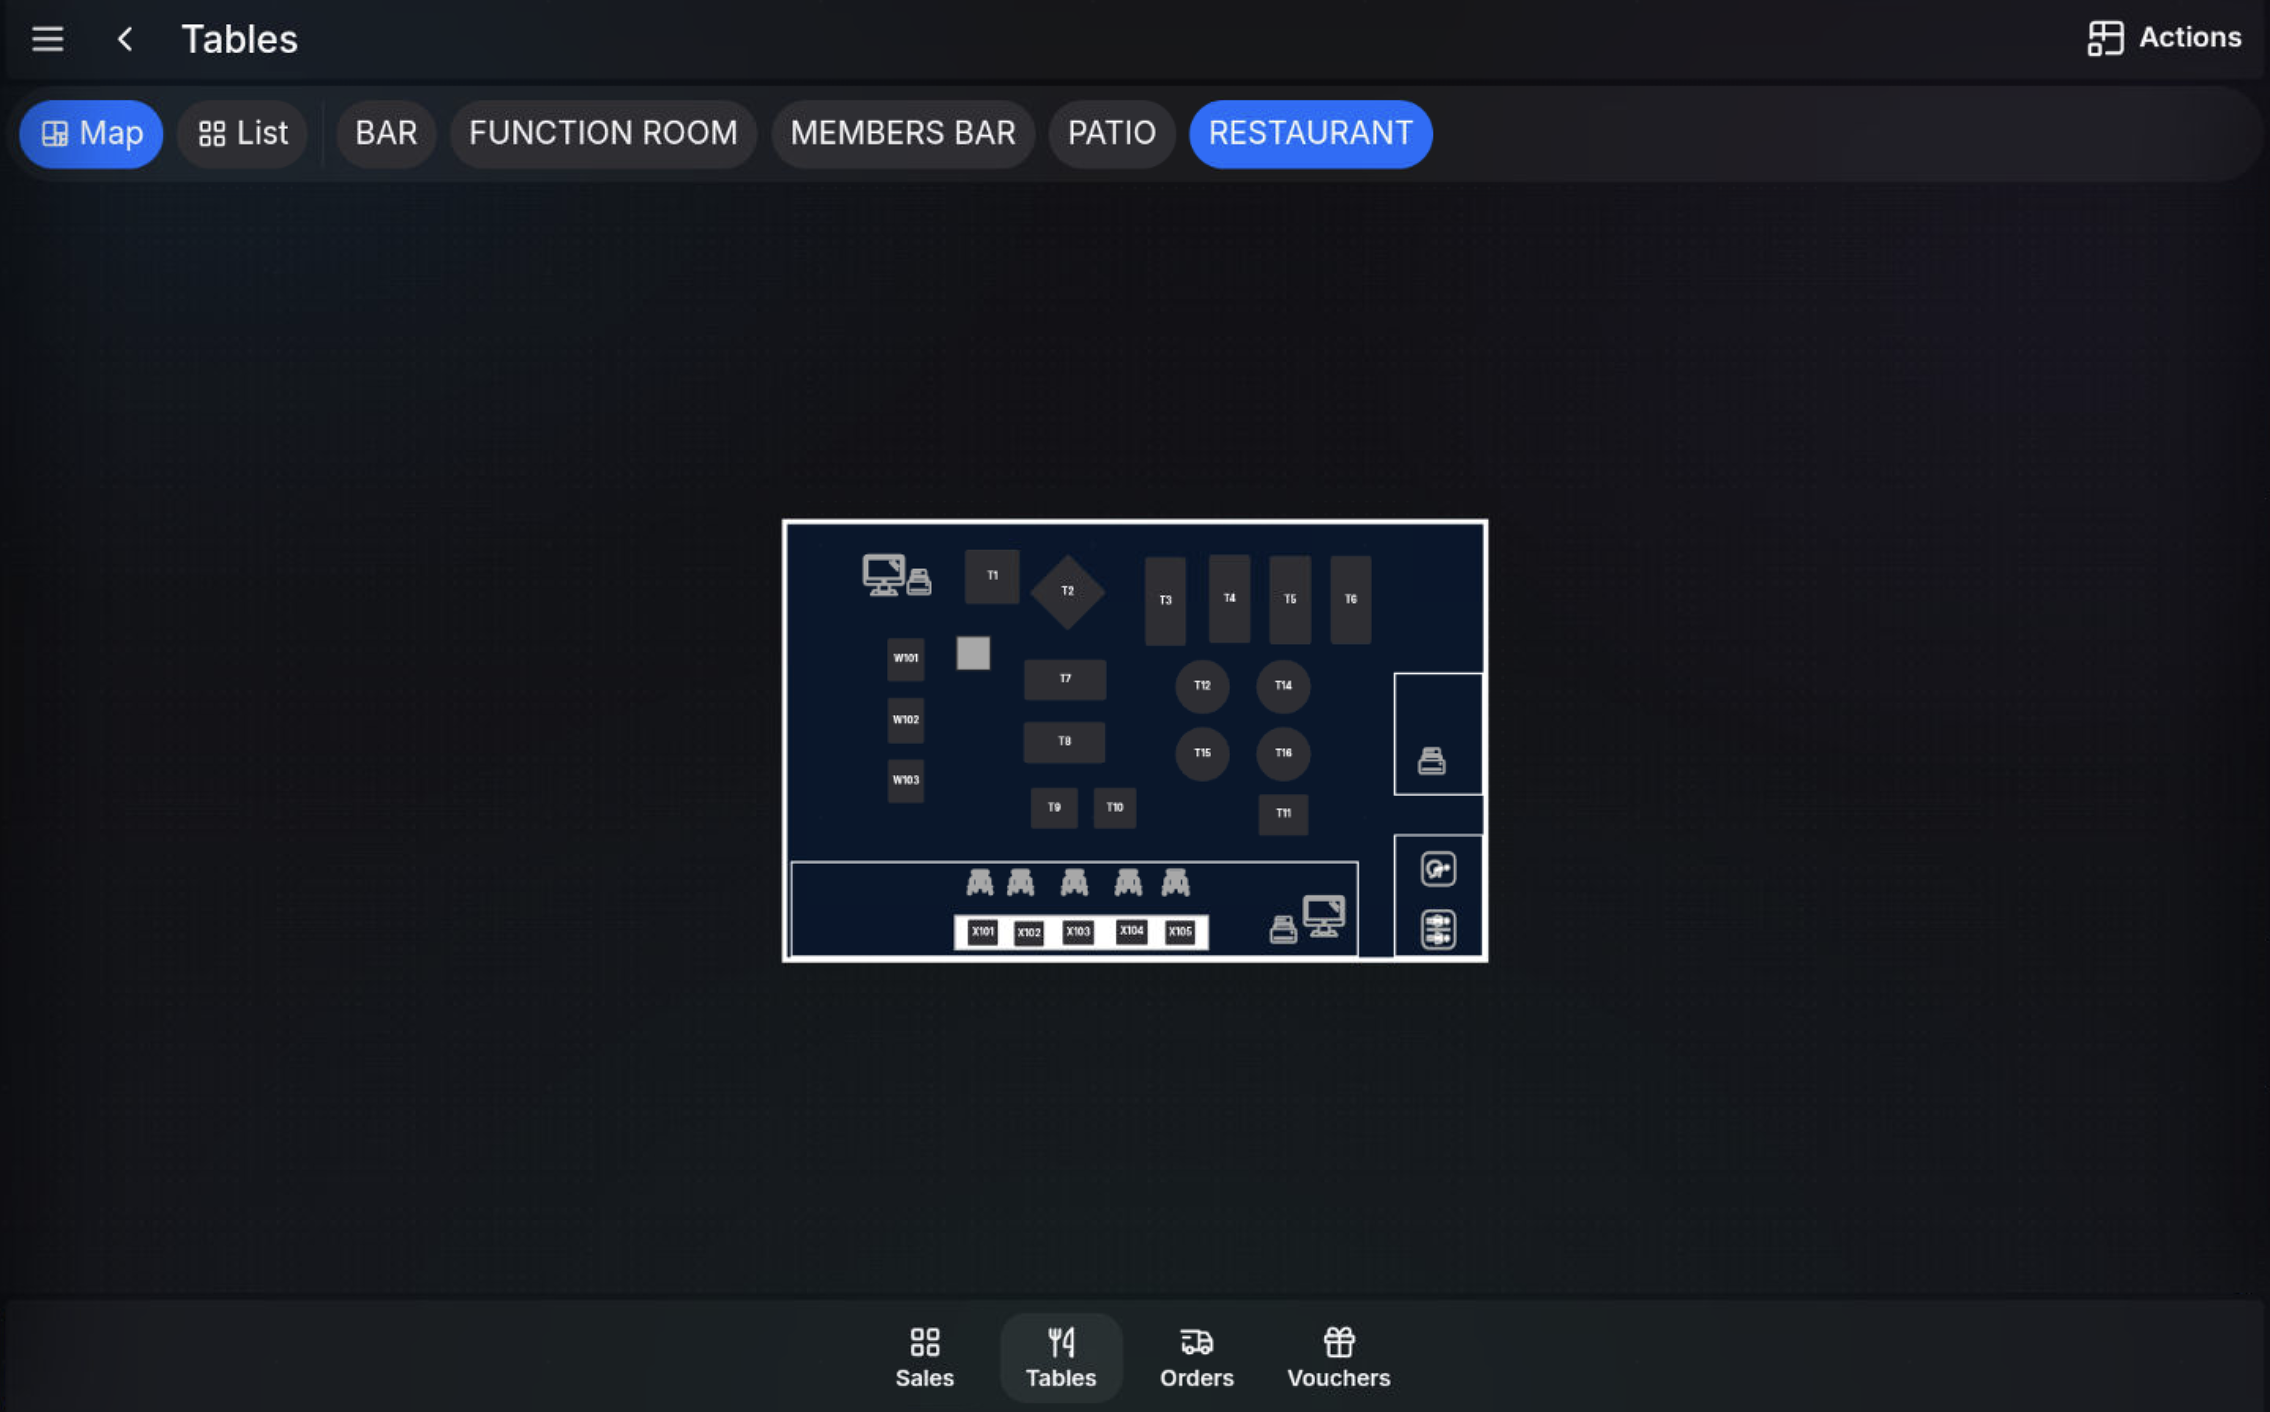
Select the table area you want to view. Depending on your setup, each area can be shown as a List or as a graphical Map.
Read table status
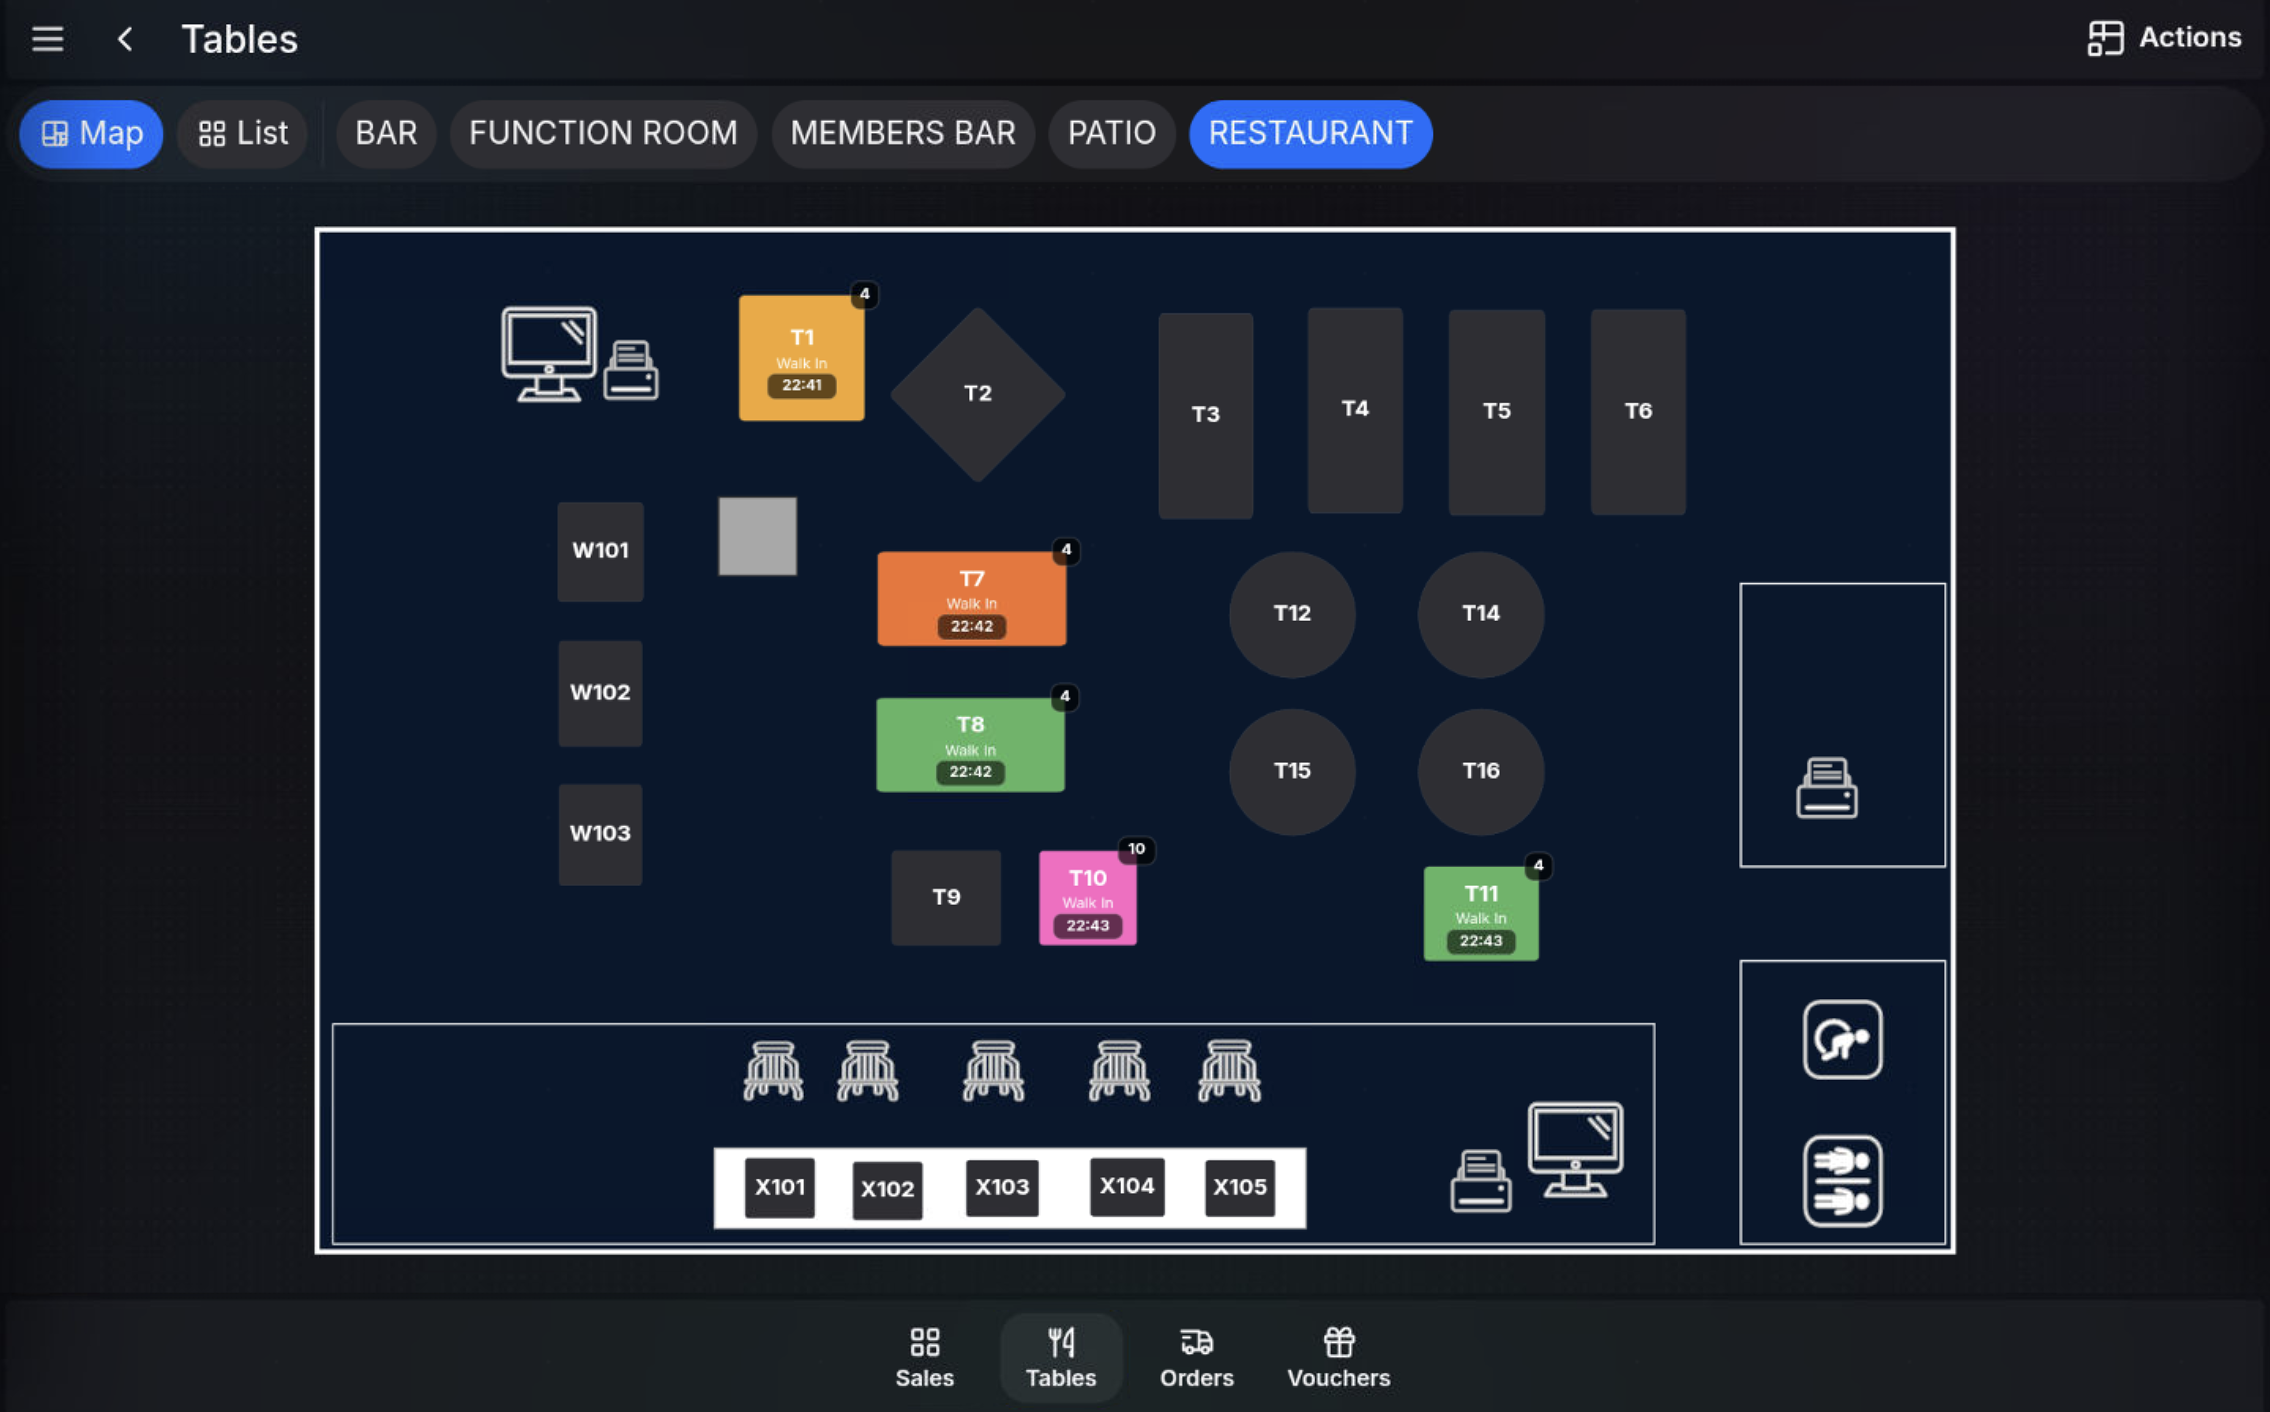
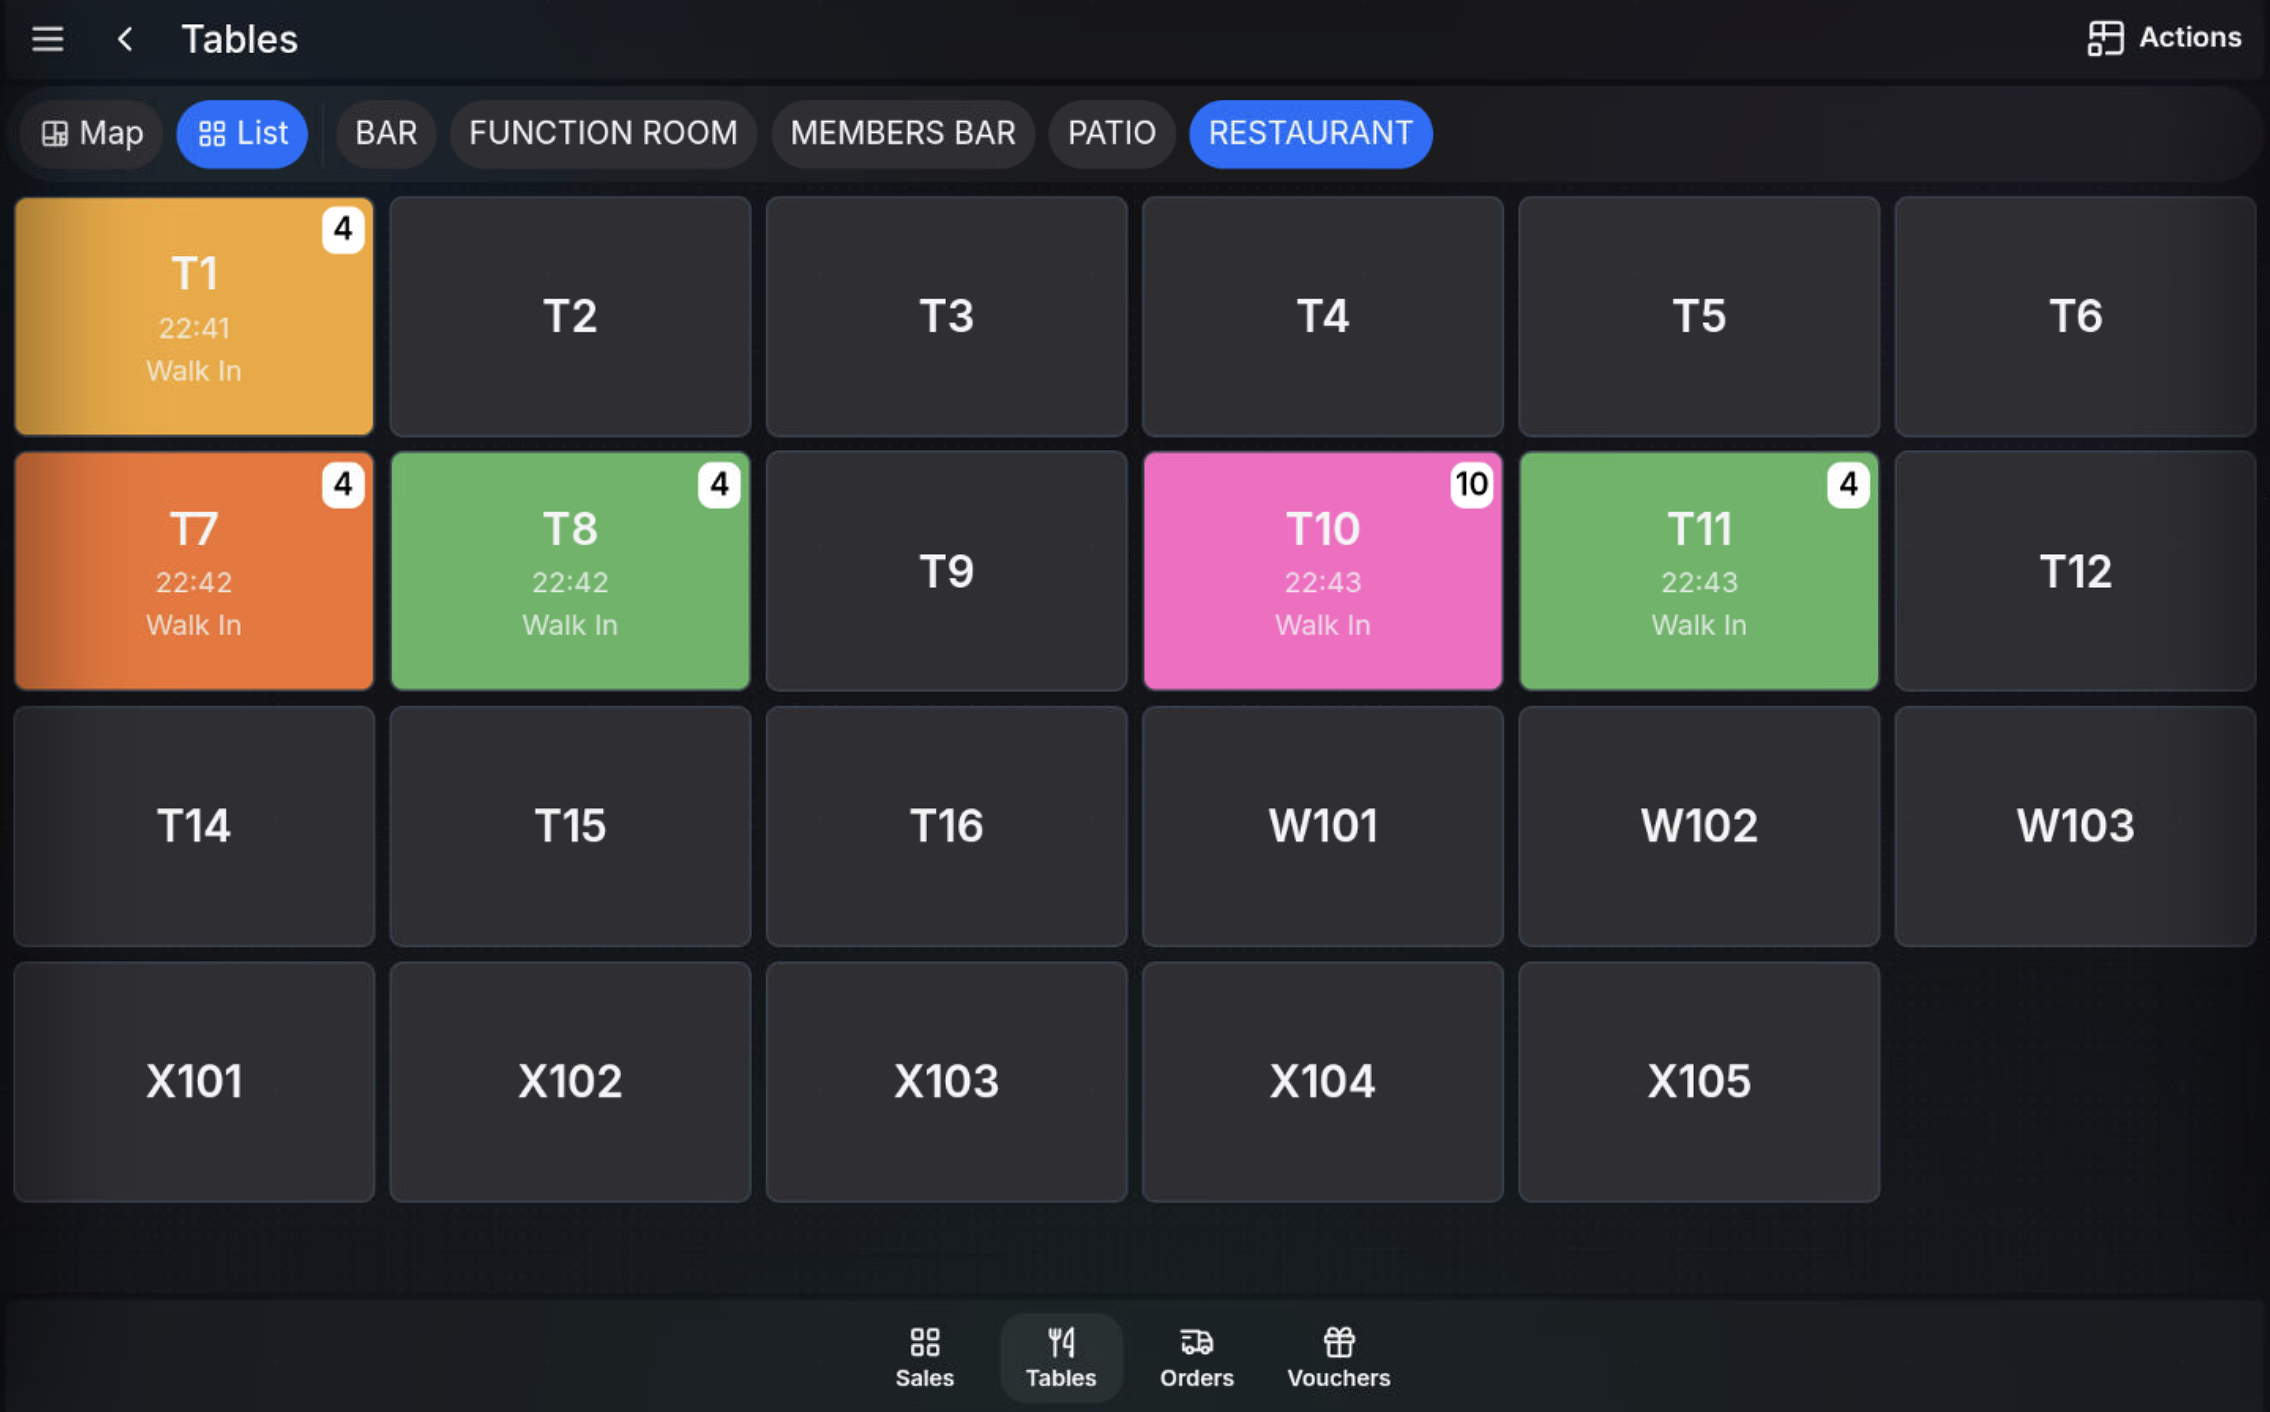
Unoccupied tables show as dark grey. Occupied tables are colour coded depending on the table state.
Common table states include:
- Drinks
- Starters
- Mains
- Sides
- Desserts
- Bill Printed
Tables can also show the expected leave time, the number of covers seated at the table, and the guest name. The guest name can come from the reservation, or from a manually entered name if reservations are not being used.
Hold a table to view more table status details.
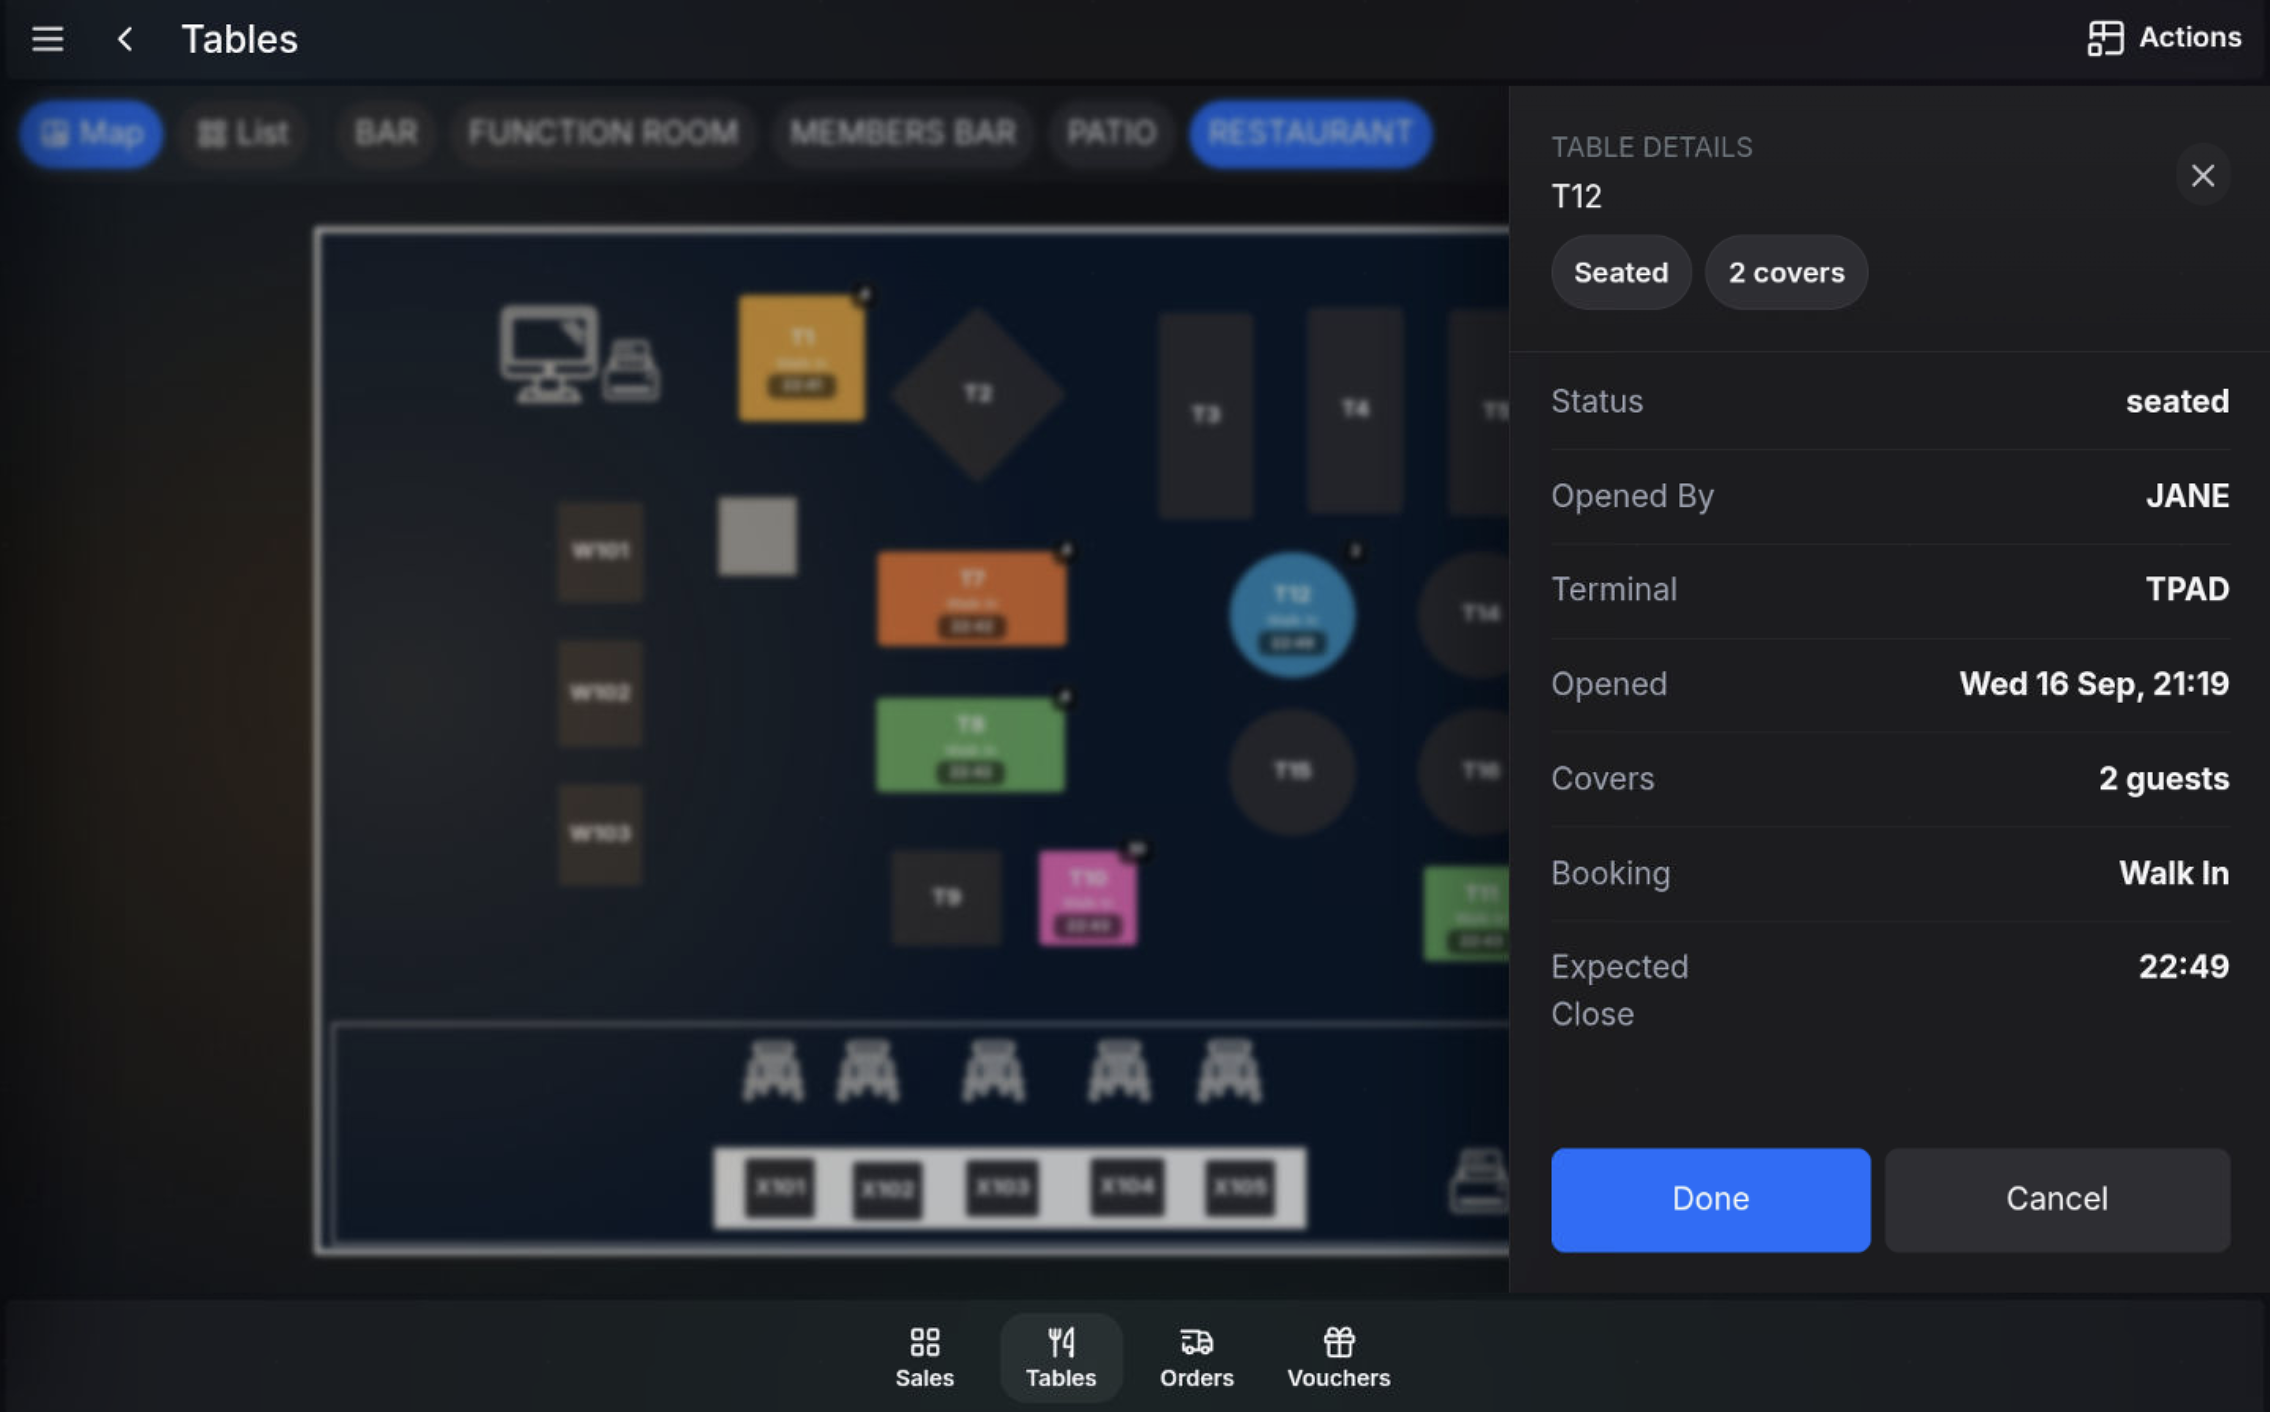
Example: A table may show that 4 covers are seated, the expected leave time is 21:00, and the bill has already been printed.
Move around the map
- Pinch to zoom in or out on the graphical map.
- Swipe left or right to move between sections of the map.
FAQ
What is the difference between List and Map?
List view shows the tables in a simple list. Map view shows the graphical table layout for the selected table area.
How do I know if a table is occupied?
Occupied tables are colour coded by table state. Empty tables show as dark grey.