TapaPay onboarding quick start
Use this guide to complete the current TapaPay onboarding flow from Tapa Office through to the final application submission screen.
Before starting, make sure the customer has their business registration details, trading name, phone number, website or social page, registered address, details for the person of significant control, and branch details ready.
Step-by-step
Step 1. Open the onboarding page
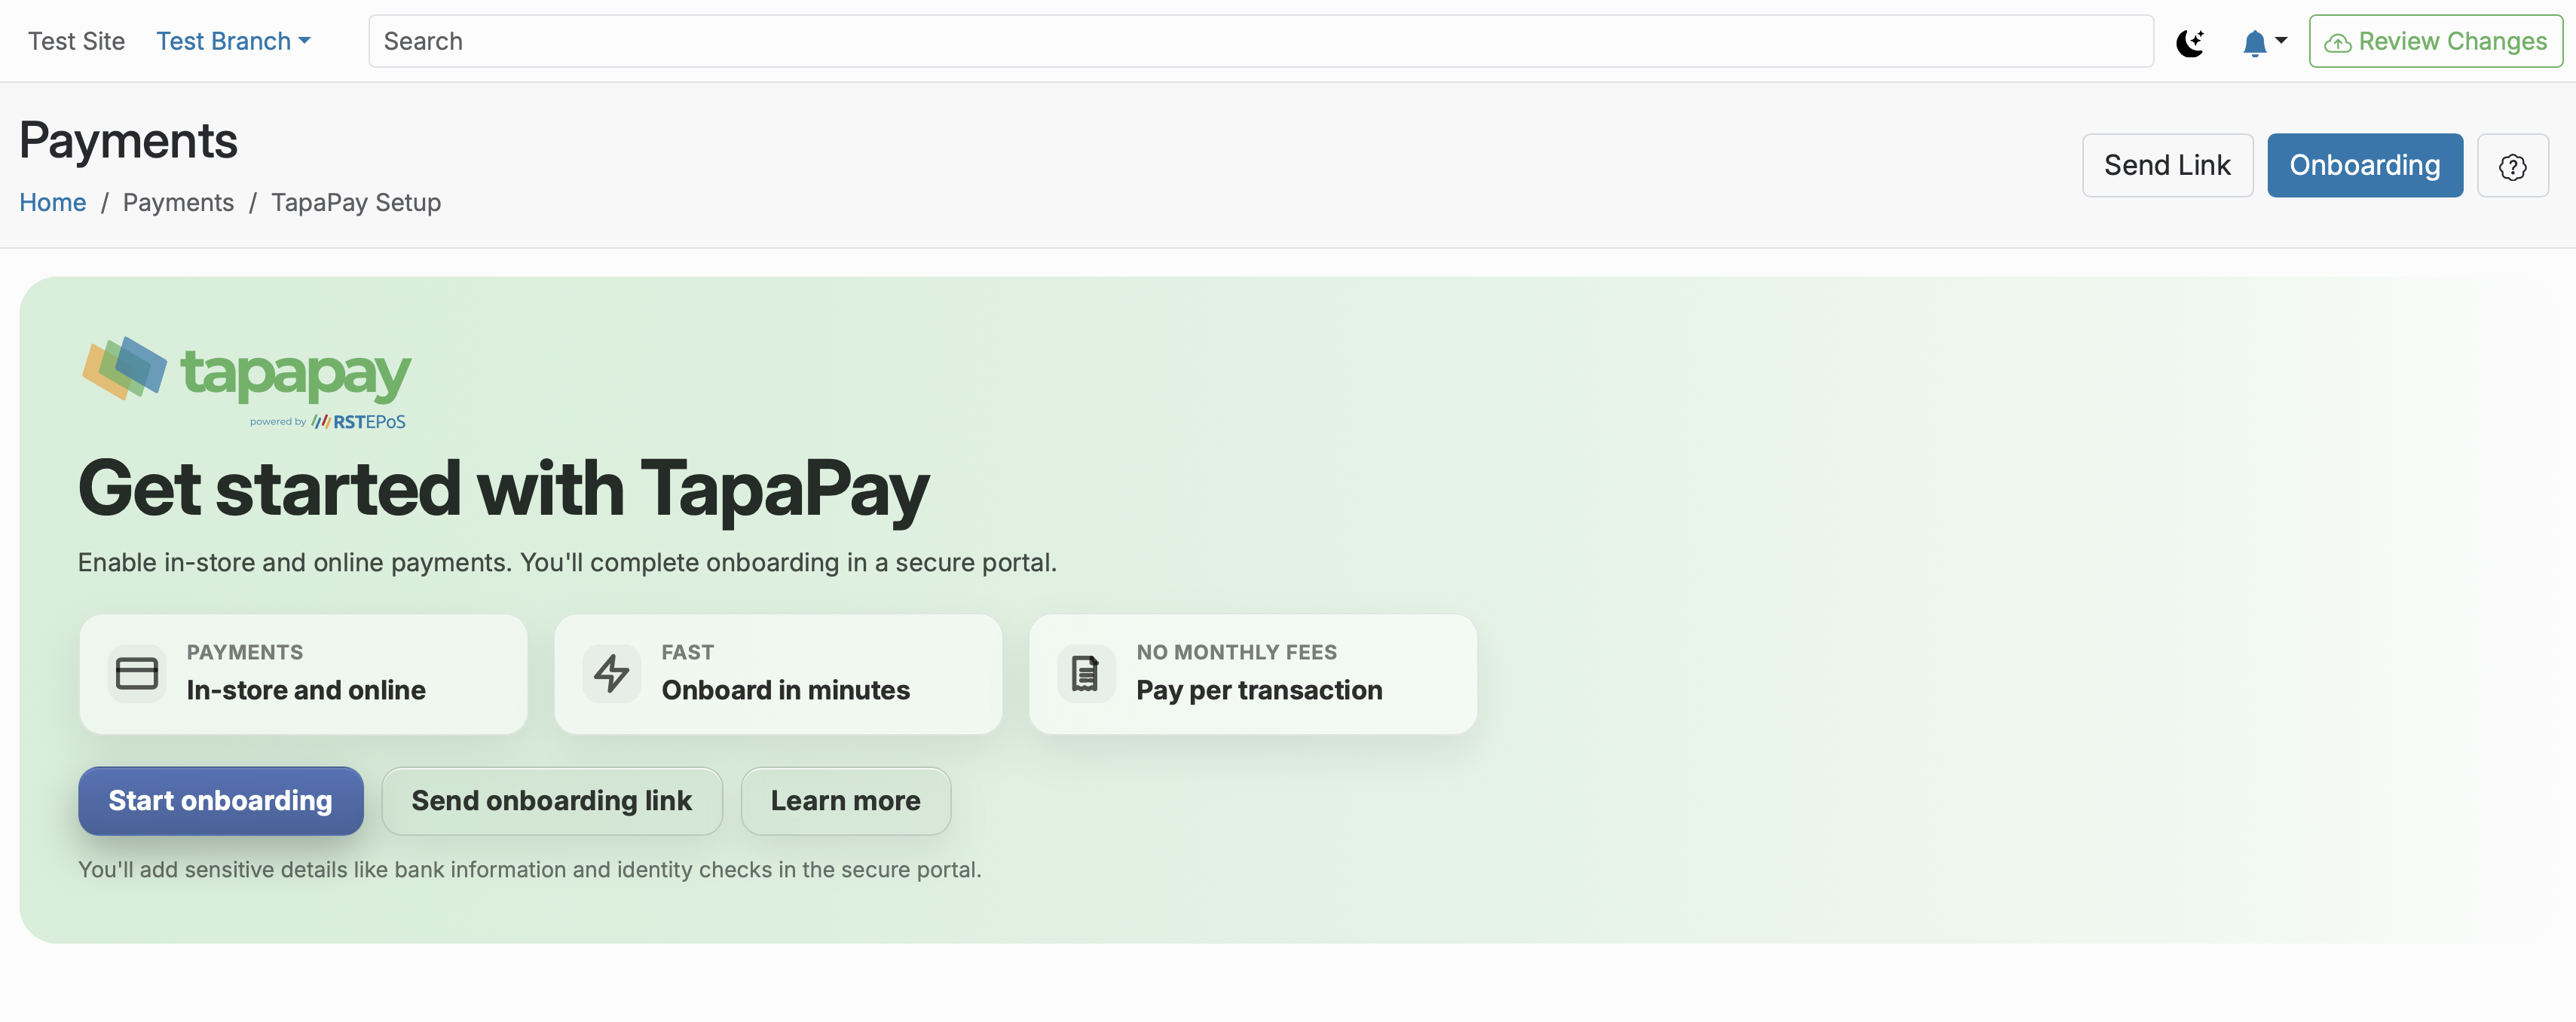
In Tapa Office go to Payments > TapaPay Setup, then use Start onboarding or Send onboarding link to open the secure portal for the customer.
Step 2. Confirm the customer is ready
On the Getting Started page, ask the customer to review the checklist, tick I have my documents ready, then click OK, I am ready.
Step 3. Choose the business structure
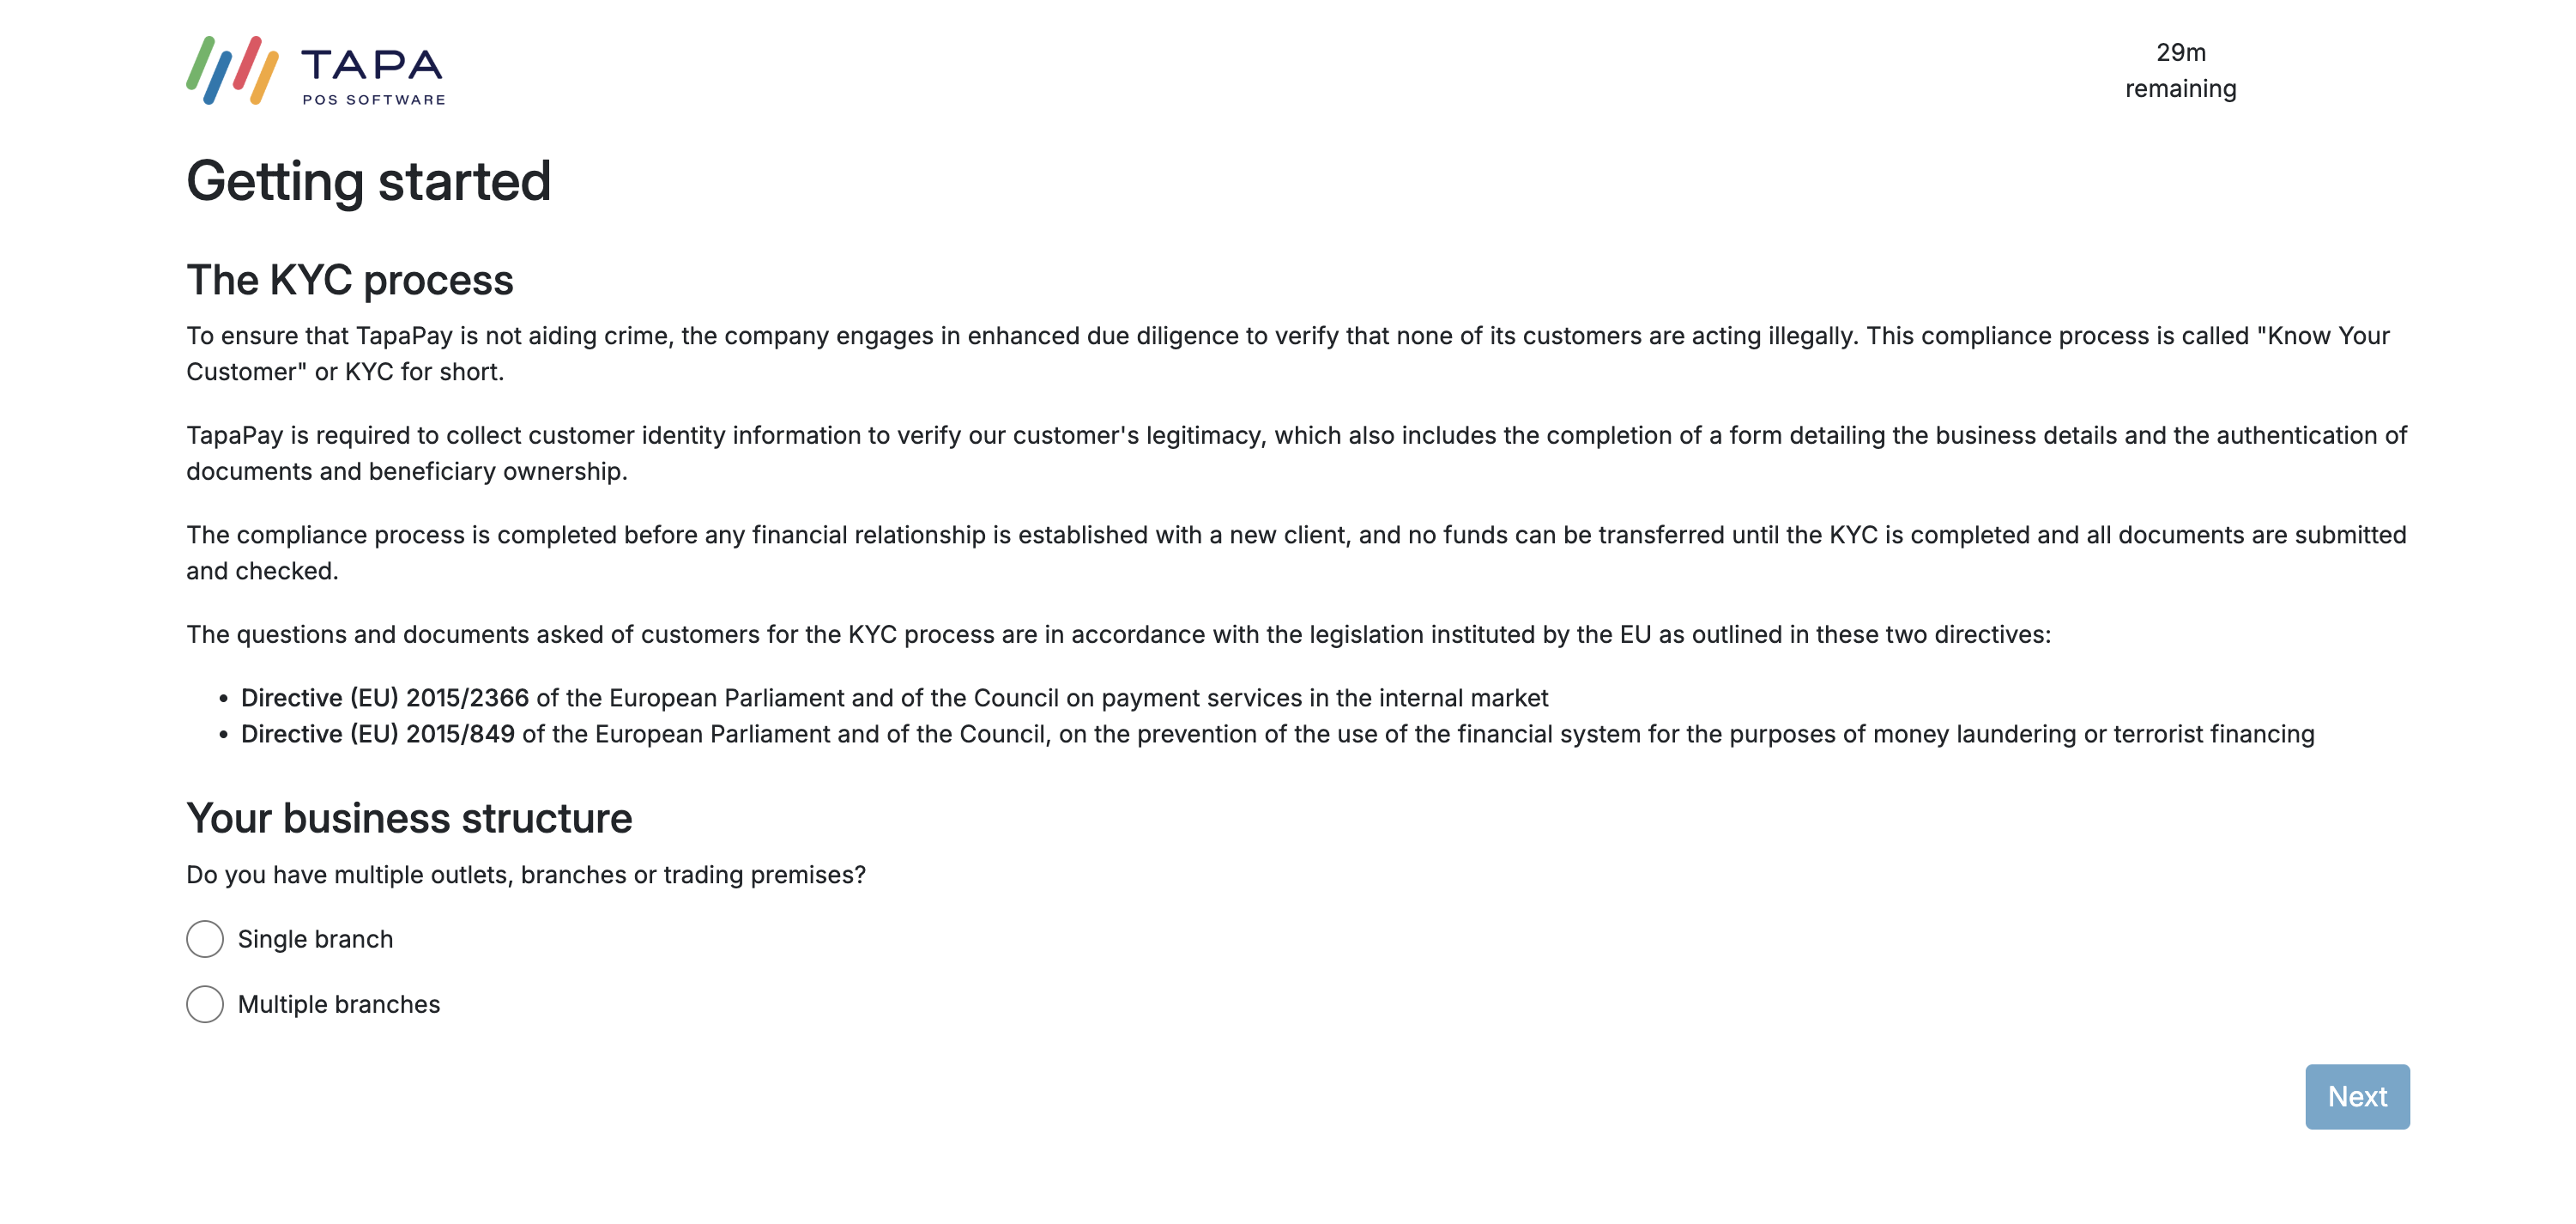
Read the KYC explanation, then choose whether the business has a Single branch or Multiple branches.
Choose Single branch if the business has one location with one bank account, or if it has multiple sites that all use the same bank account.
Choose Multiple branches if the business has multiple locations and each one uses its own bank account.
Click Next to continue.
Step 4. Add the company record
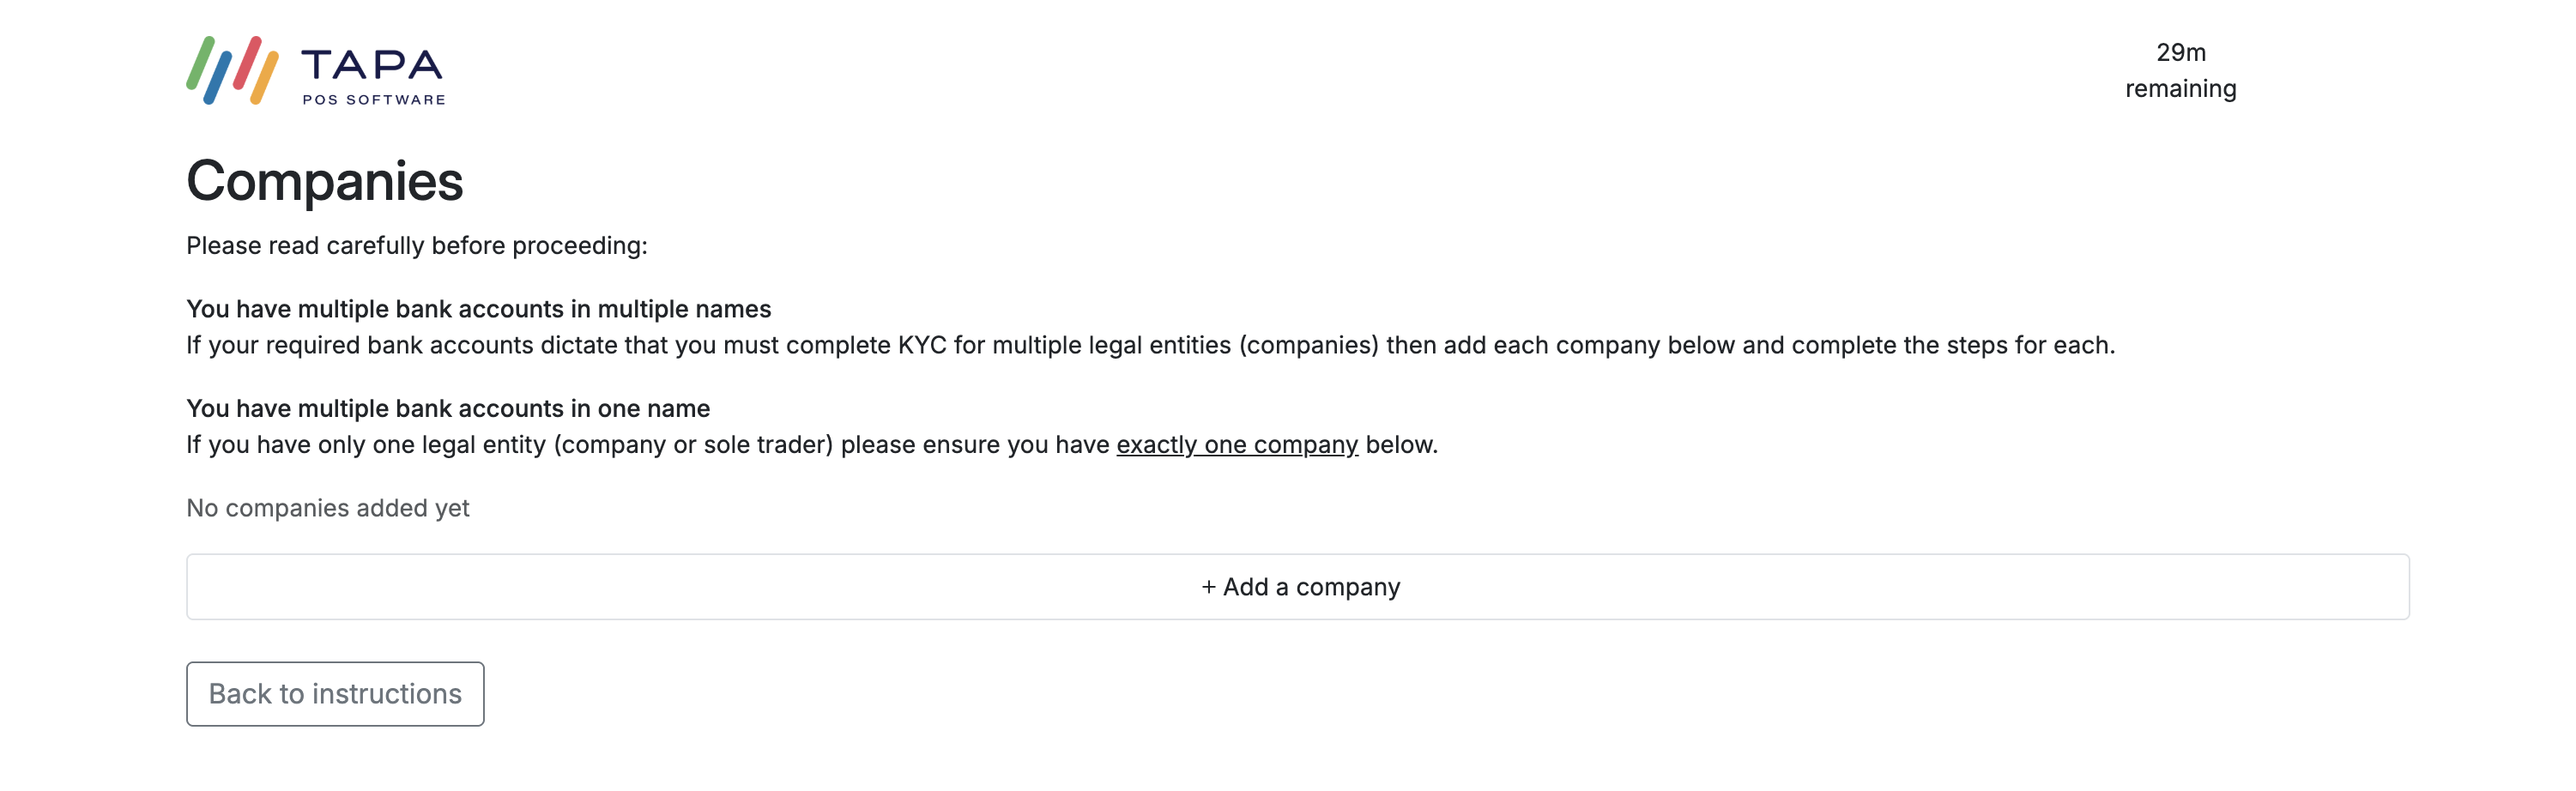
On the Companies screen, click + Add a company.
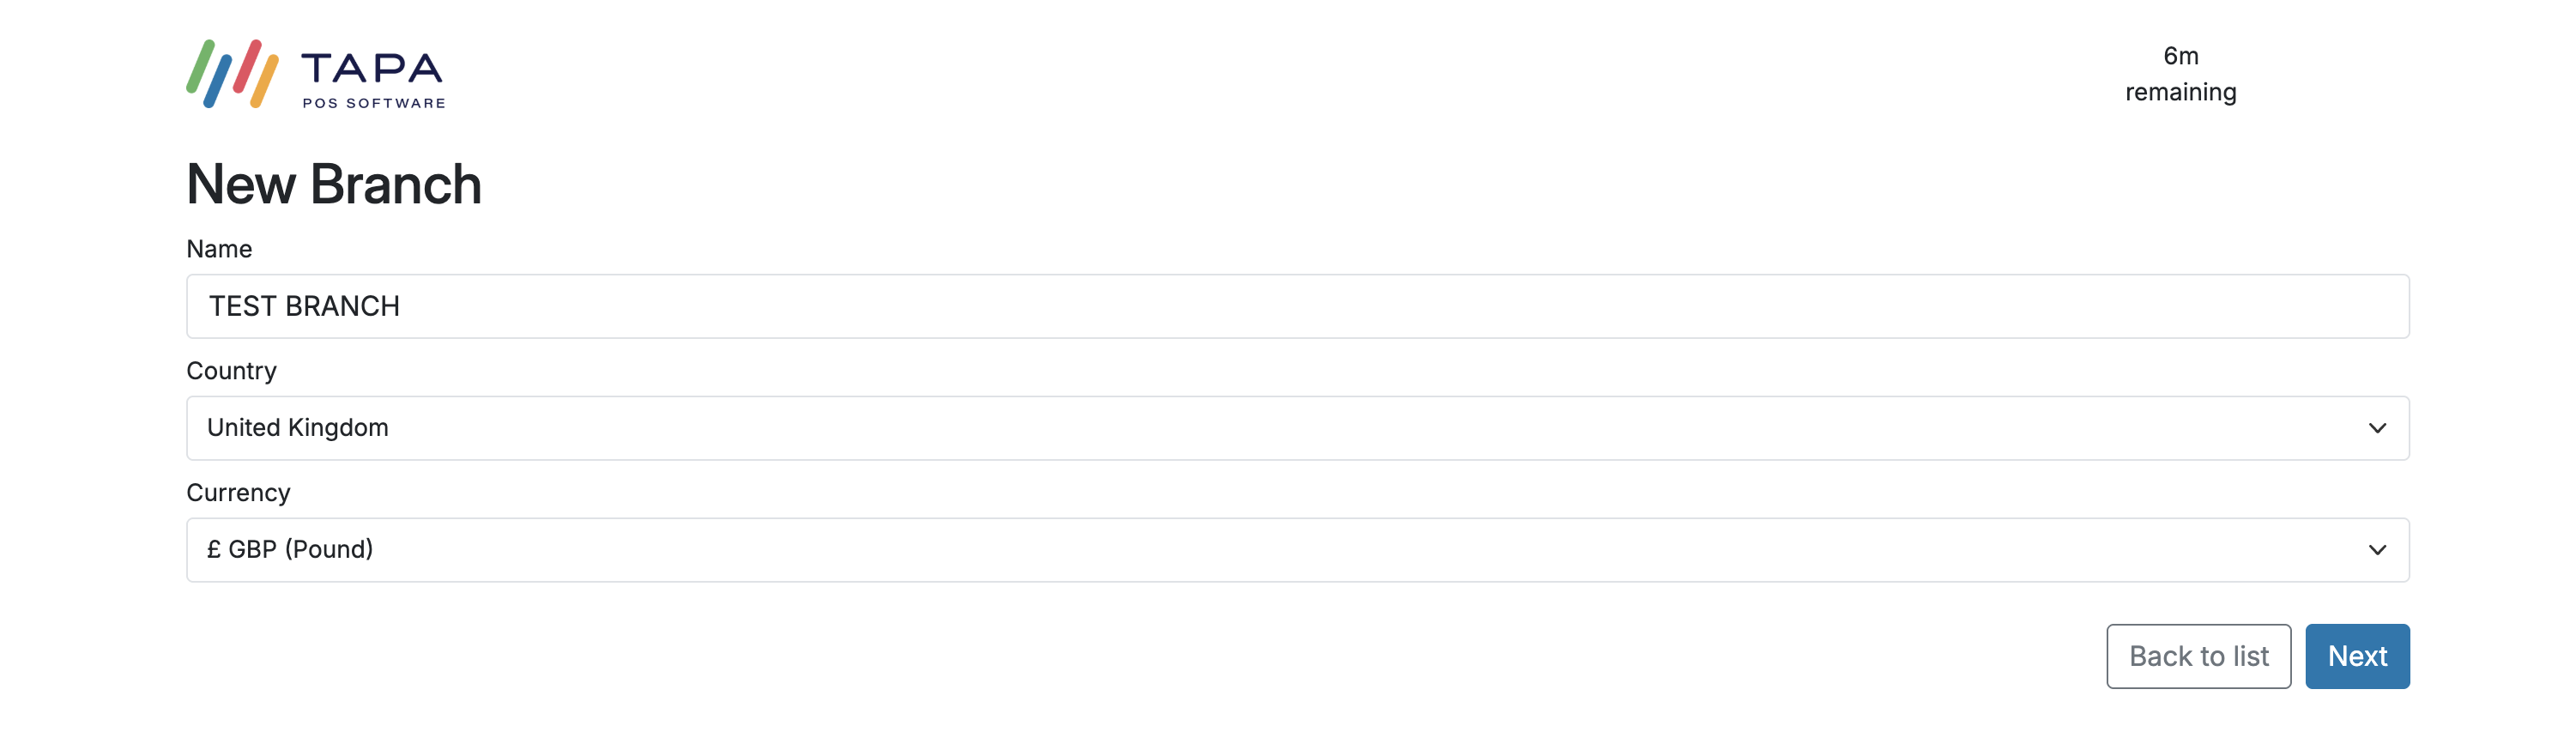
Step 5. Create the company shell
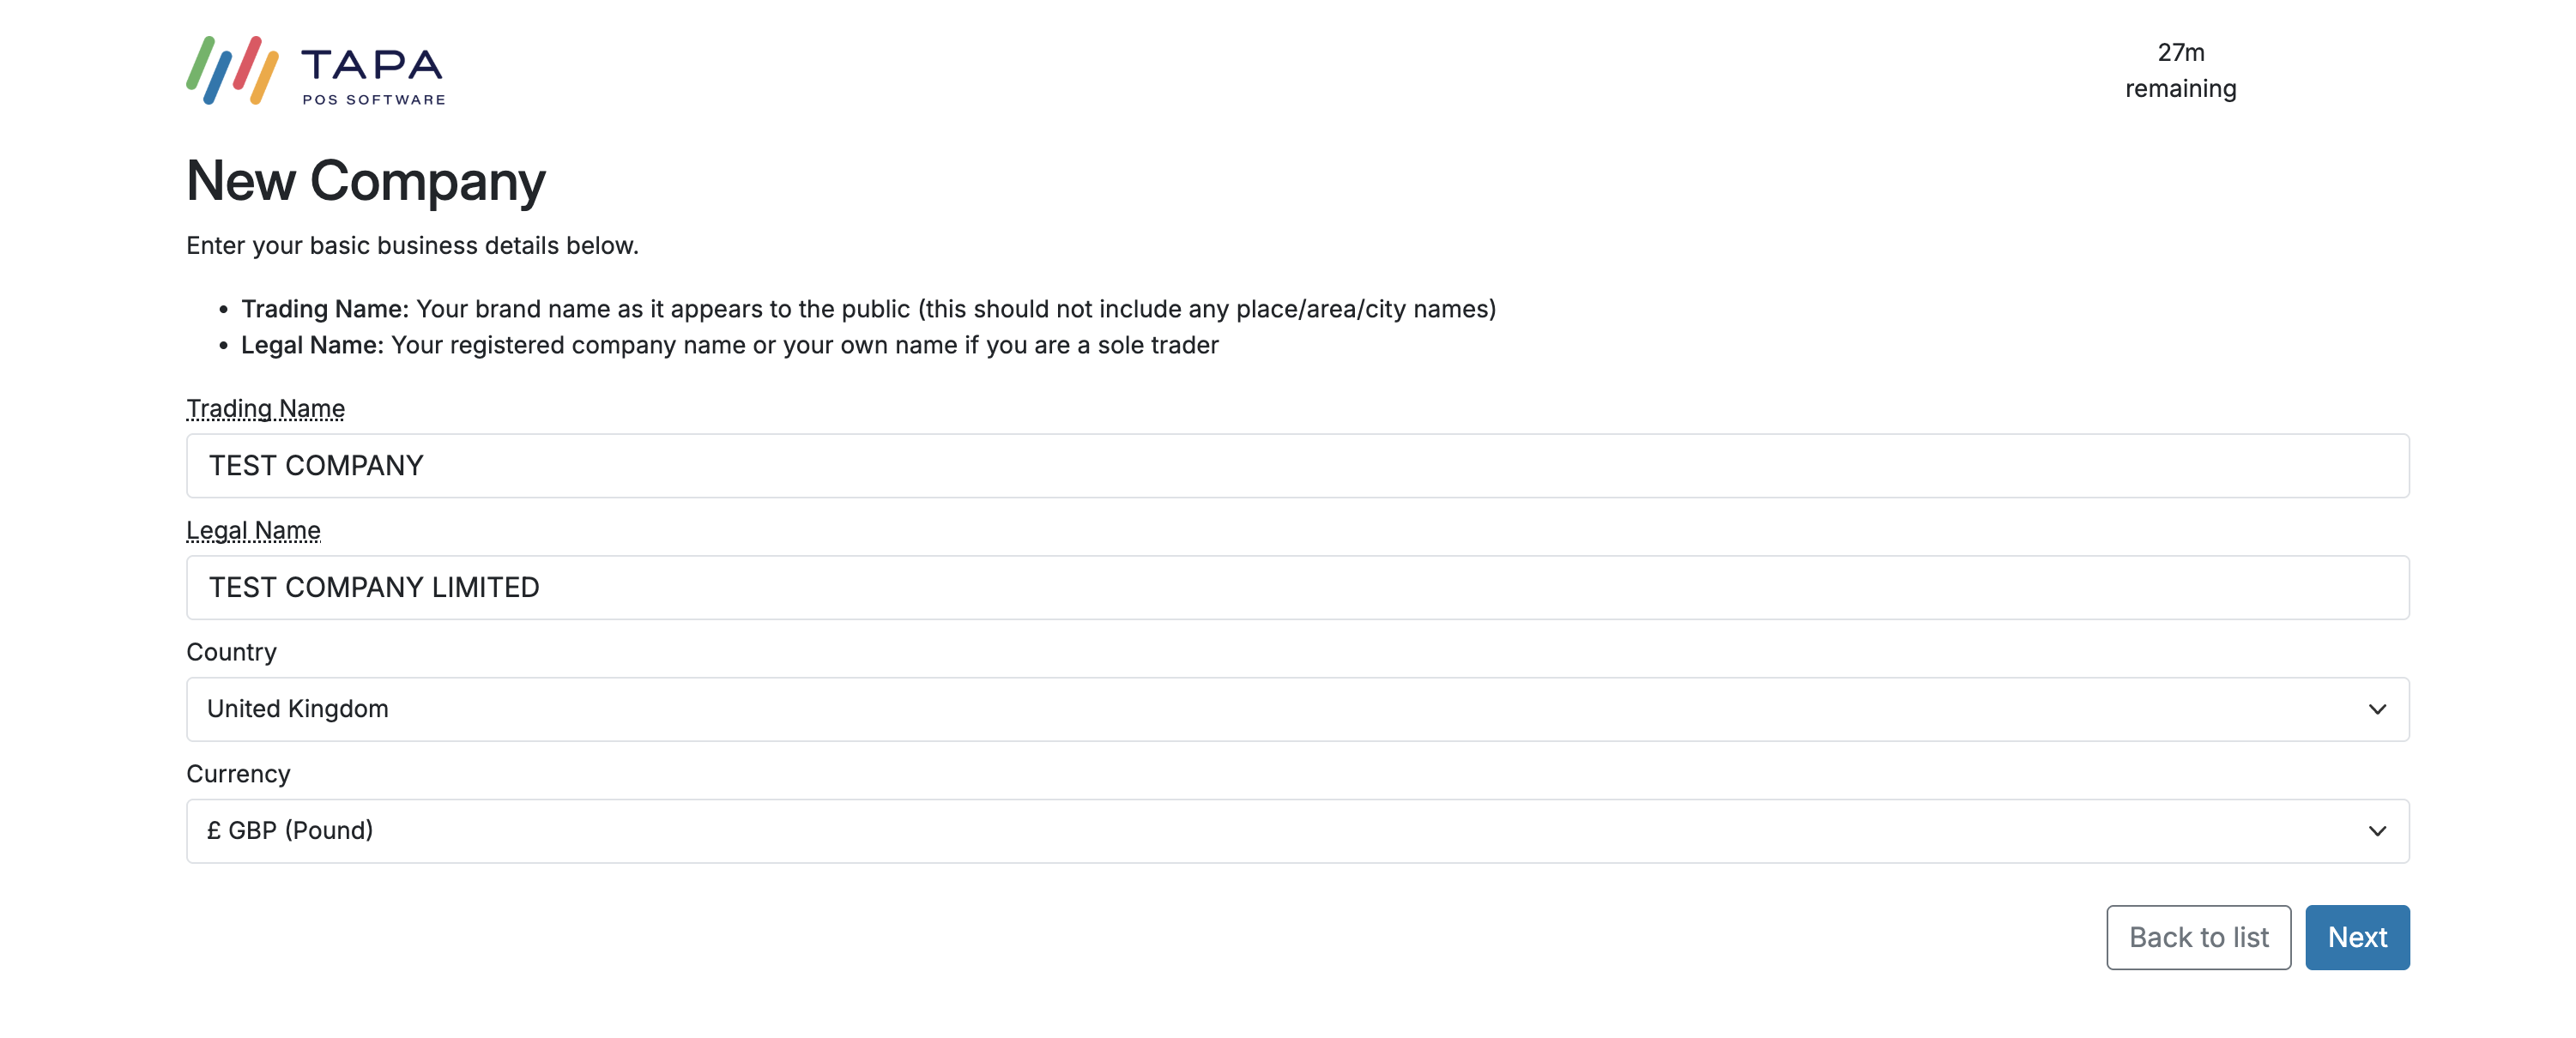
Enter the basic company details: trading name, legal name, country, and currency. Then click Next.
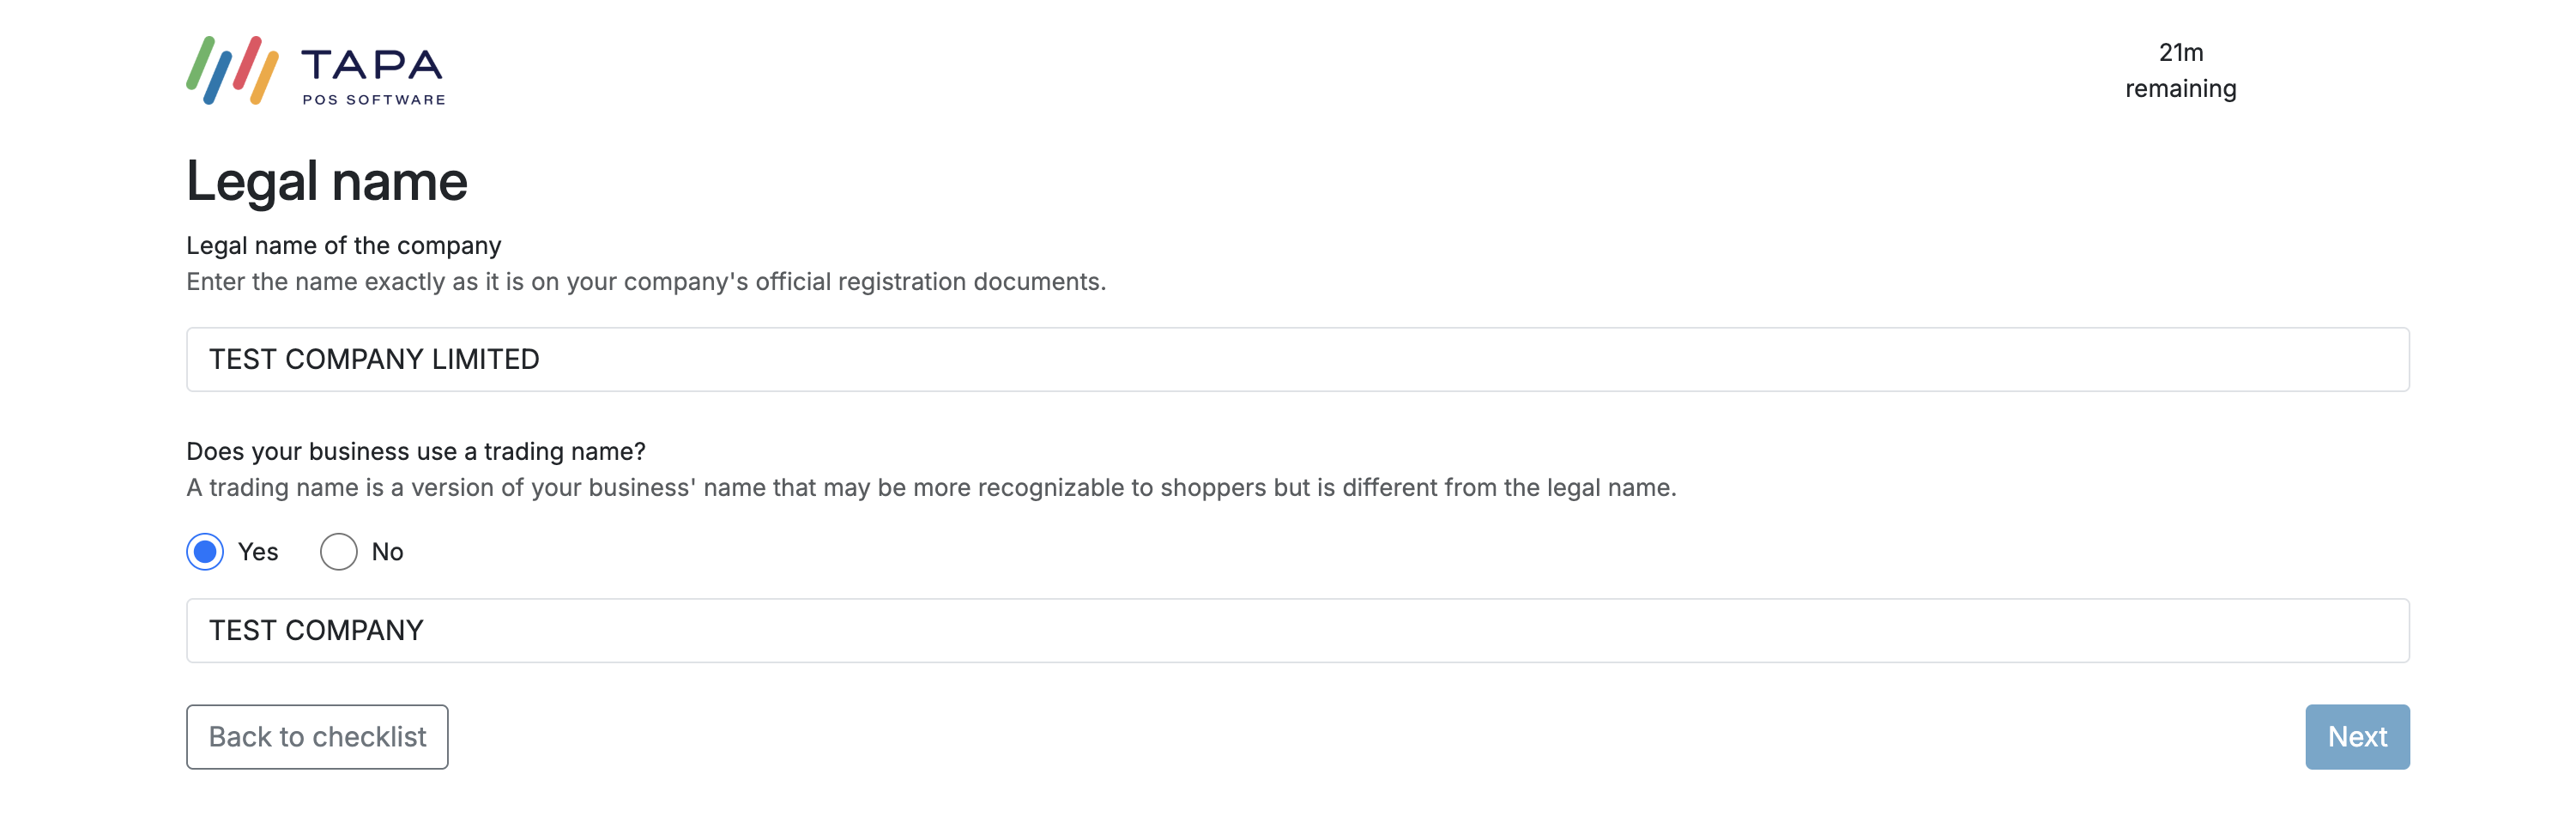
Use the trading name exactly as customers know the business. Use the legal name exactly as it appears on the official registration record.
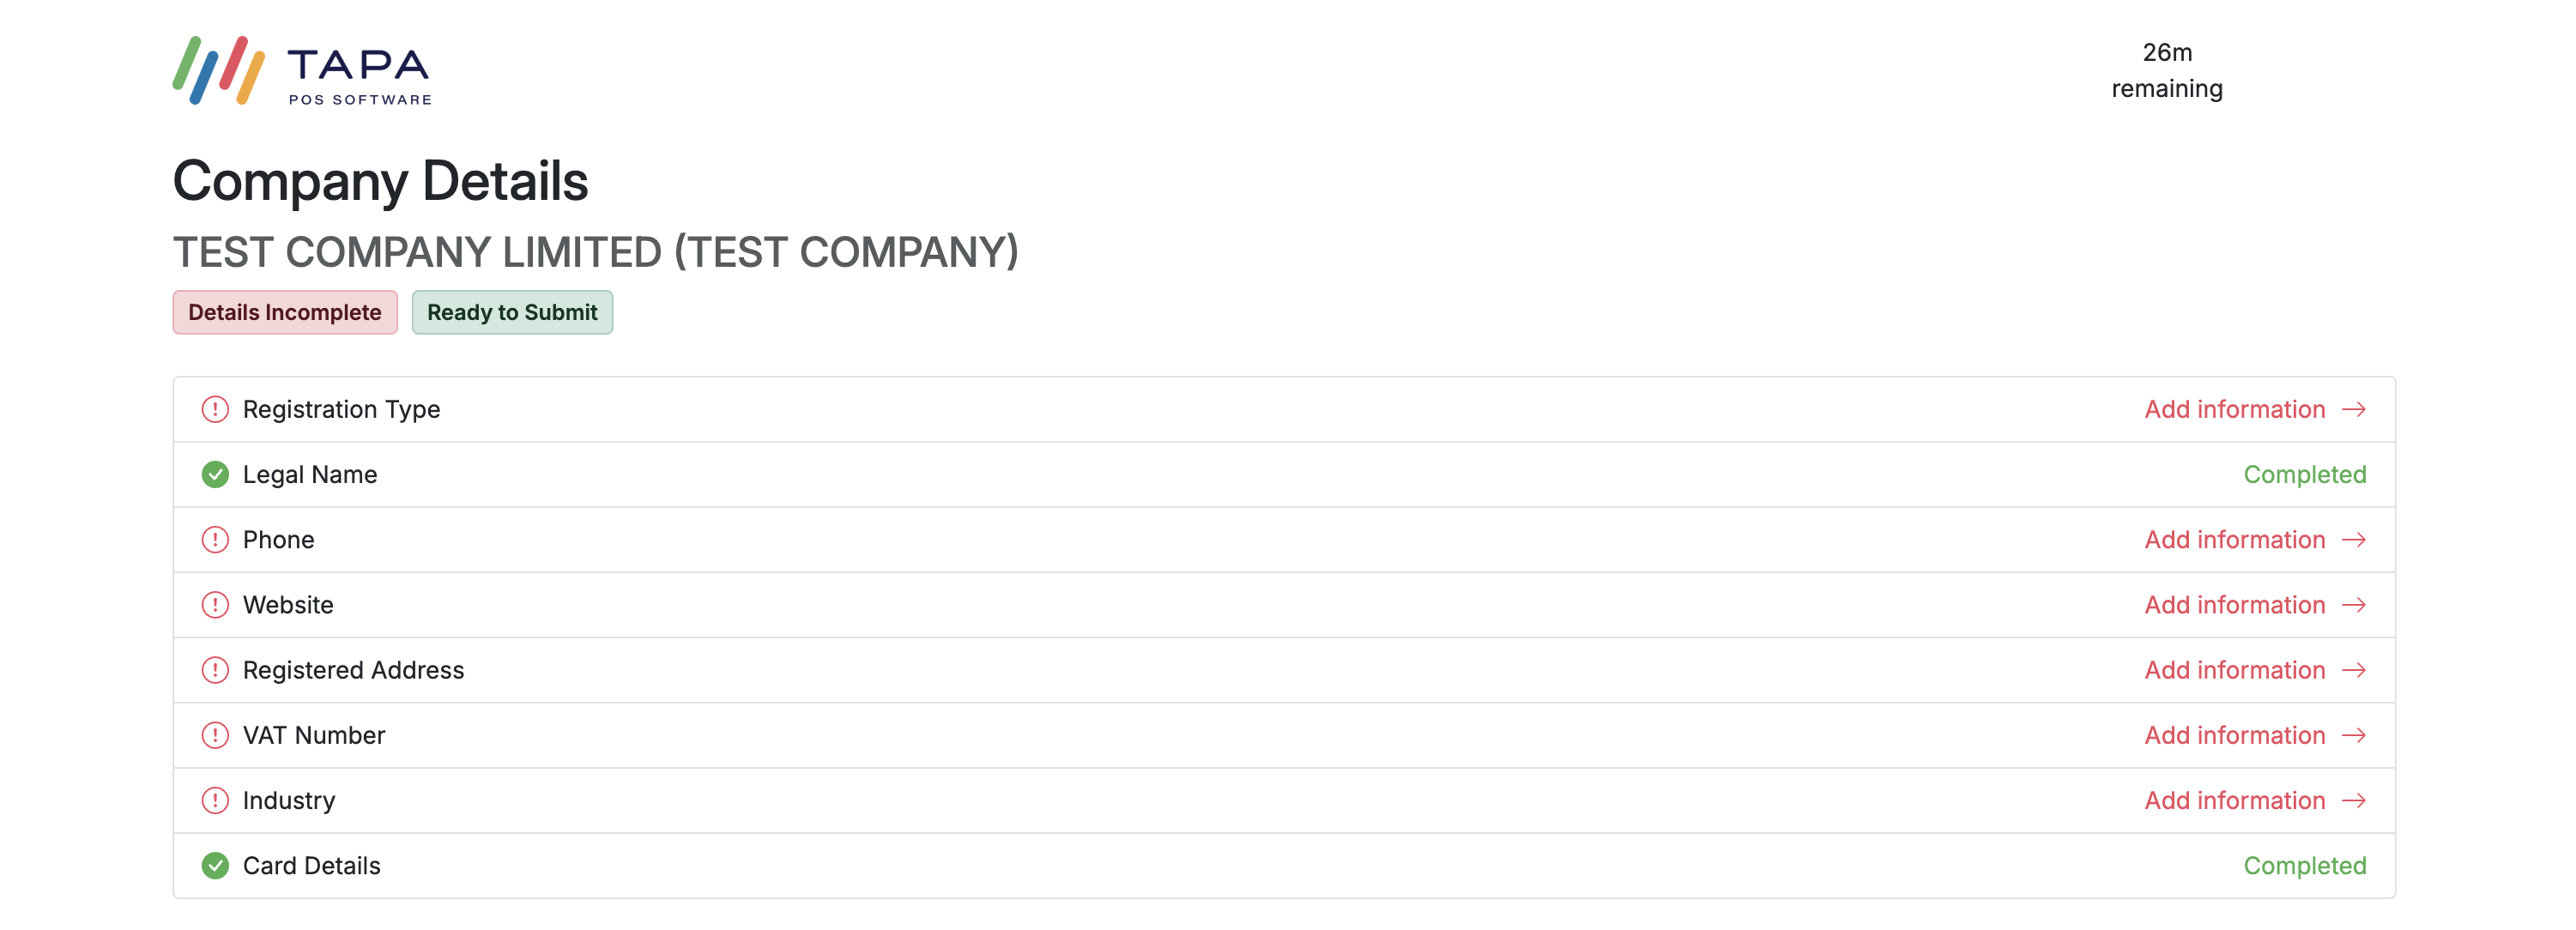
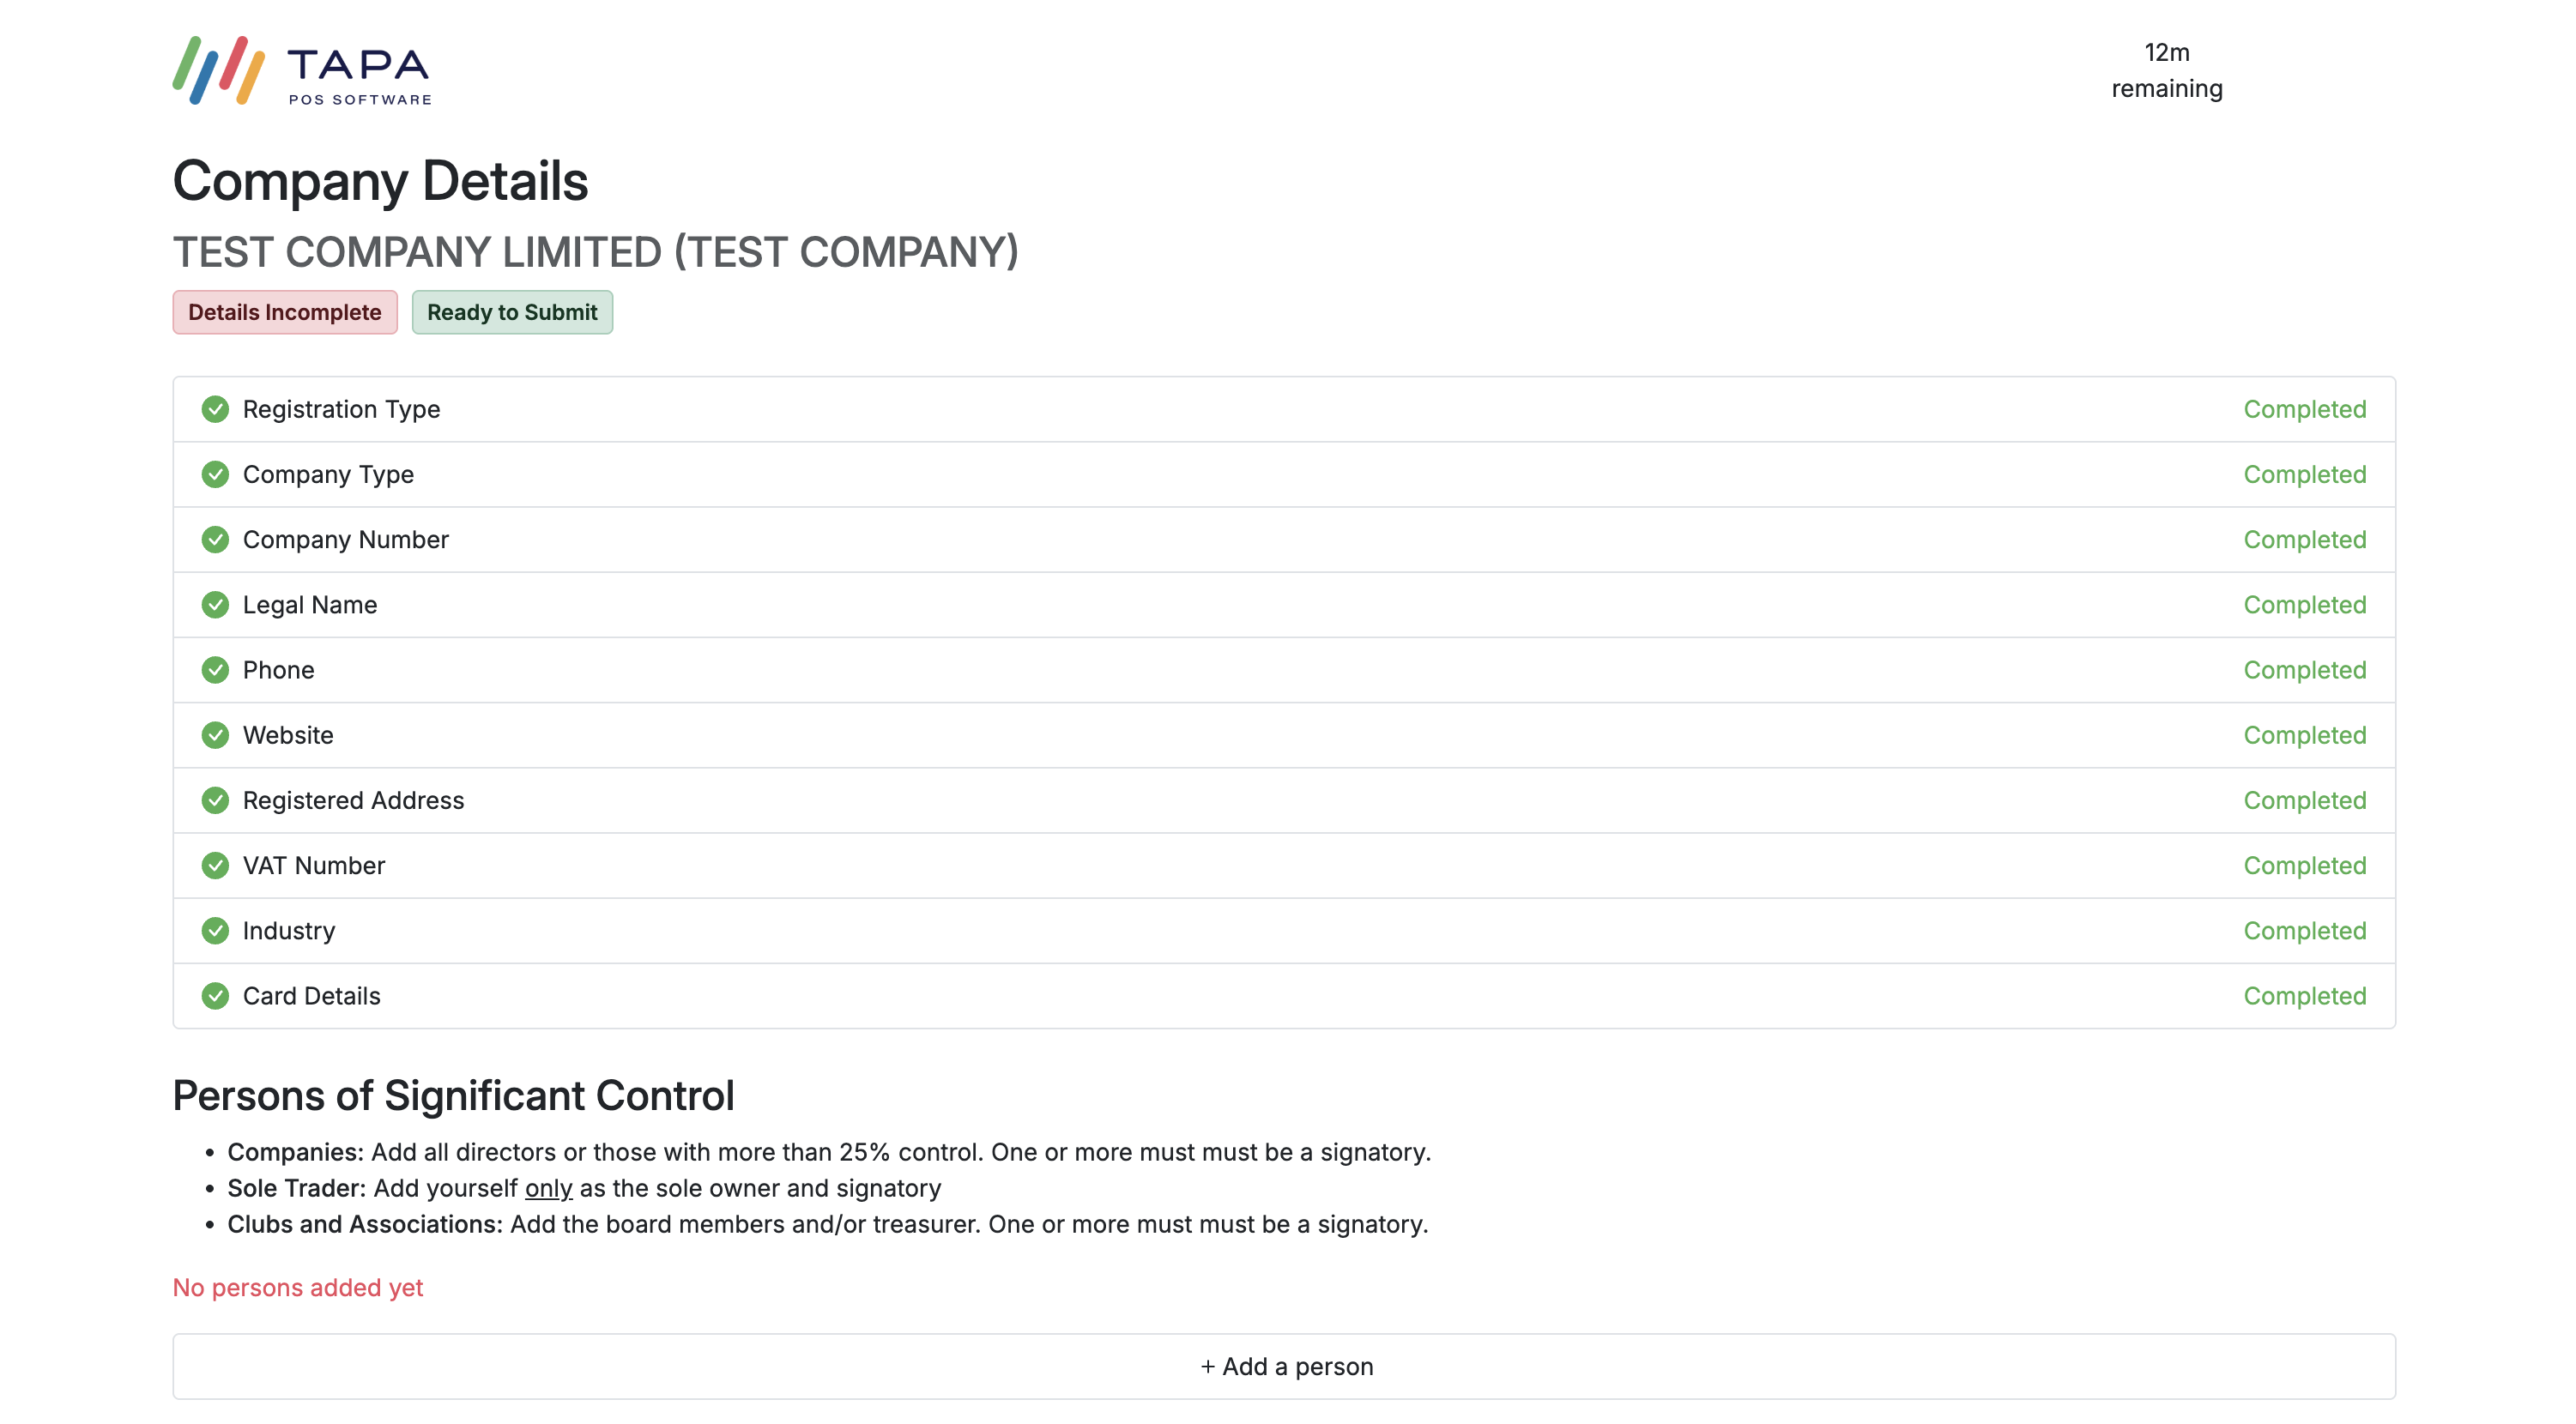
Step 6. Complete the company checklist
Open each incomplete company section until everything is marked Completed. The checklist usually includes registration type, legal name, phone, website, registered address, VAT number, and industry.
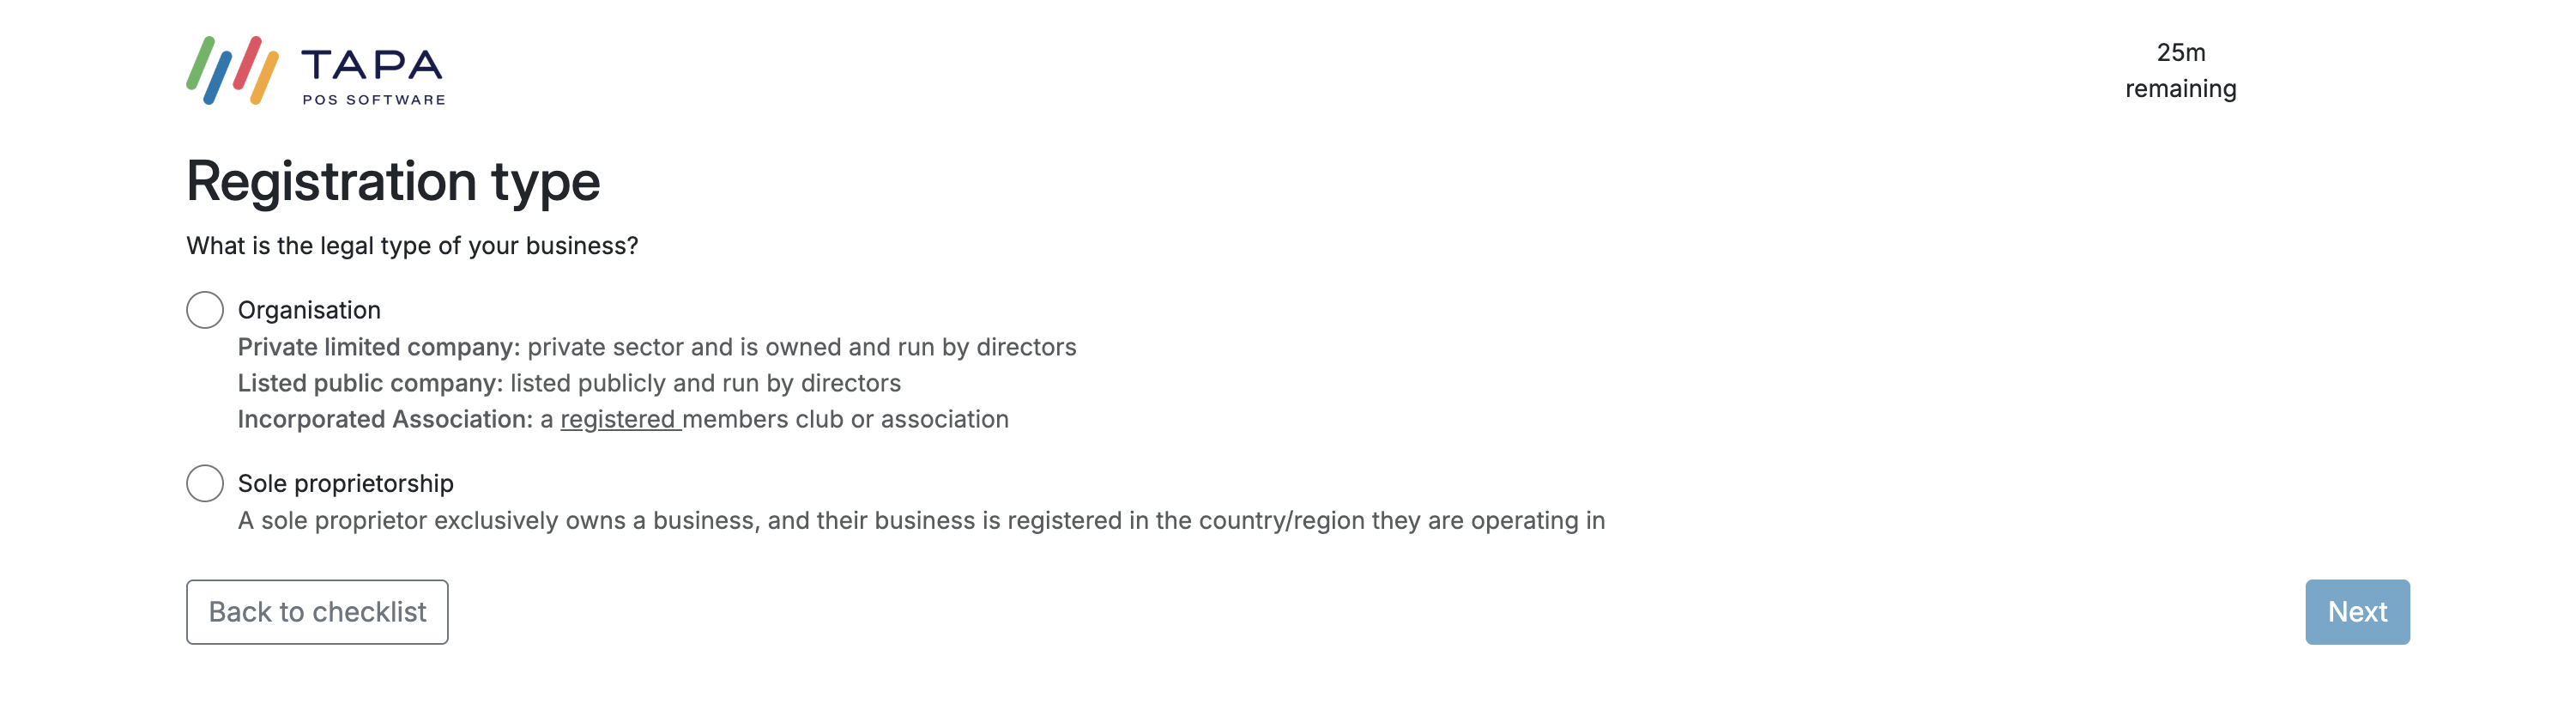
Step 7. Choose the correct registration route
Select the legal structure that matches the business.
If the business is a registered company or organisation, choose Organisation. If it is run by one individual, choose Sole proprietorship.
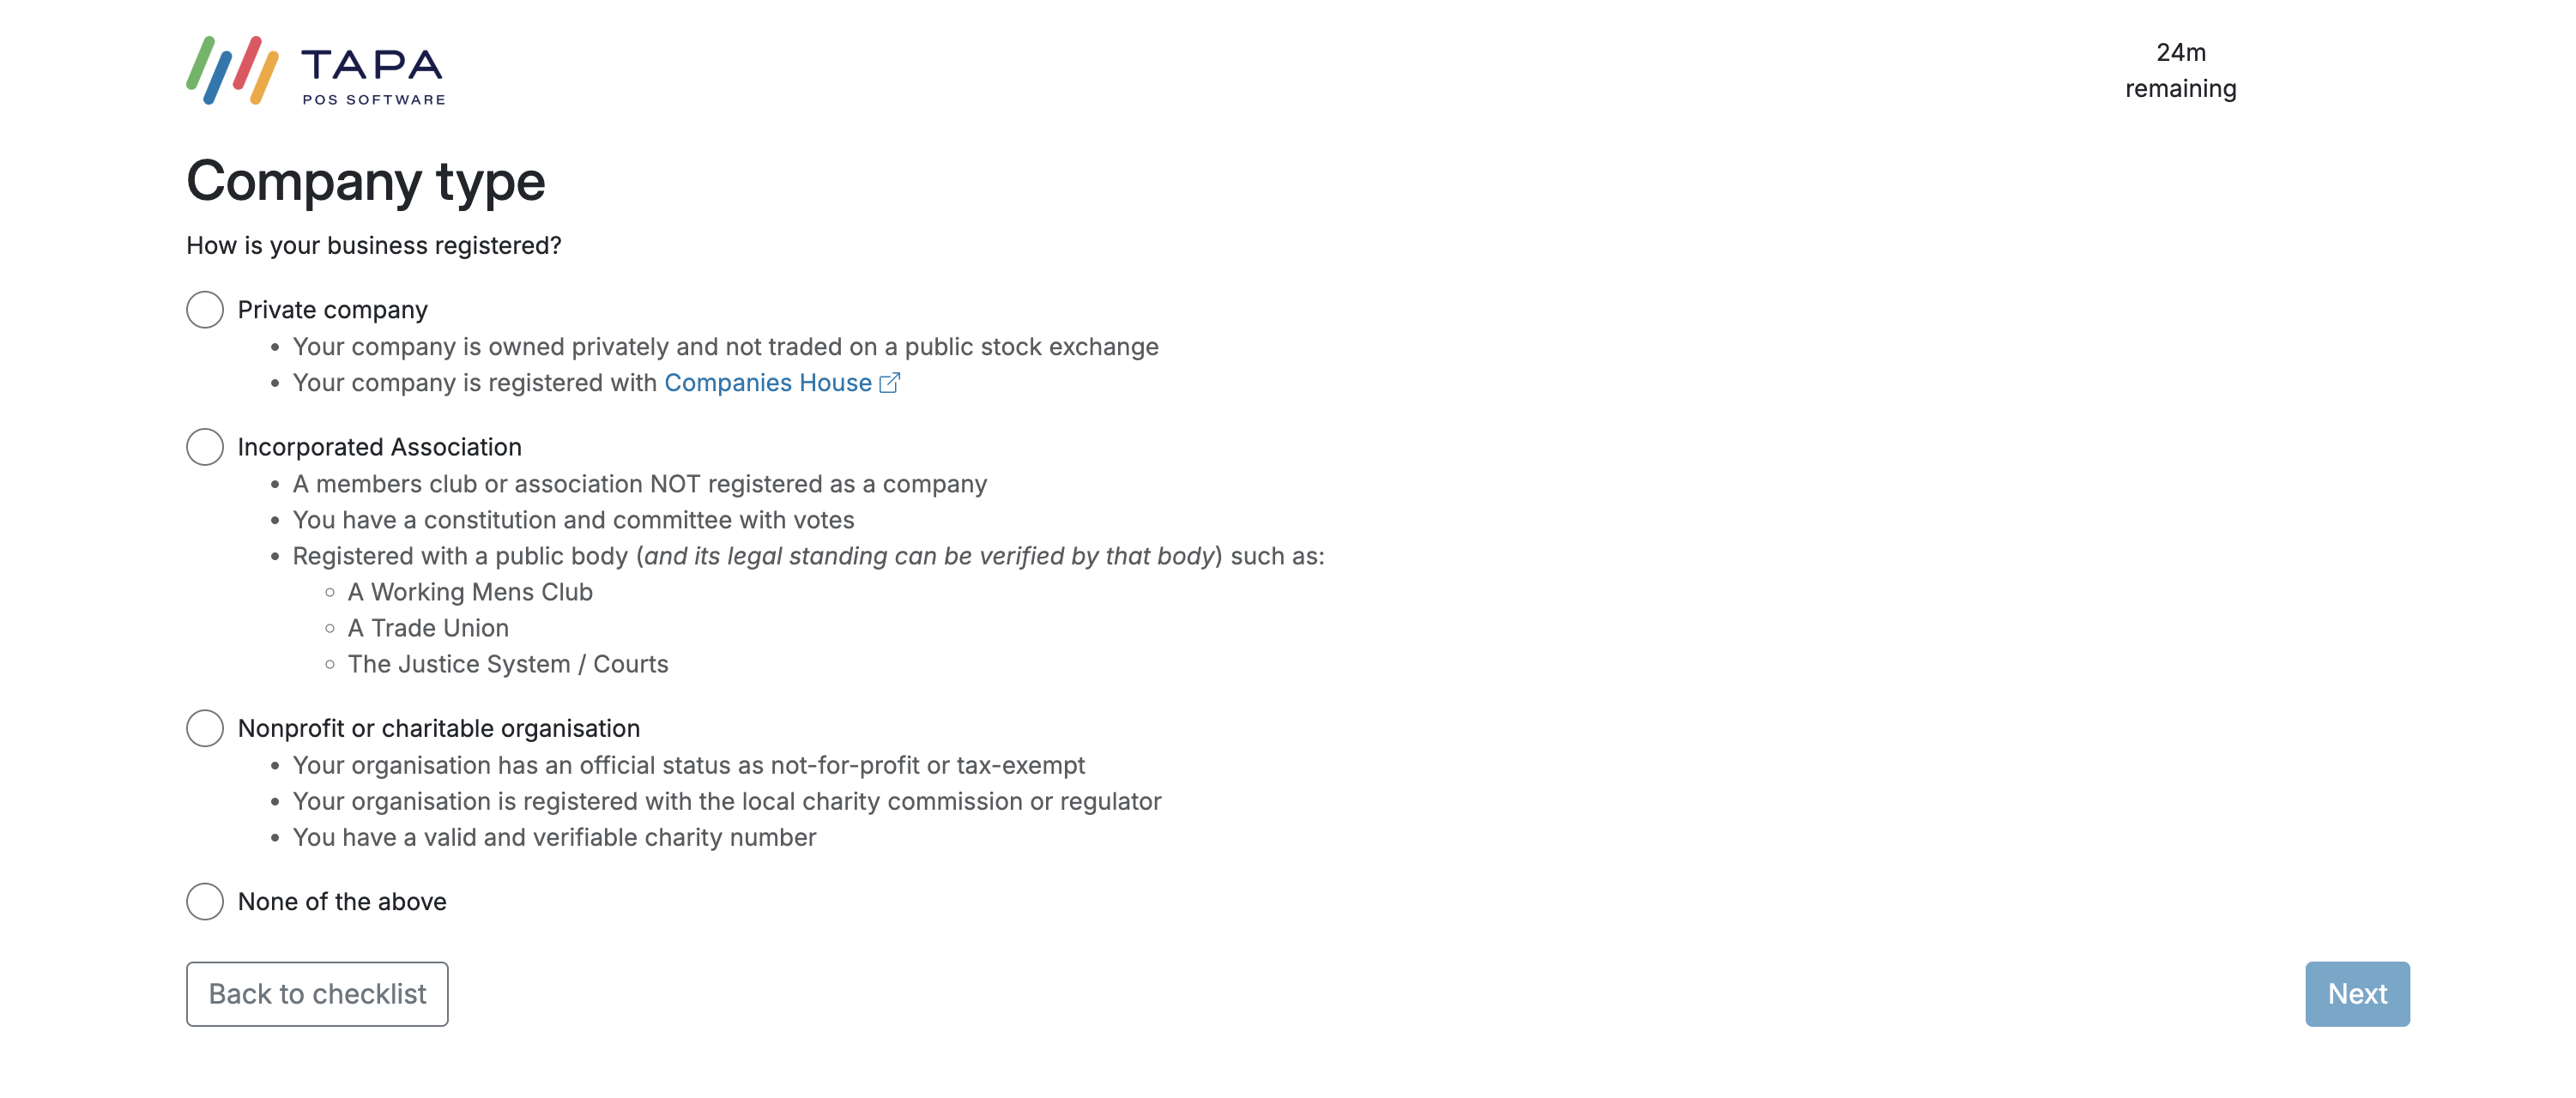
If Organisation is selected, choose the matching company type. Private limited companies will usually use Private company.
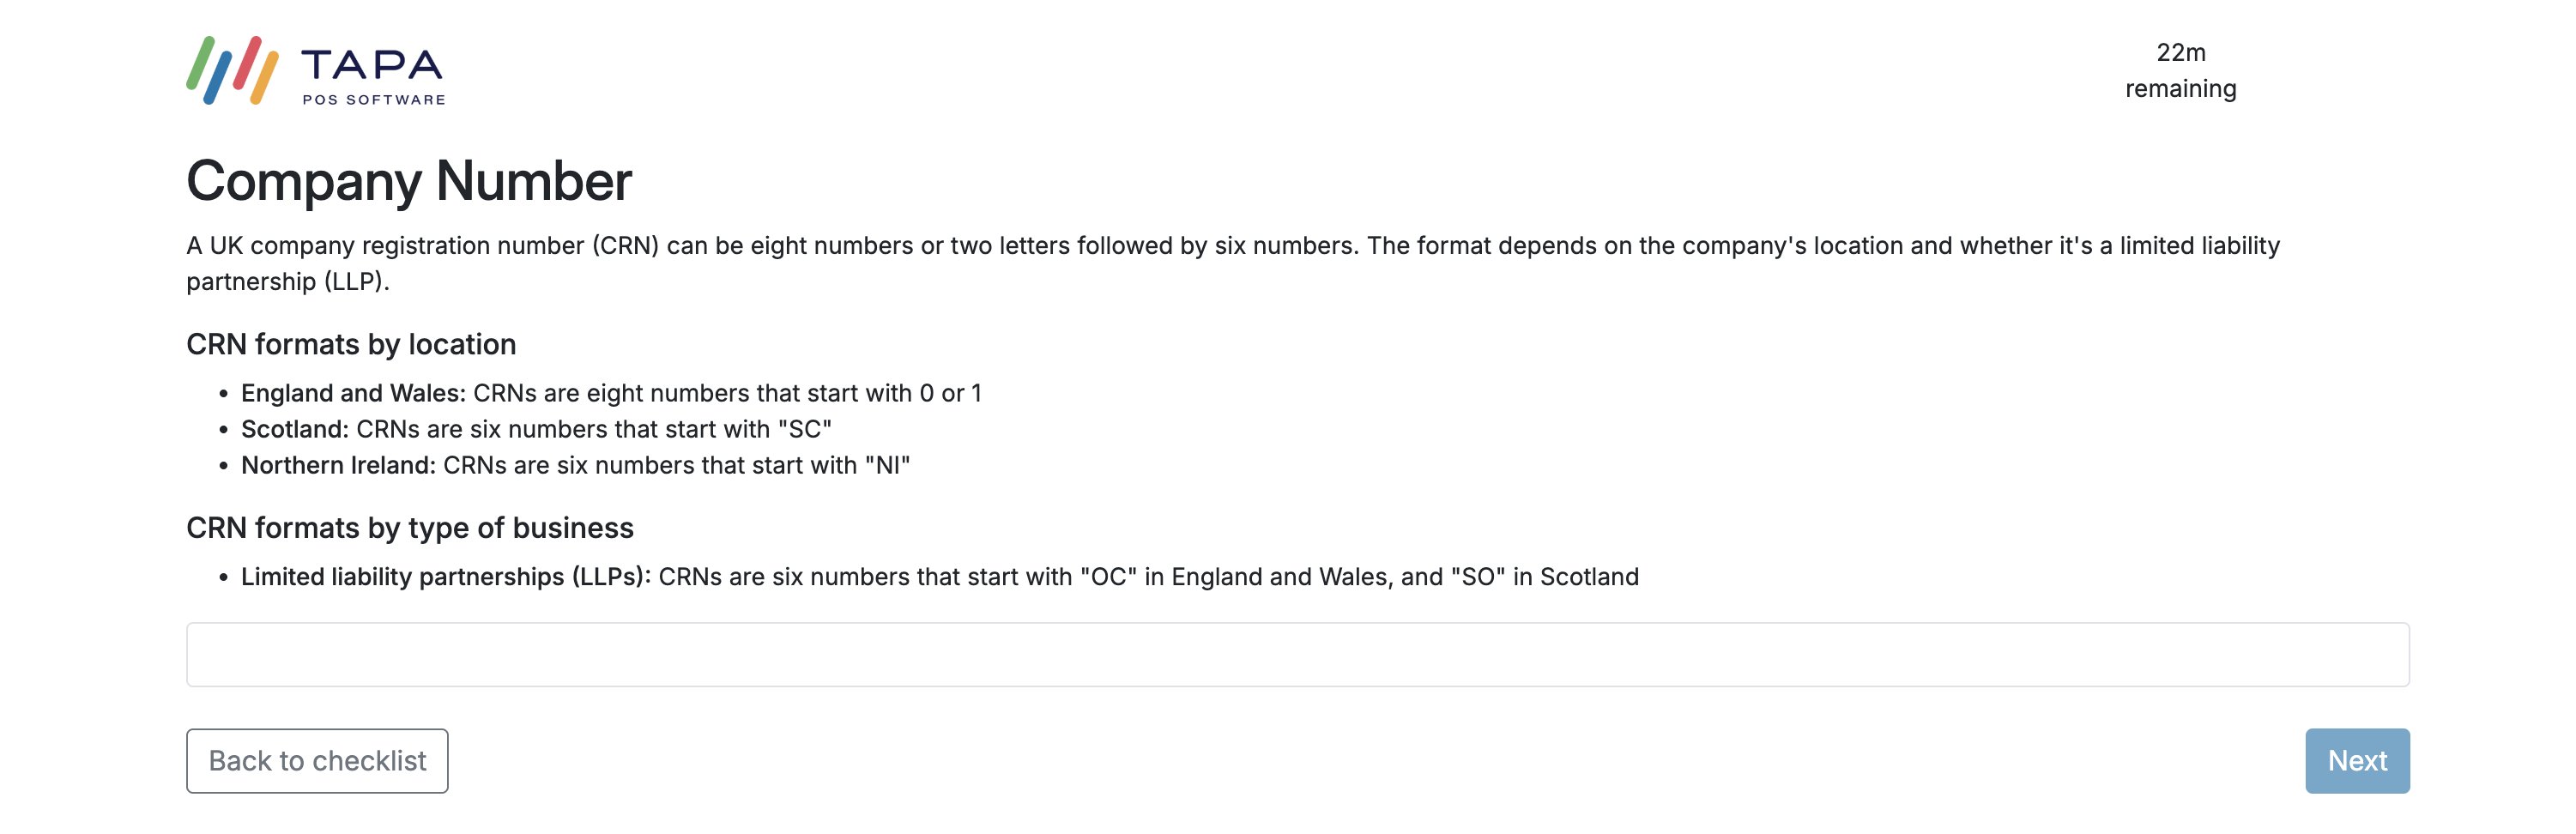
For private companies, enter the Companies House registration number exactly as registered.
If Sole proprietorship is selected instead, enter the legal name and add the trading name if the business uses one.
Step 8. Finish the remaining company details
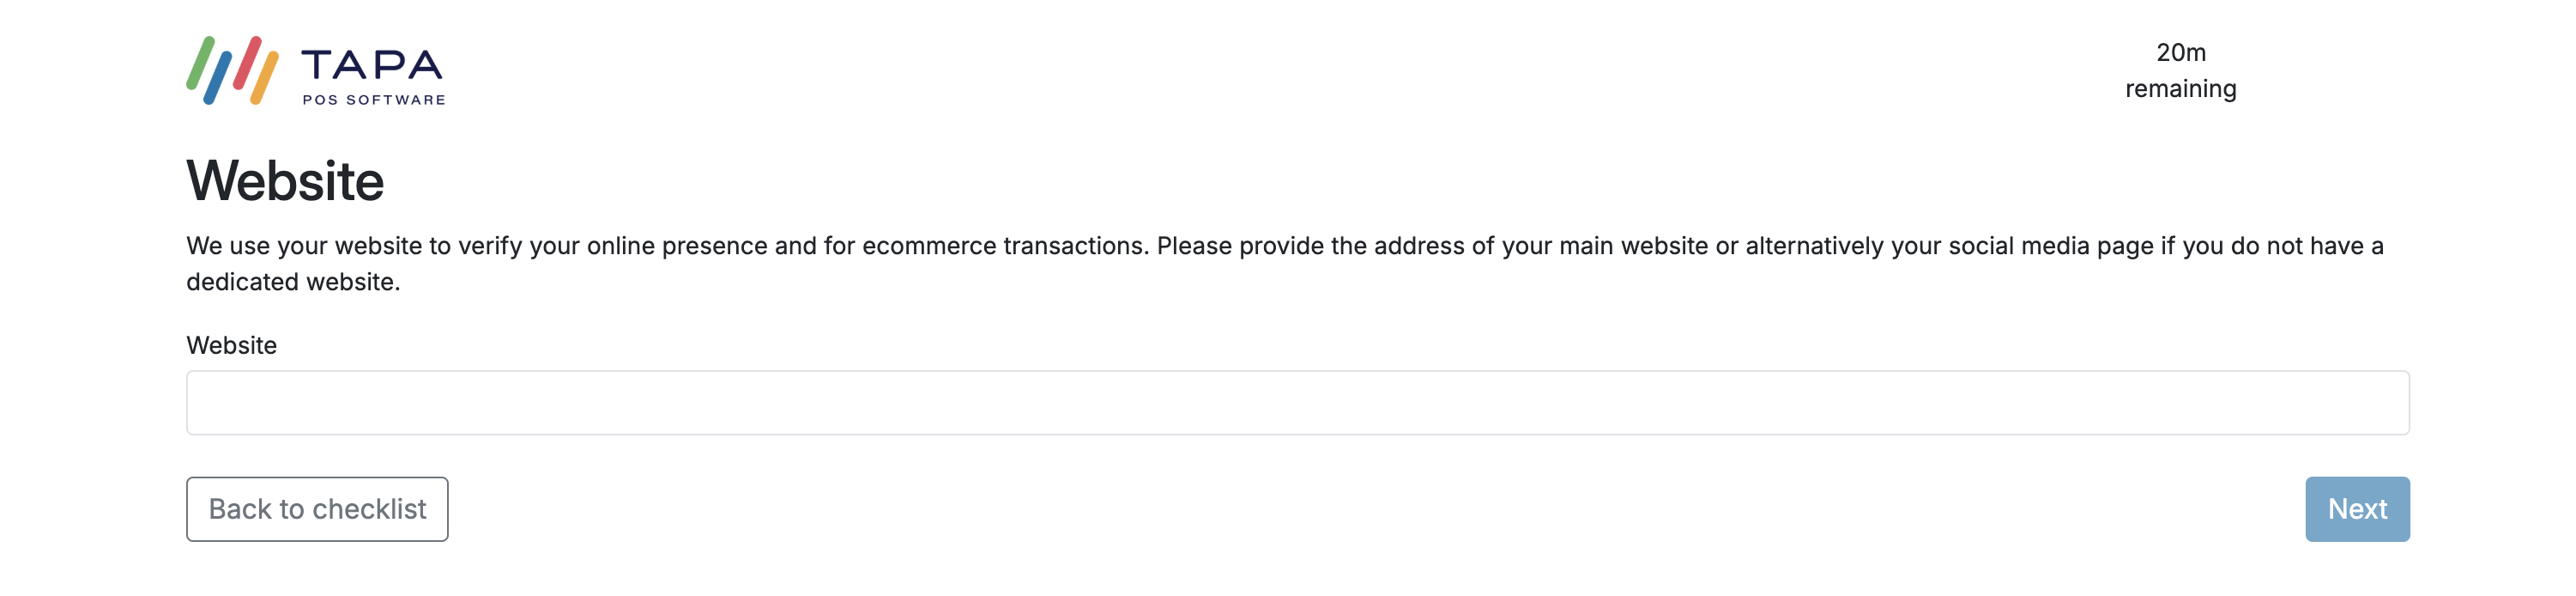
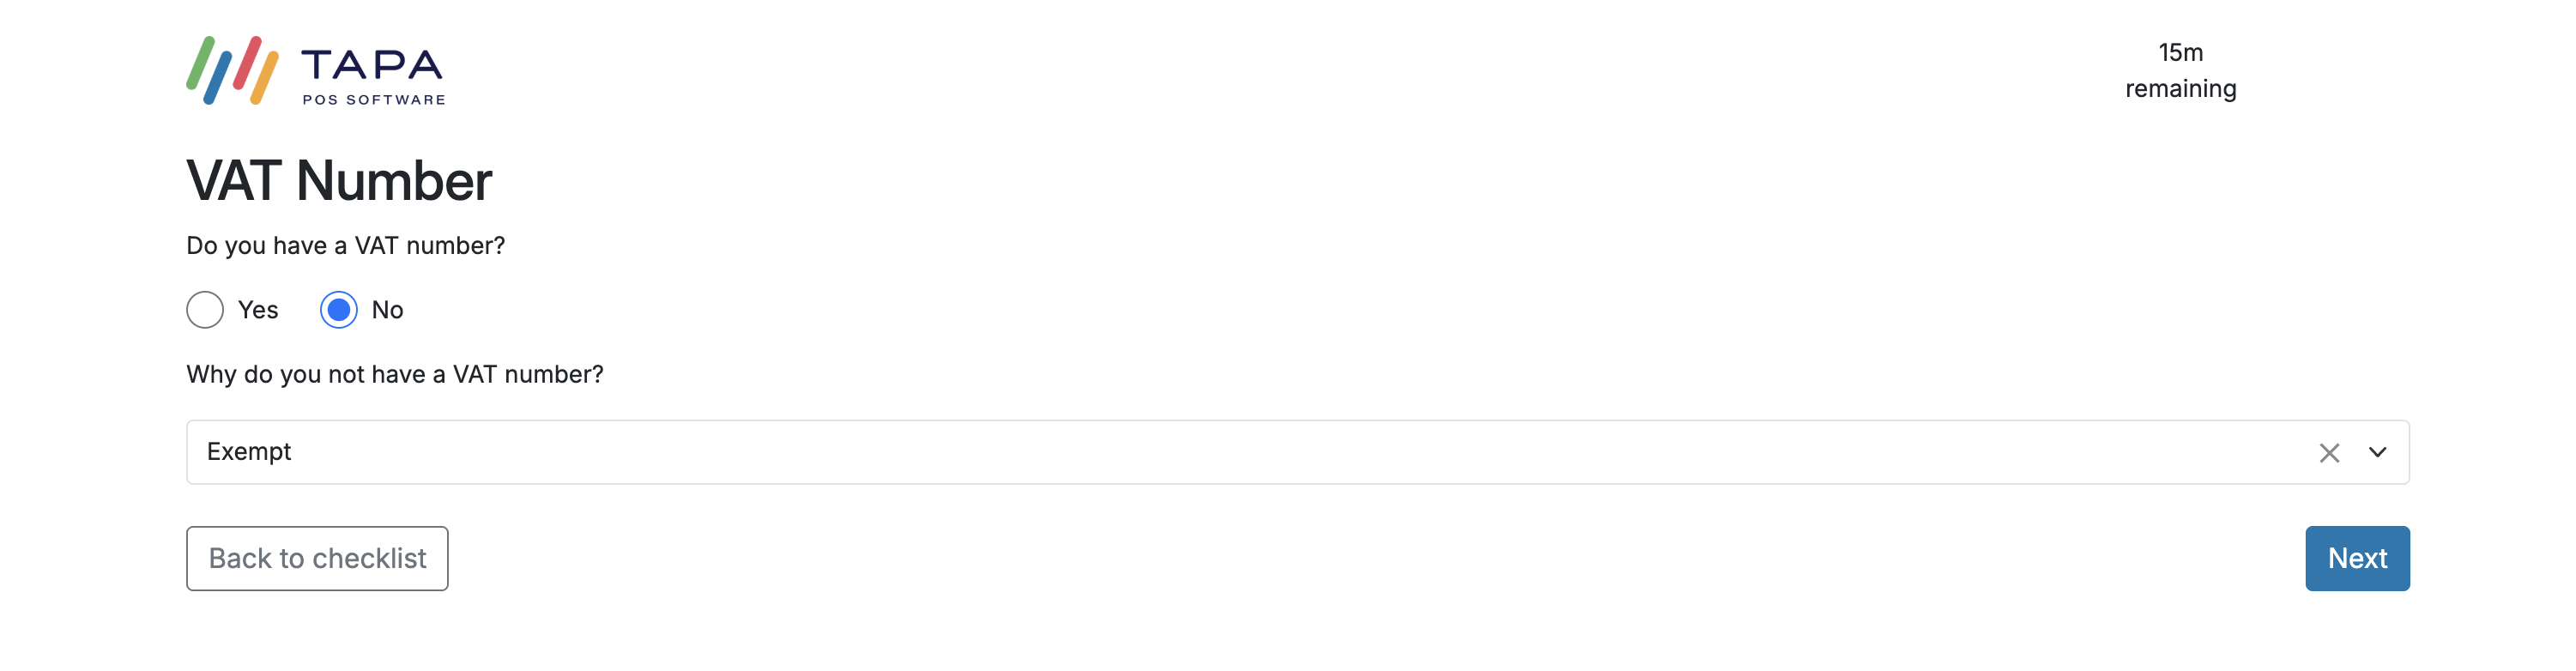
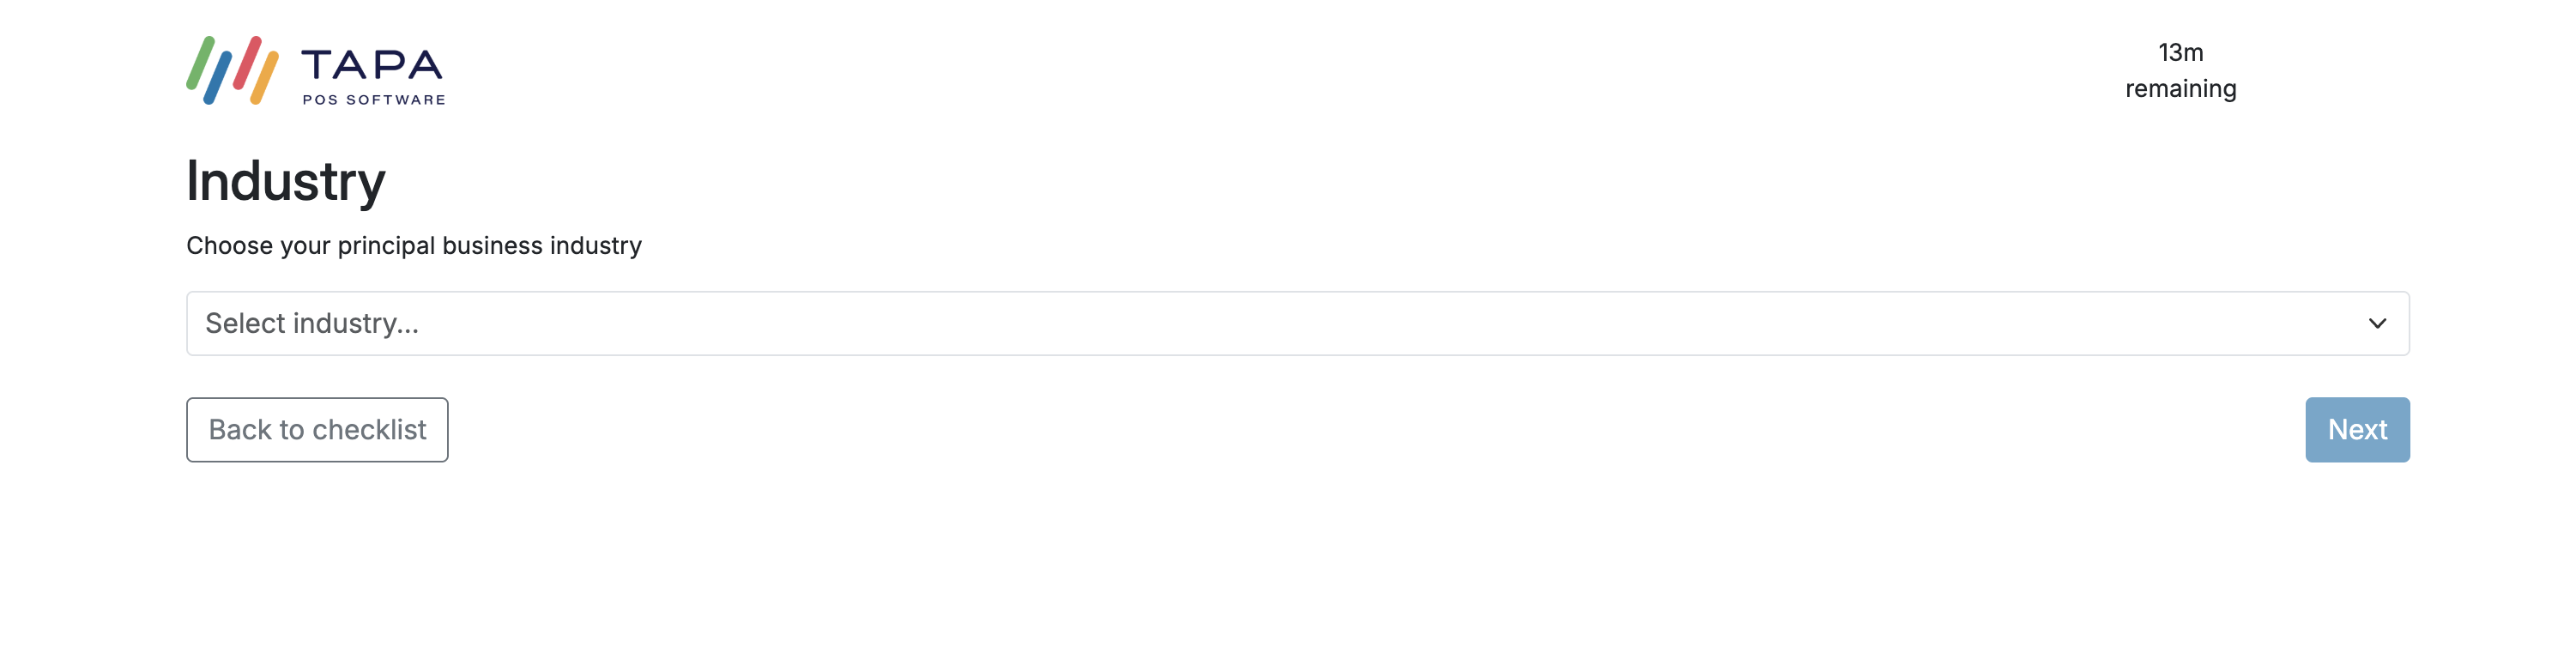
Add the company phone number, website or social media page, registered business address, VAT status, and principal business industry.


Step 9. Add the person of significant control
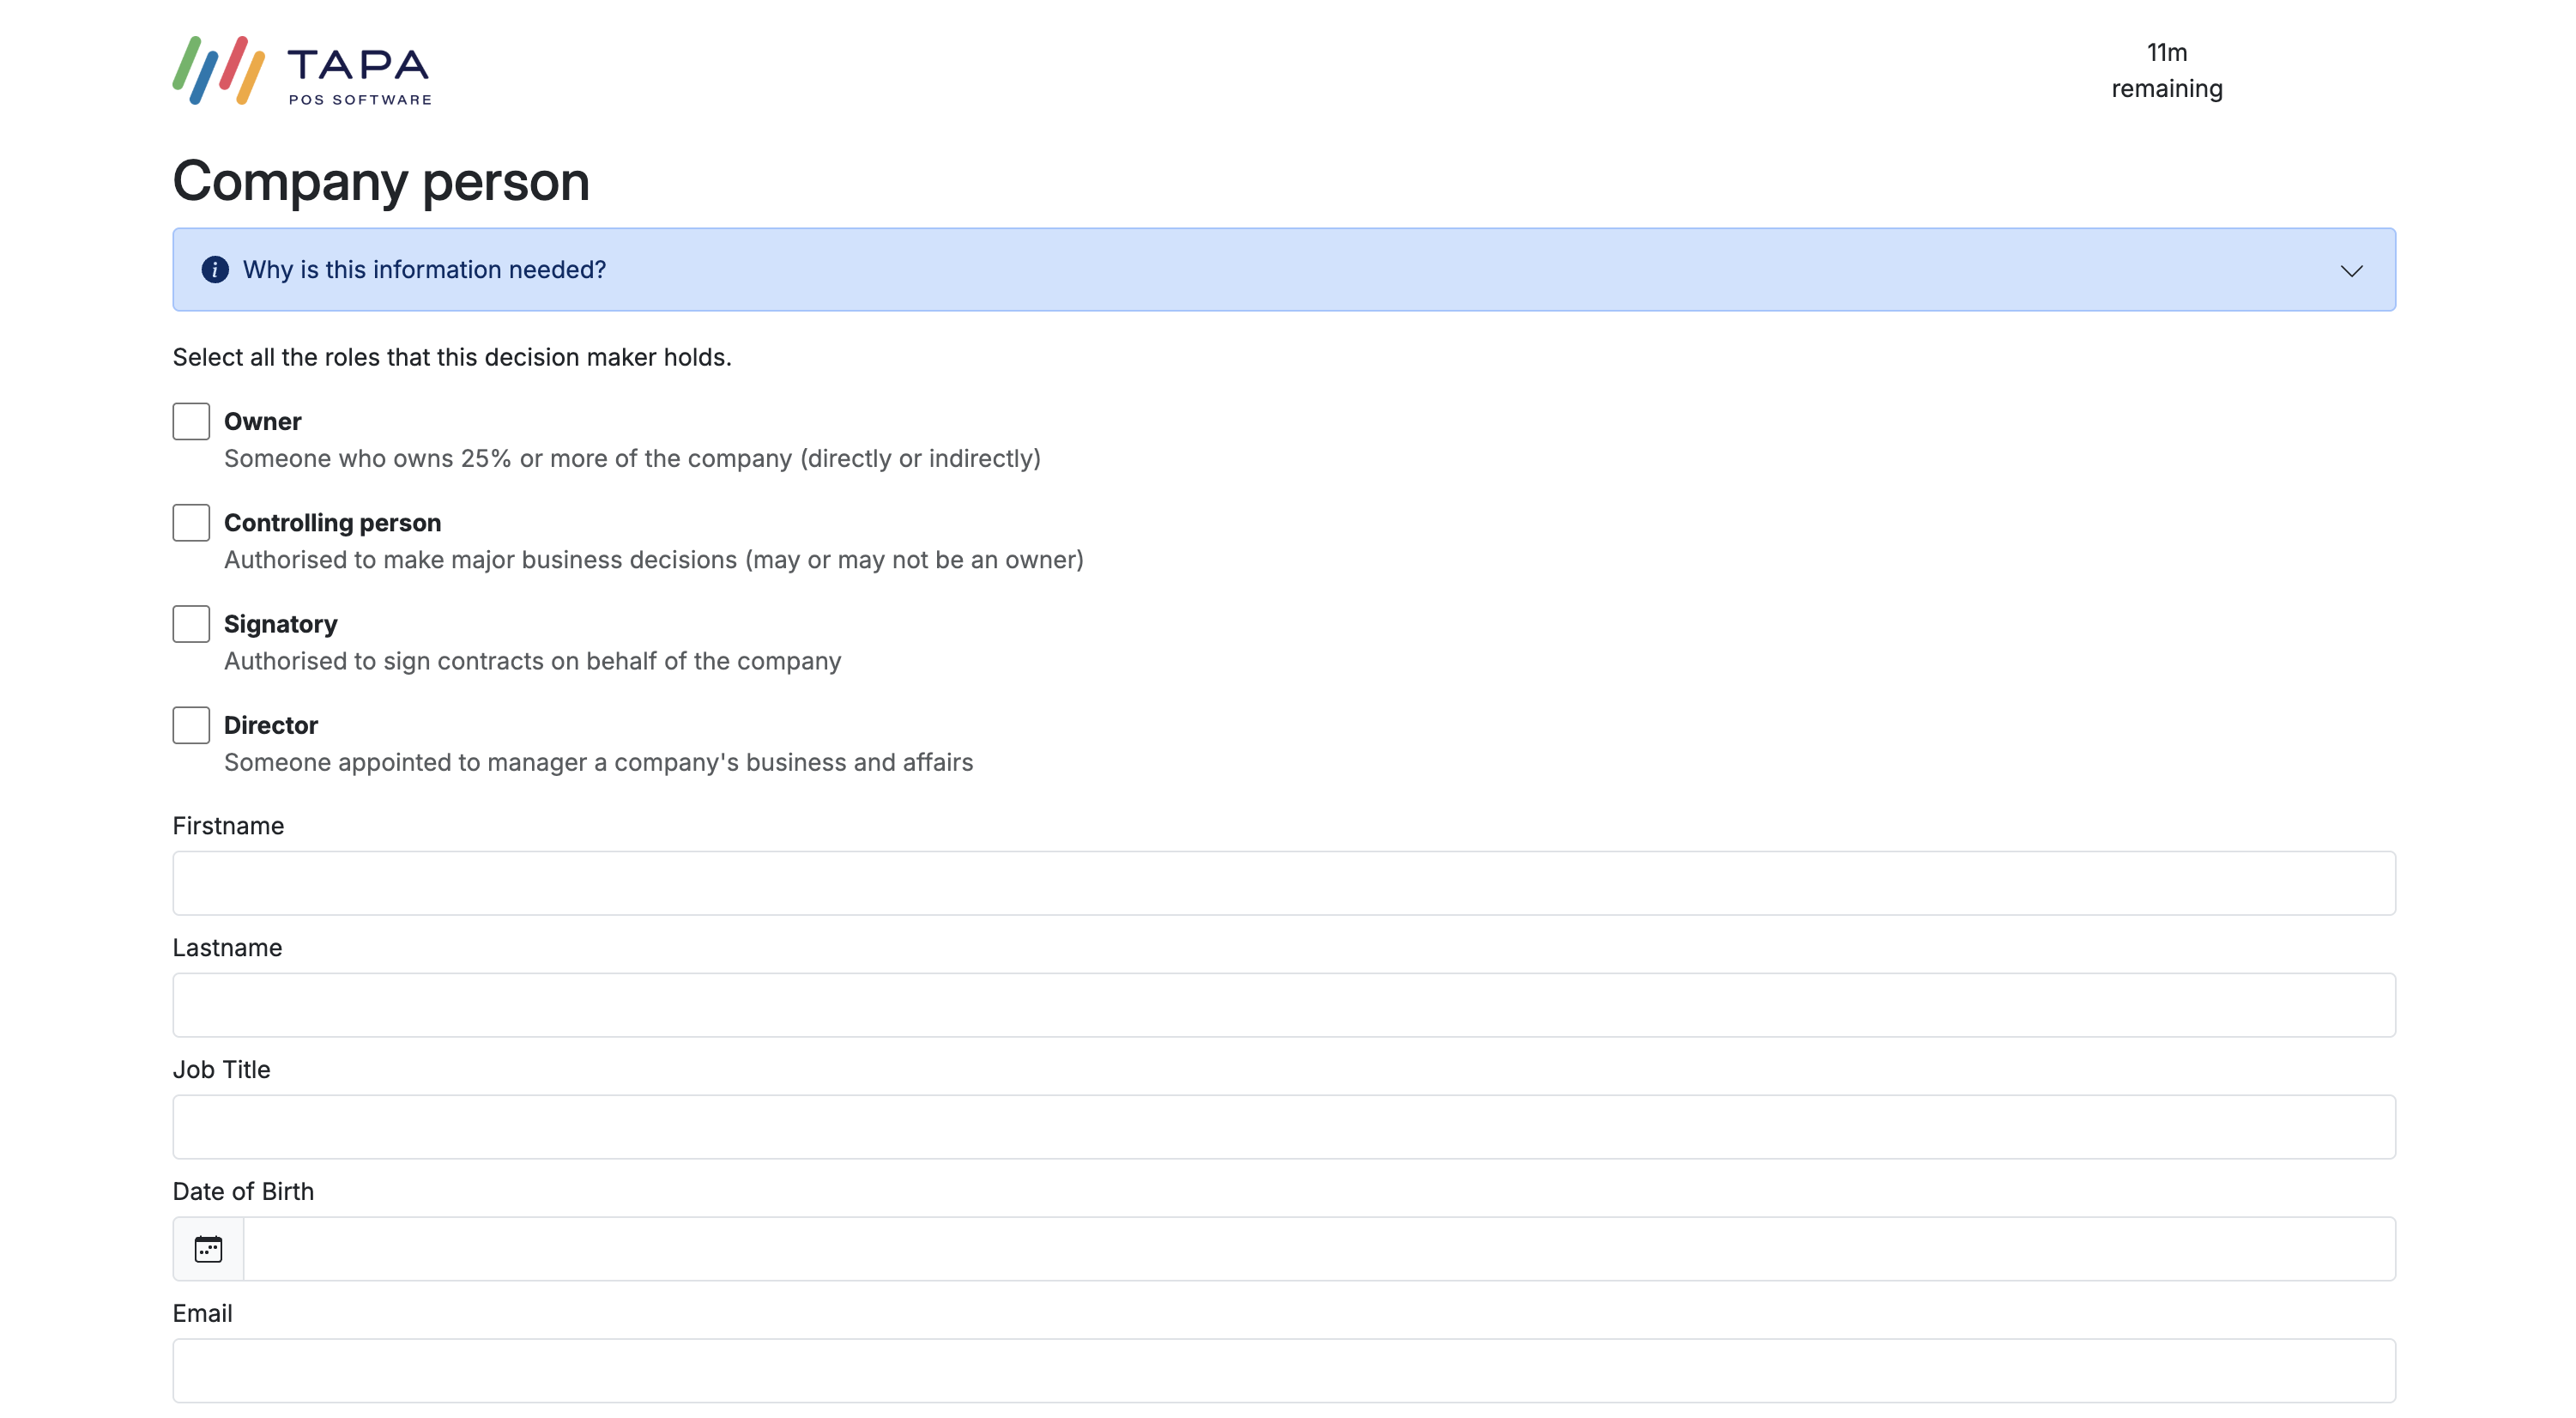
Back on the Company Details screen, use + Add a person.
Select every role that applies. One person must be marked as a Signatory. For a sole trader, add the owner as the sole owner and signatory.
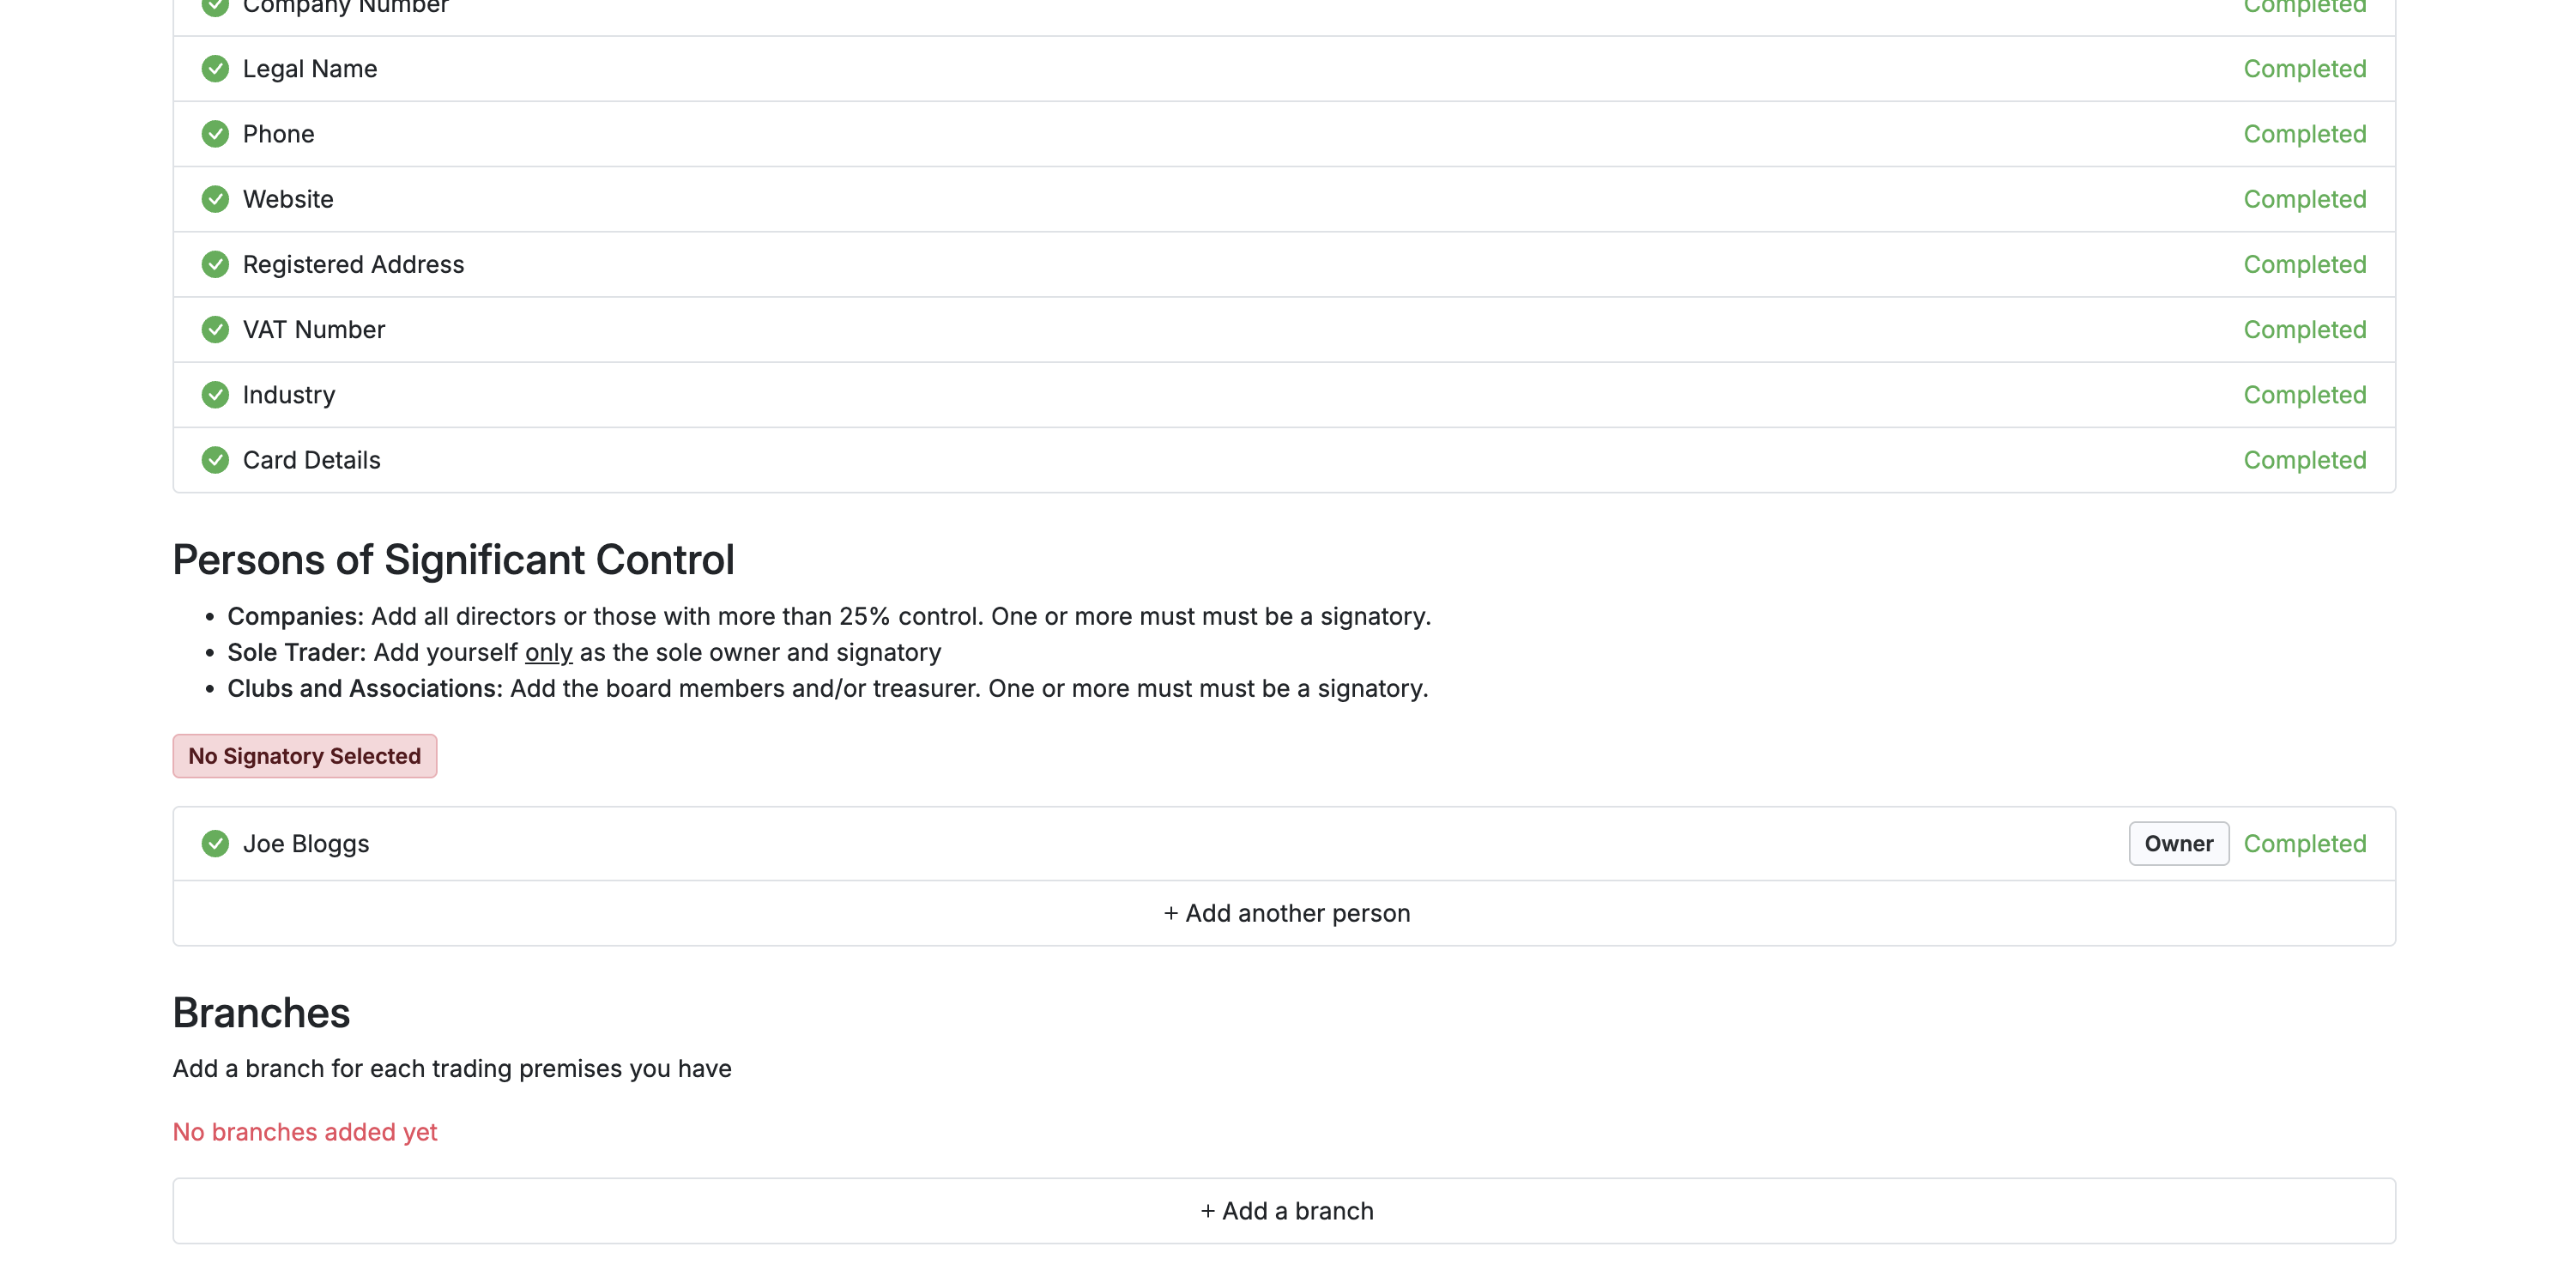
Step 10. Add each branch
In the Branches section, click + Add a branch. Enter the branch name, country, and currency, then complete the branch checklist.
Enter the Branch name, country, and currency.
Step 11. Finish the branch details
Complete the additional details required for the Branch.
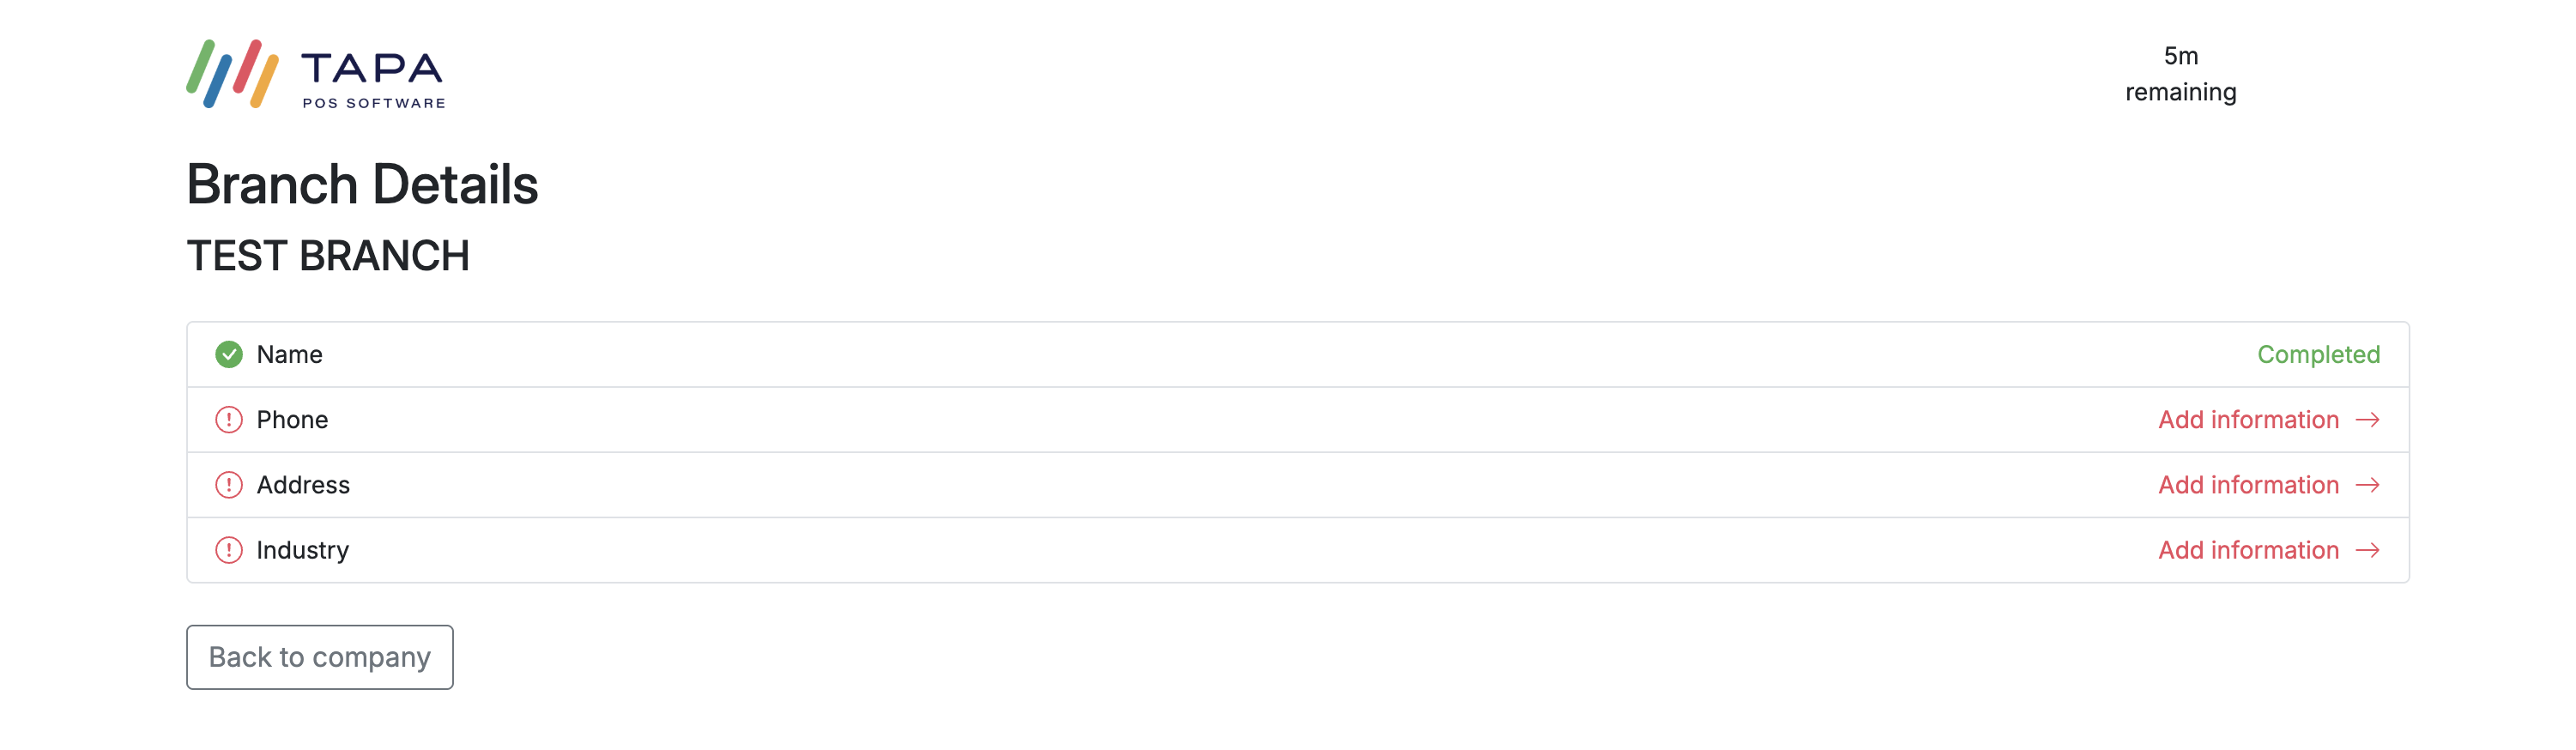
Add the branch phone number, branch address, and branch industry. Use the same industry as the company unless the branch trades in a different line of business.


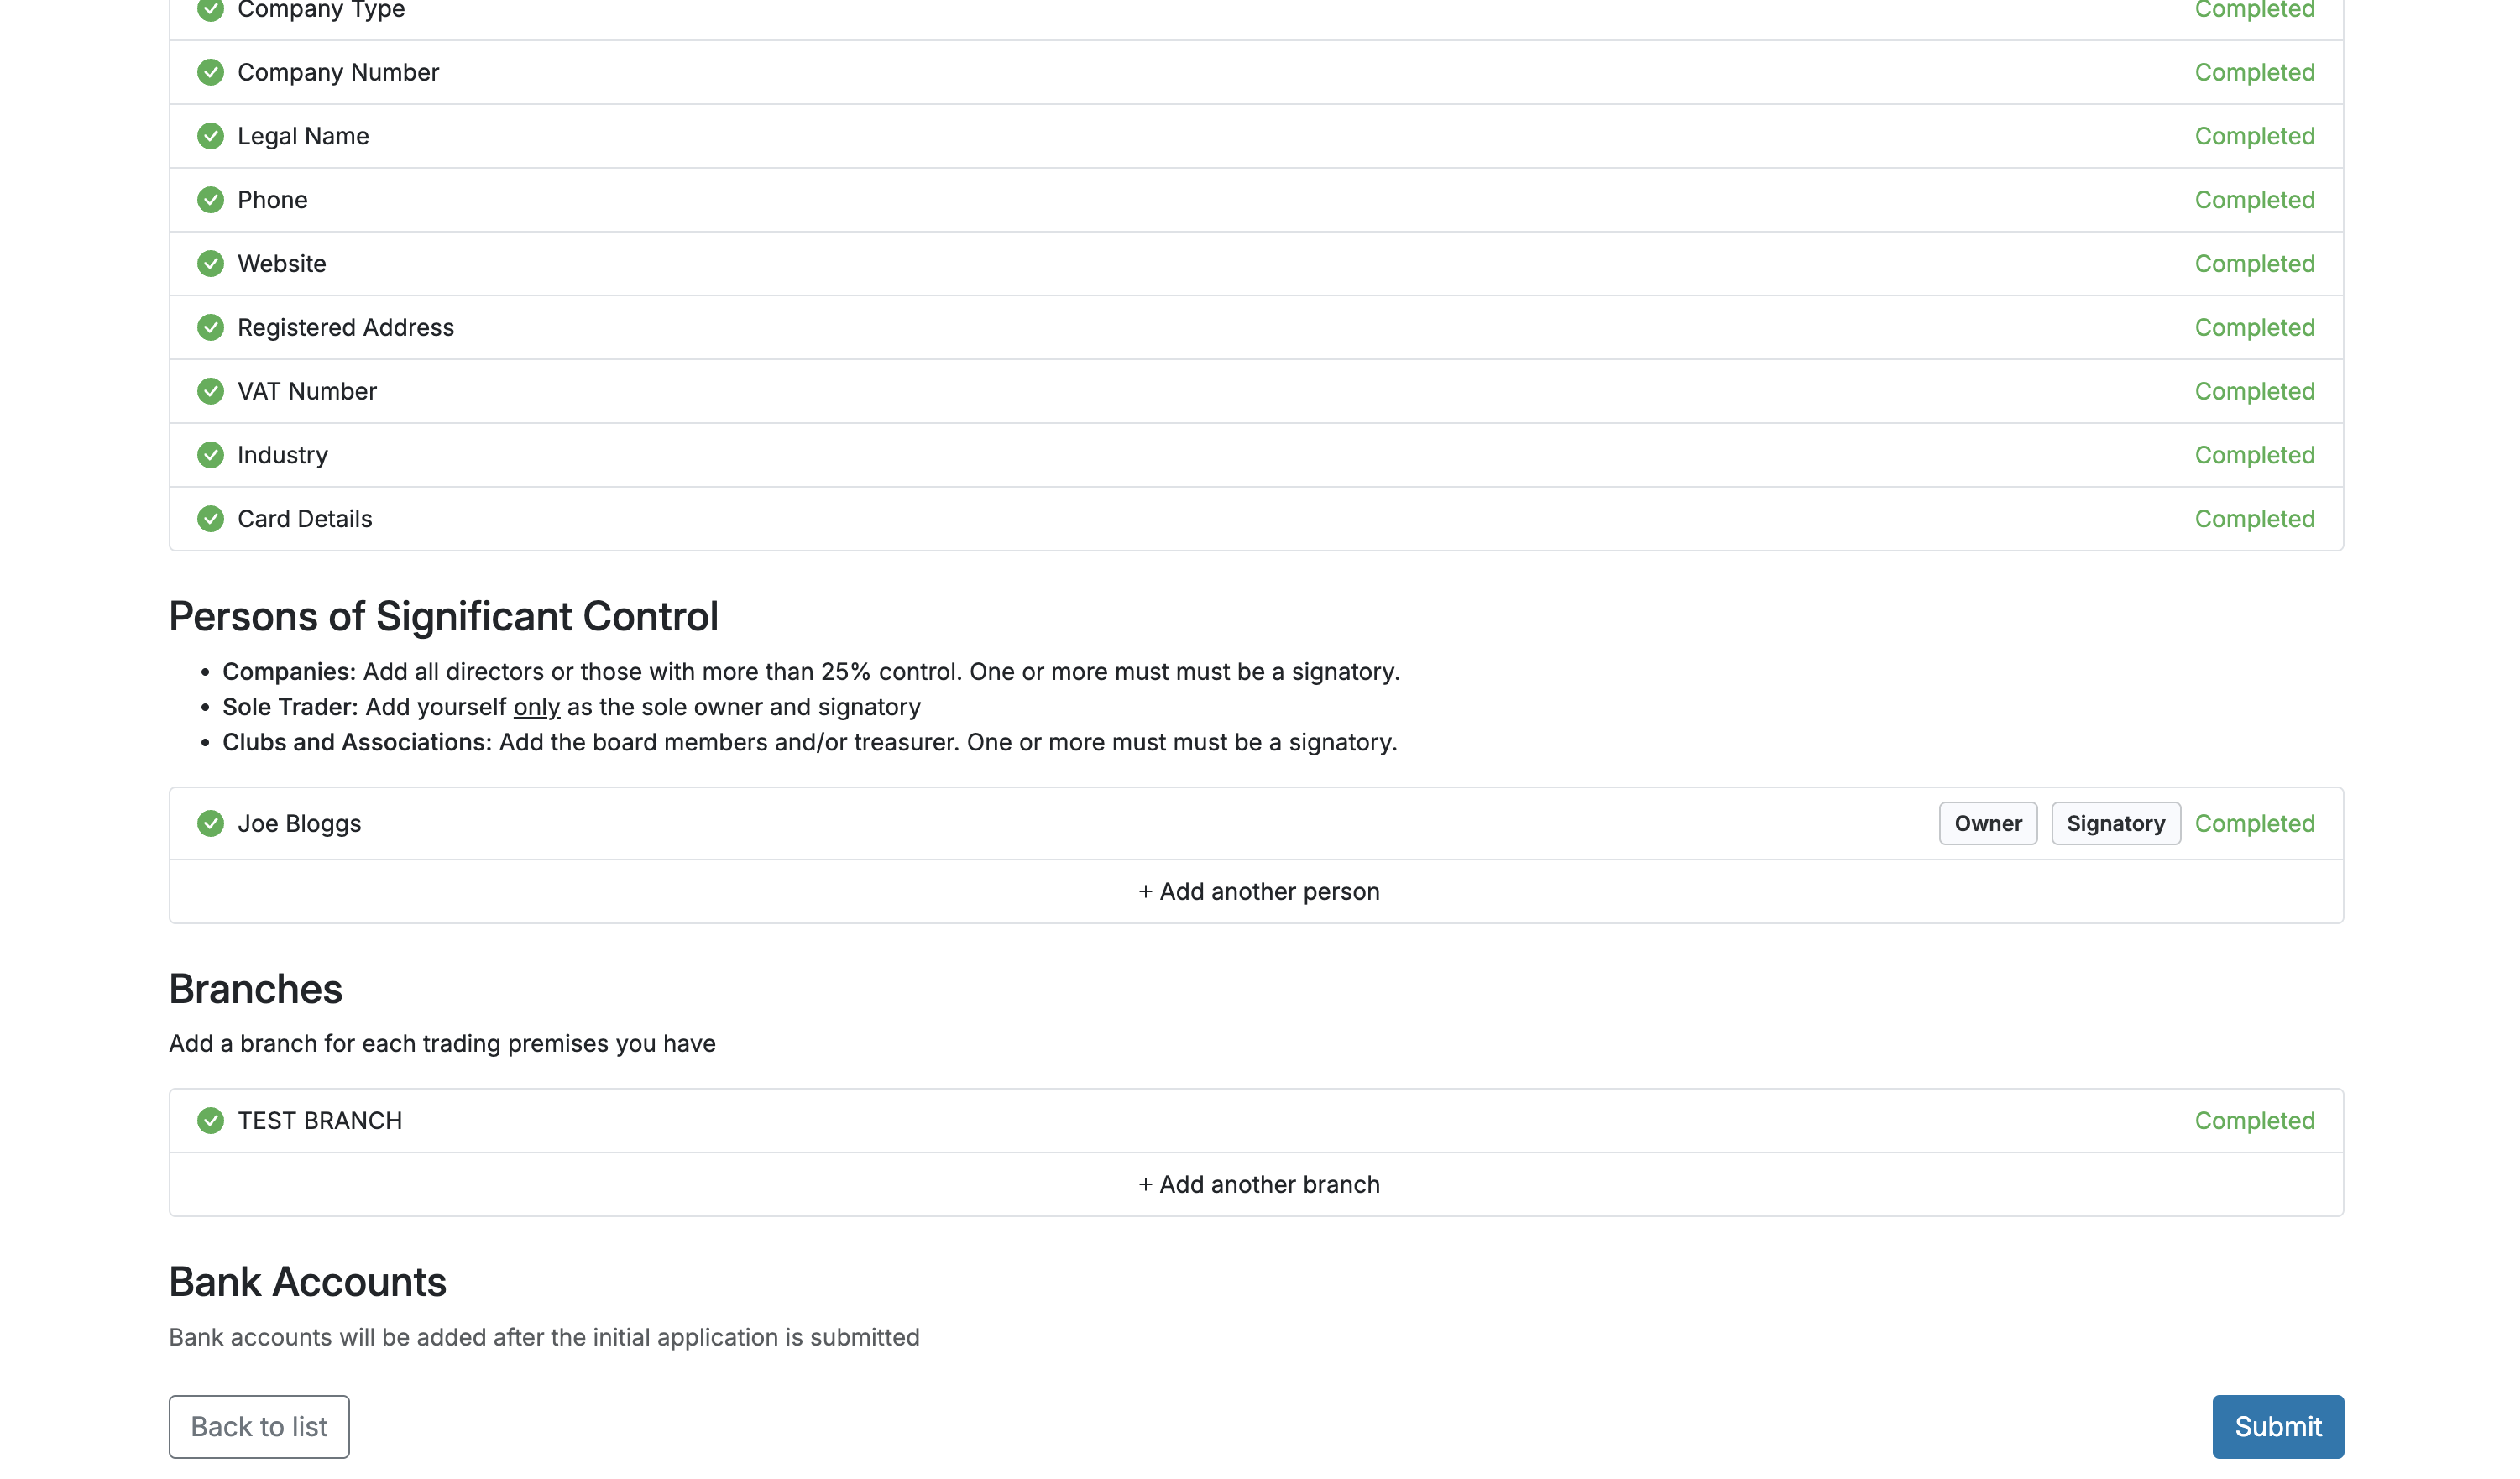
Step 12. Review and submit
Before submitting, confirm all company items are completed, at least one person has been added, and every required branch is listed as completed.
When the page is fully complete, click Submit. Bank accounts are added after the initial application is submitted.
Step 13. Add the payout bank account
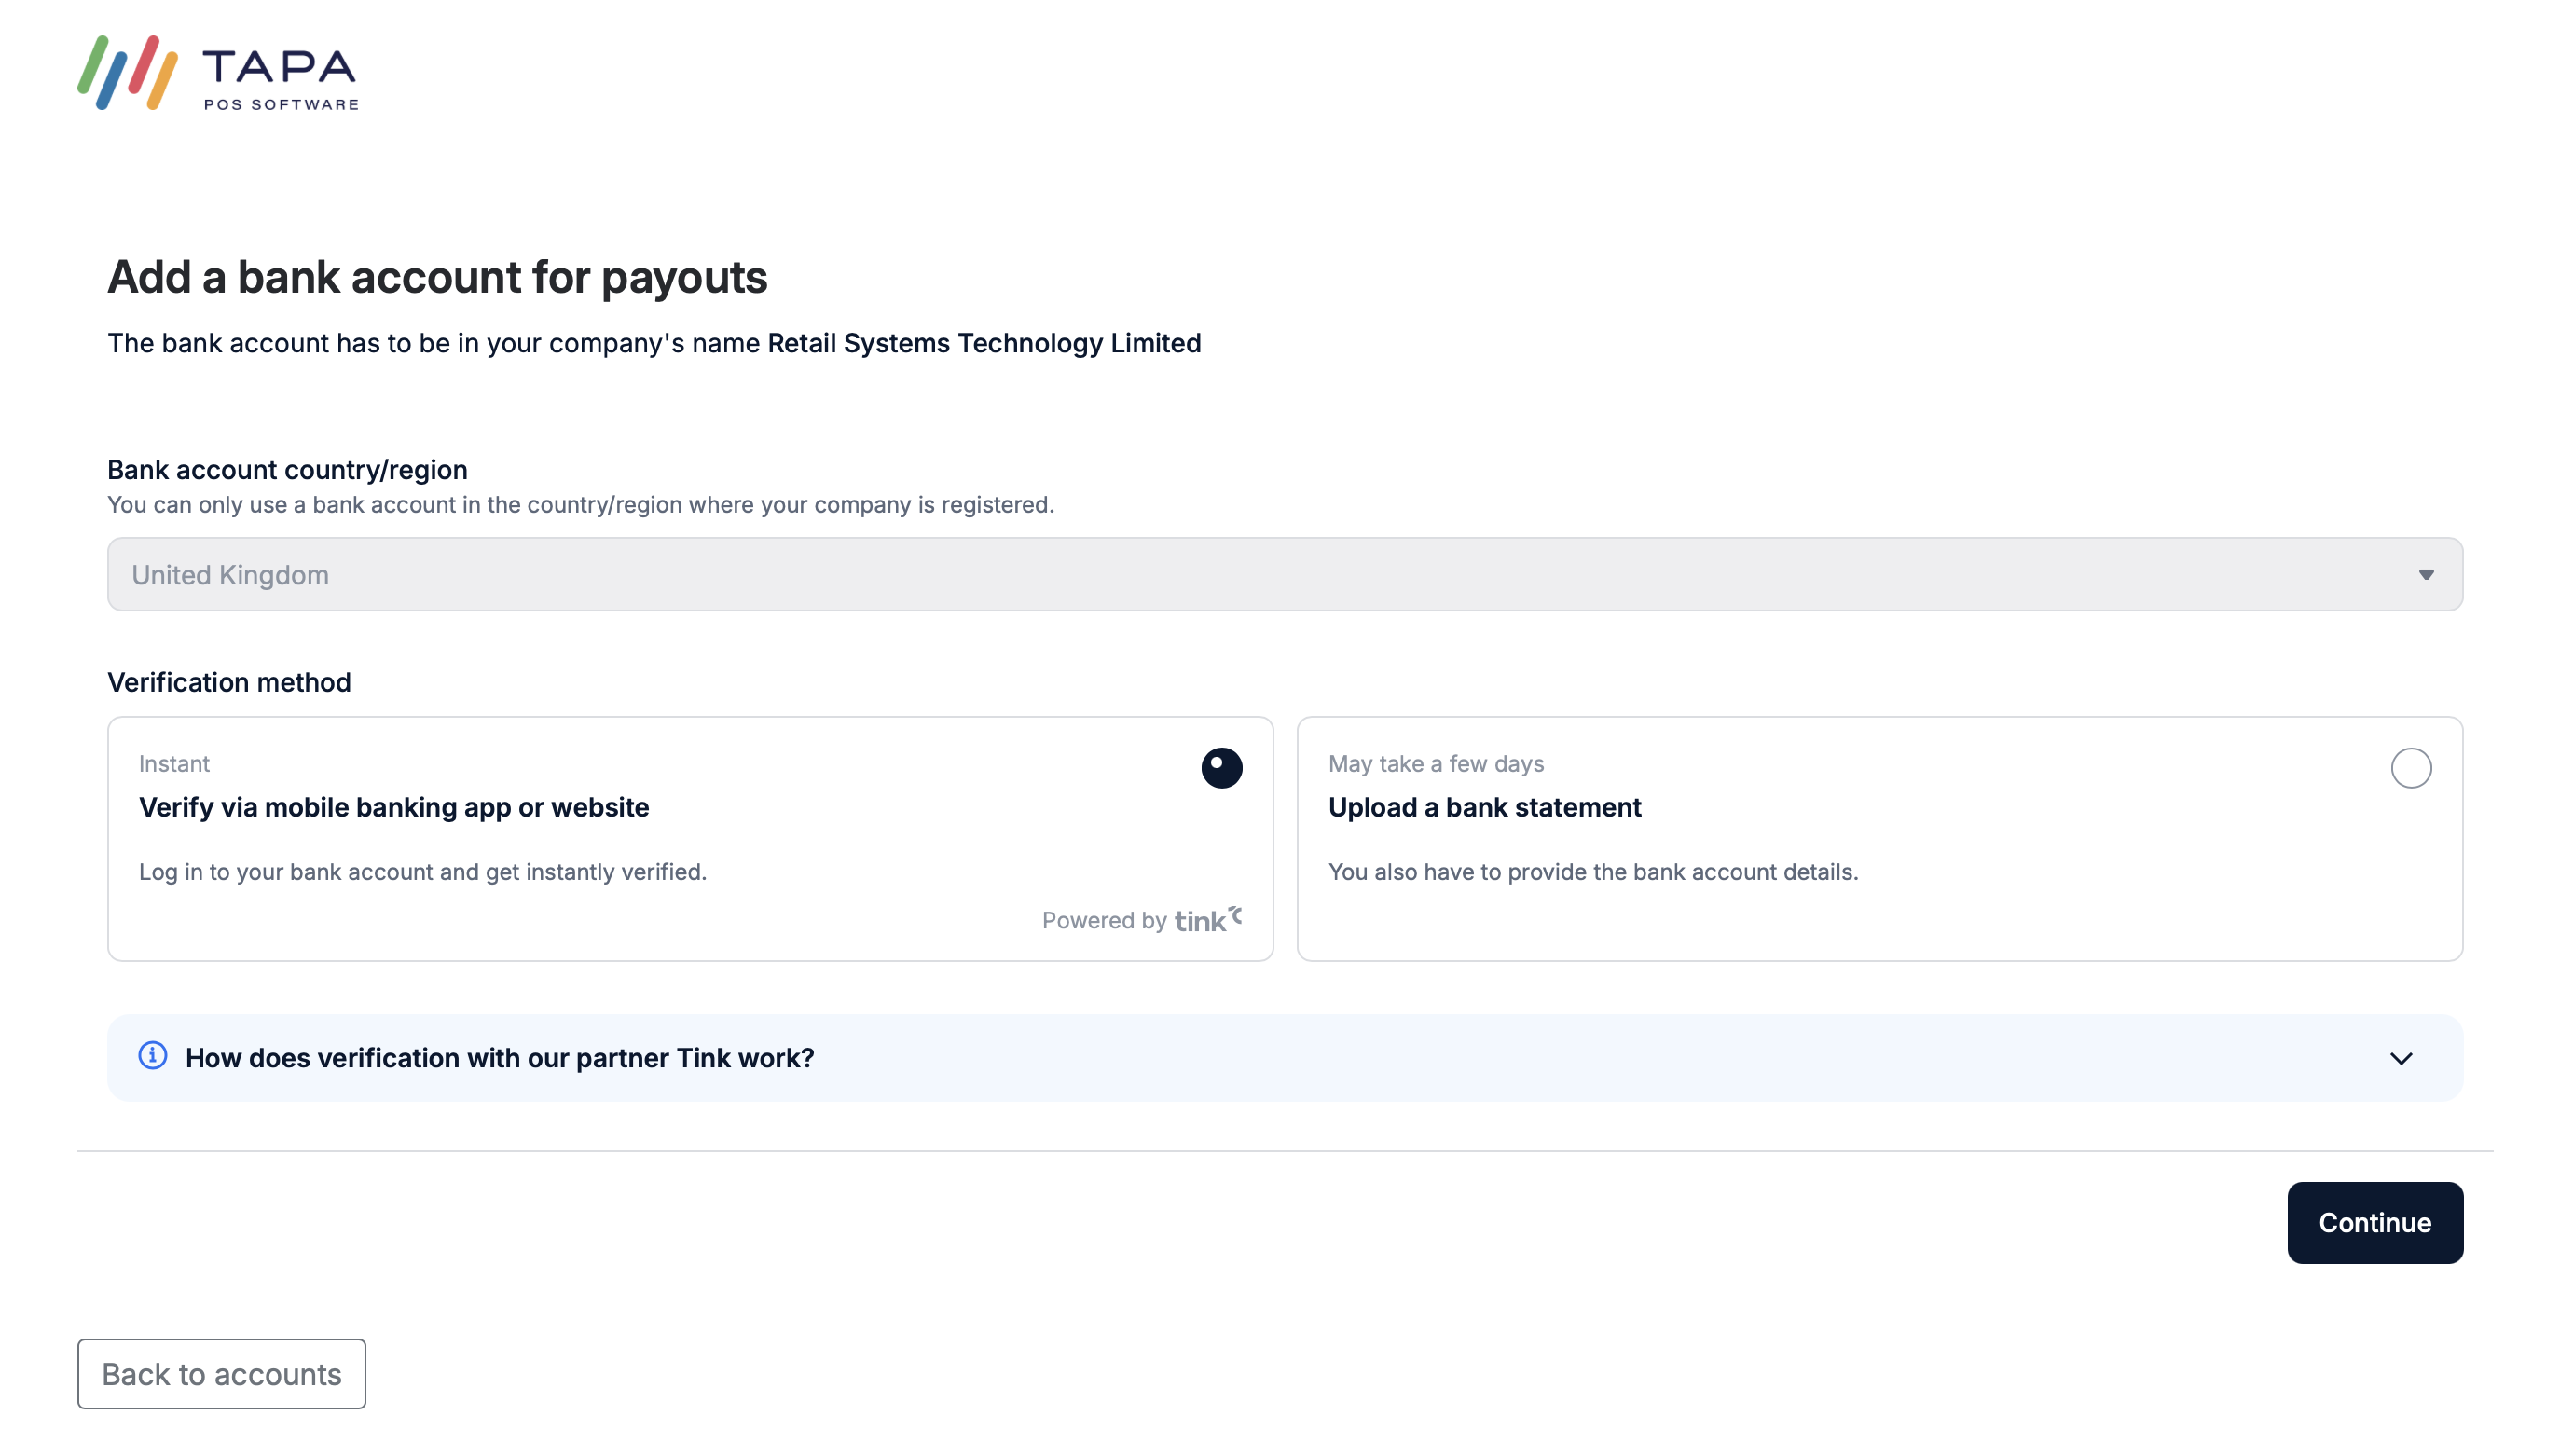
After the application is submitted, open the Bank details section and click Add bank account.

Step 14. Choose the verification method
Select either Verify via mobile banking app or website for instant verification, or Upload a bank statement if the customer cannot use the app route.
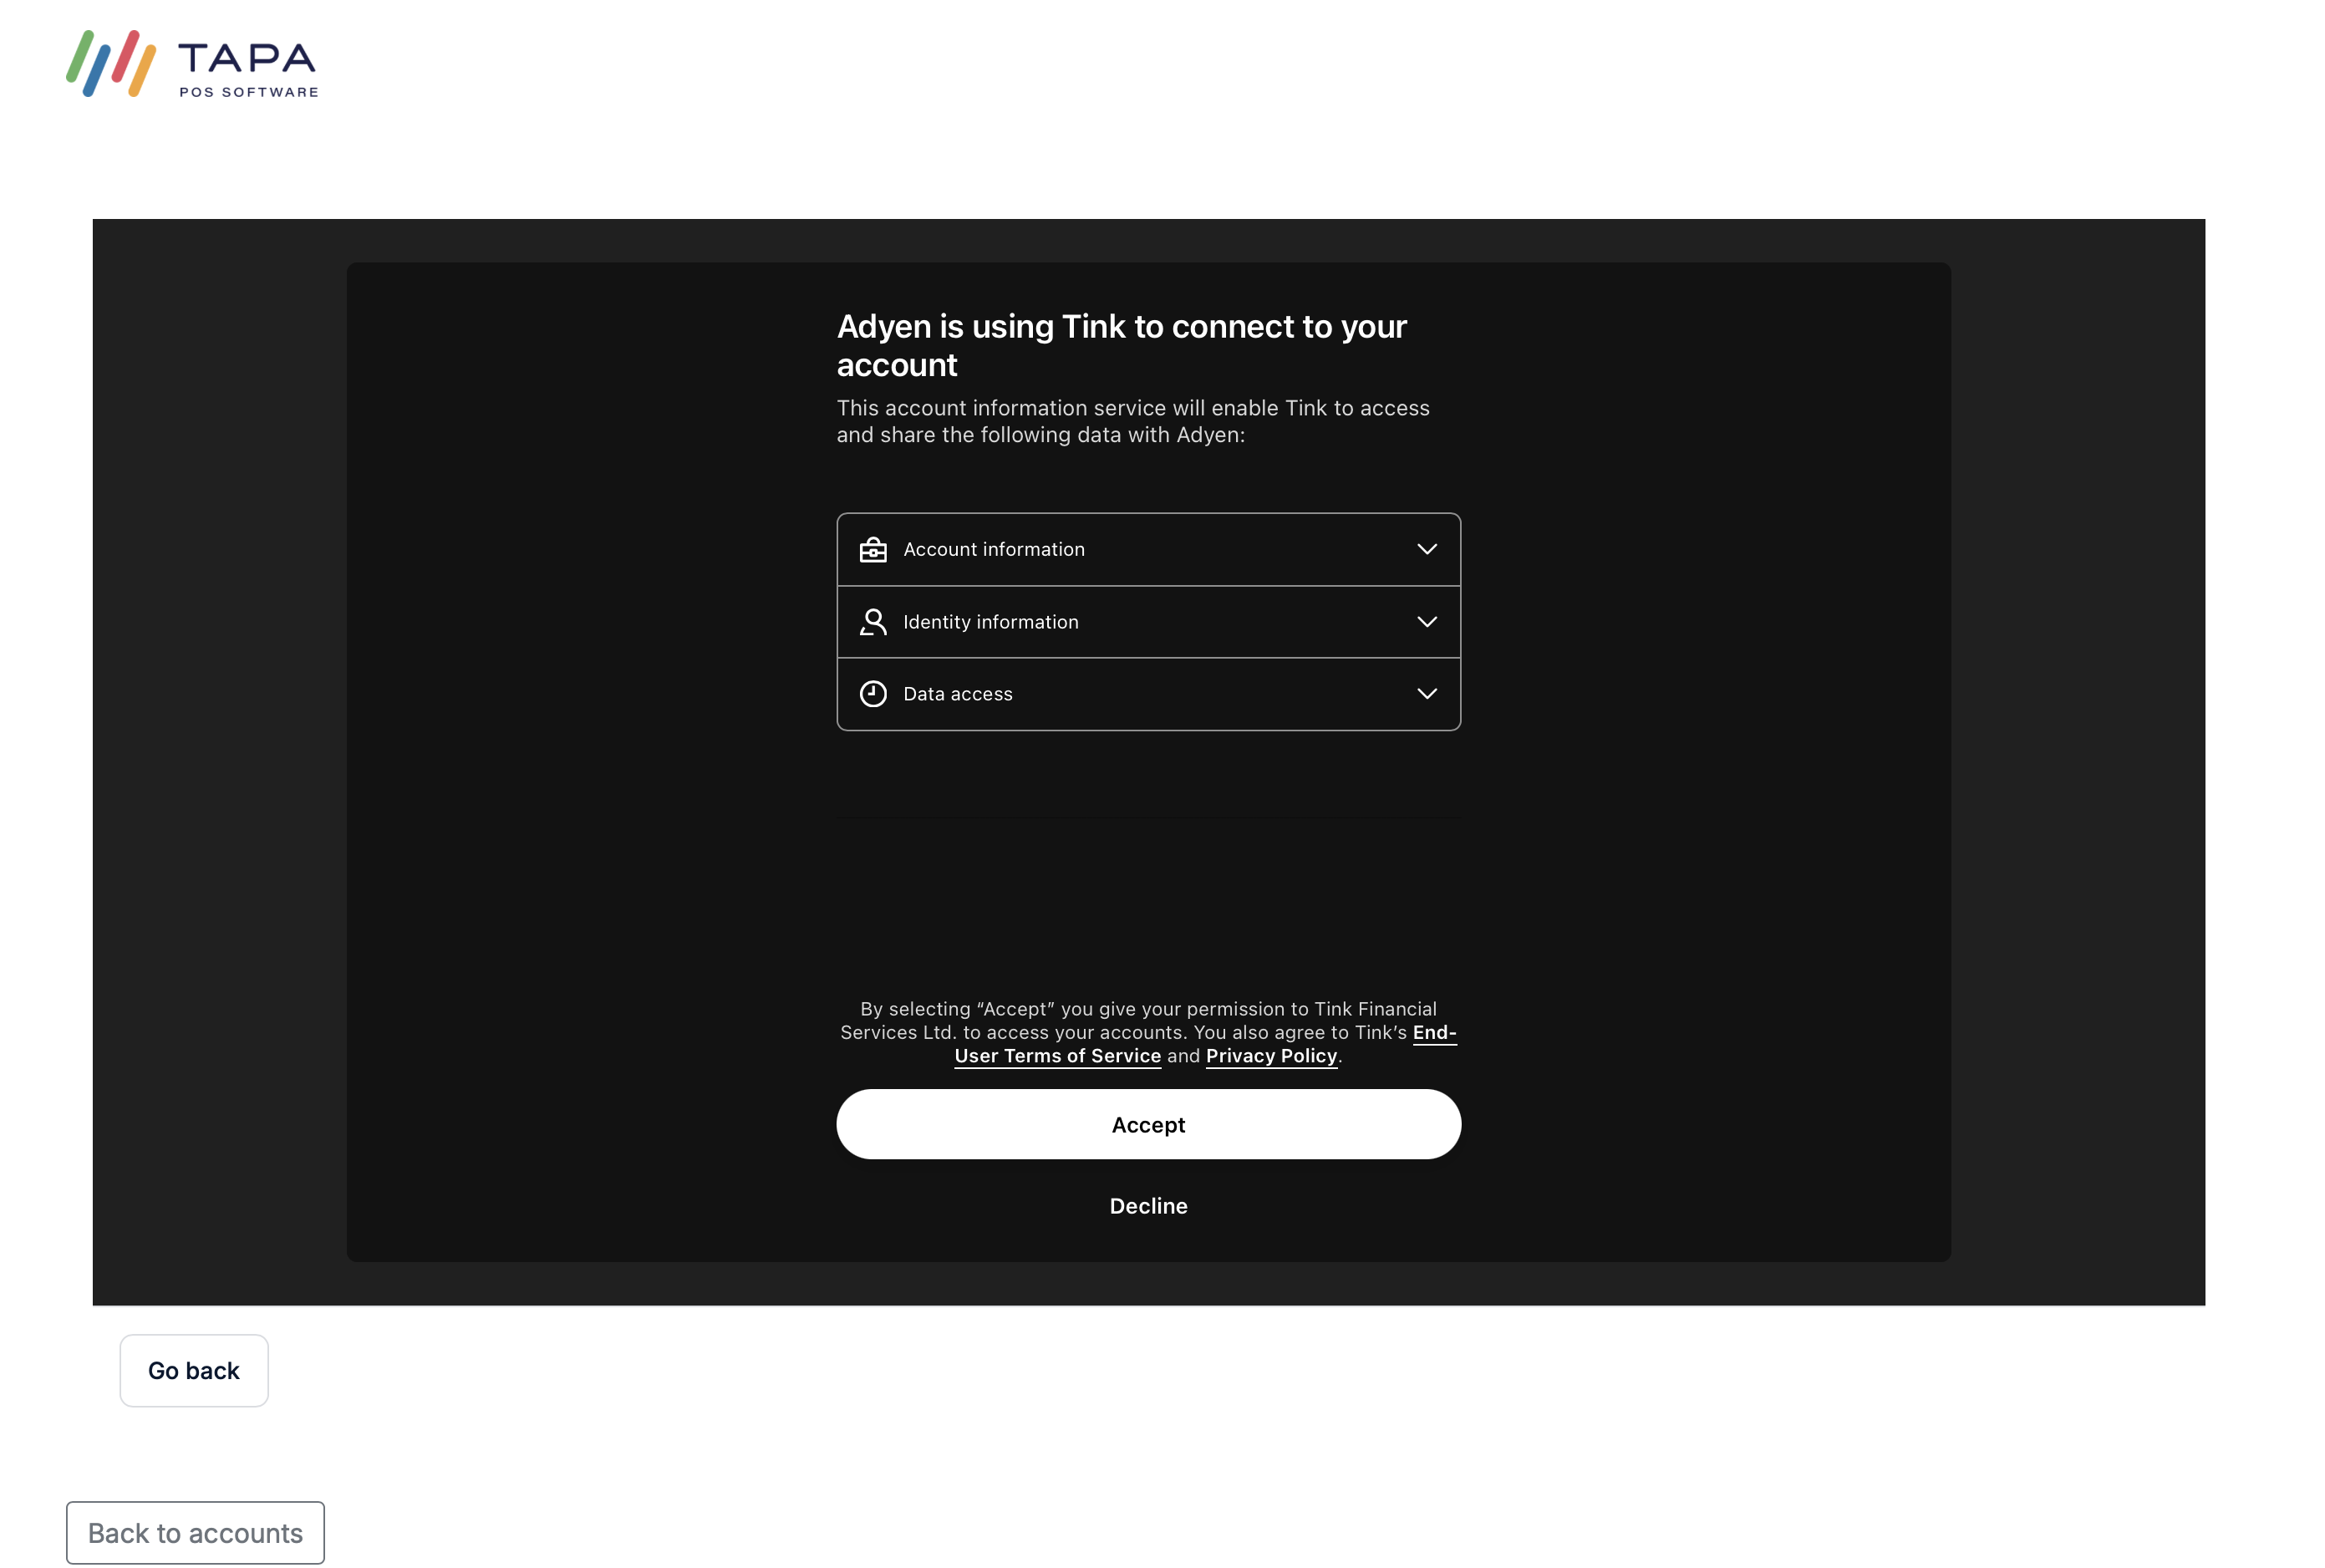
Step 15. Allow access to the banking app using Tink
Review the Tink consent screen and click Accept to allow the secure bank connection.
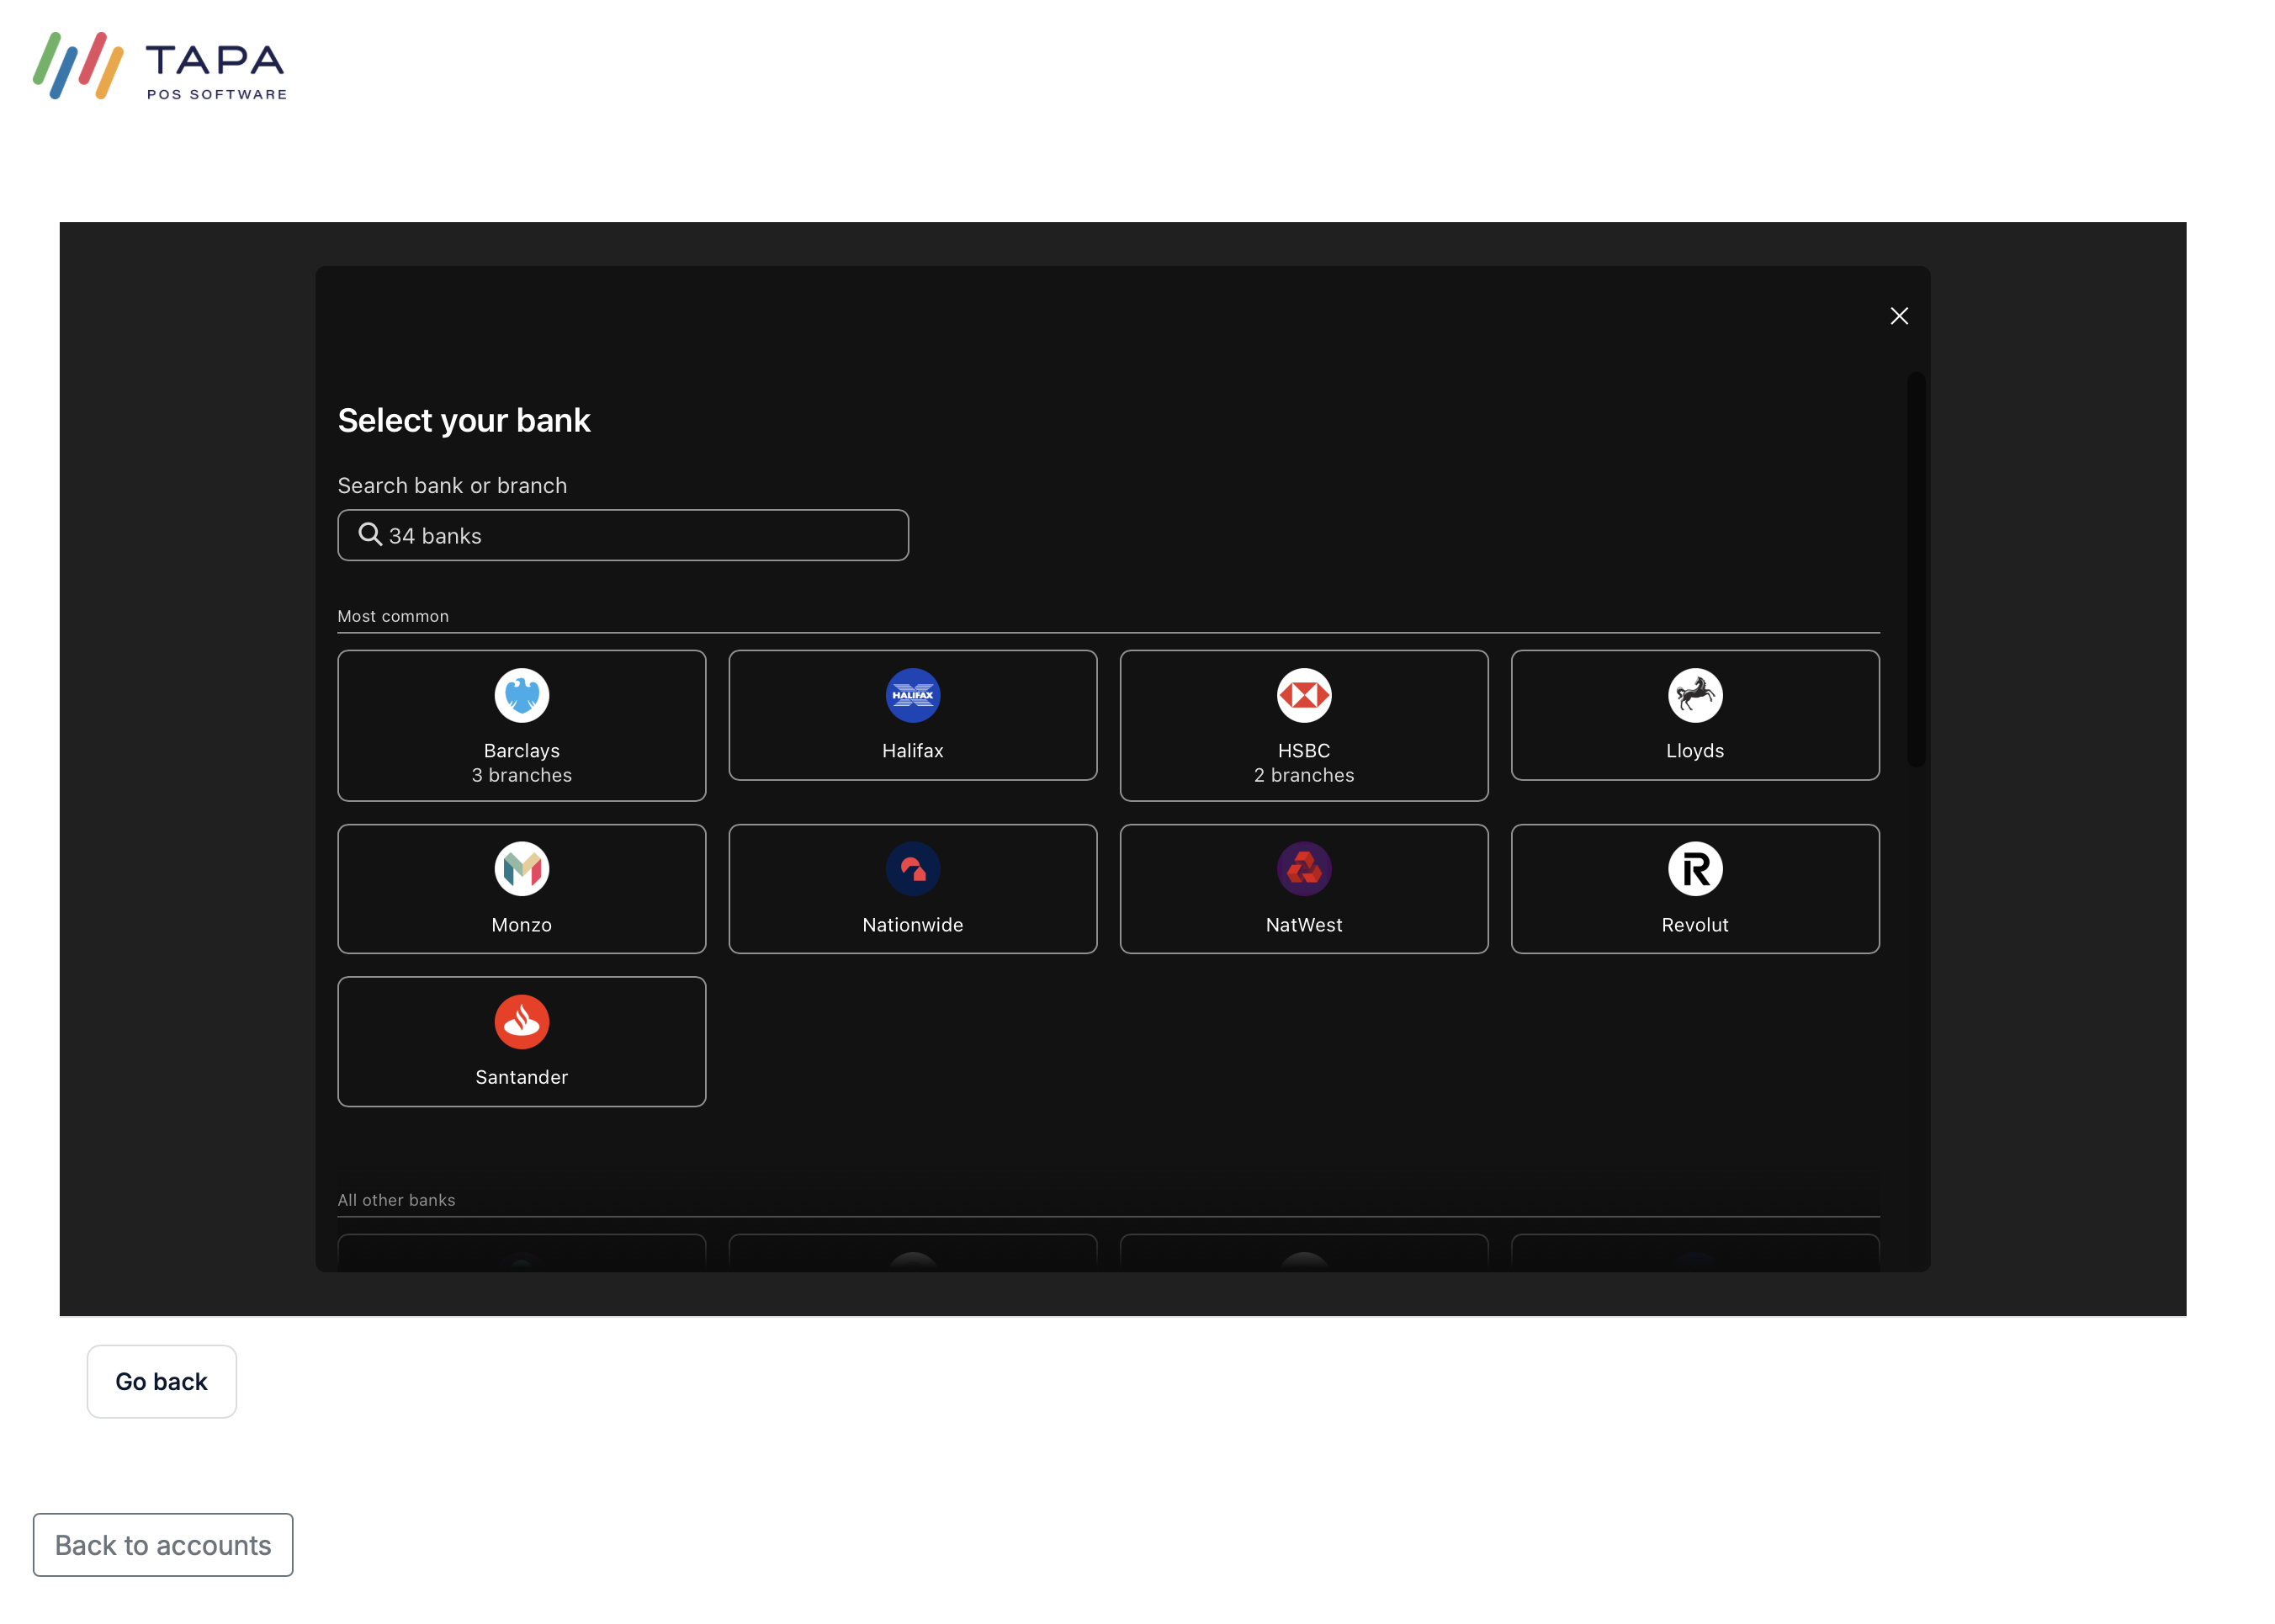
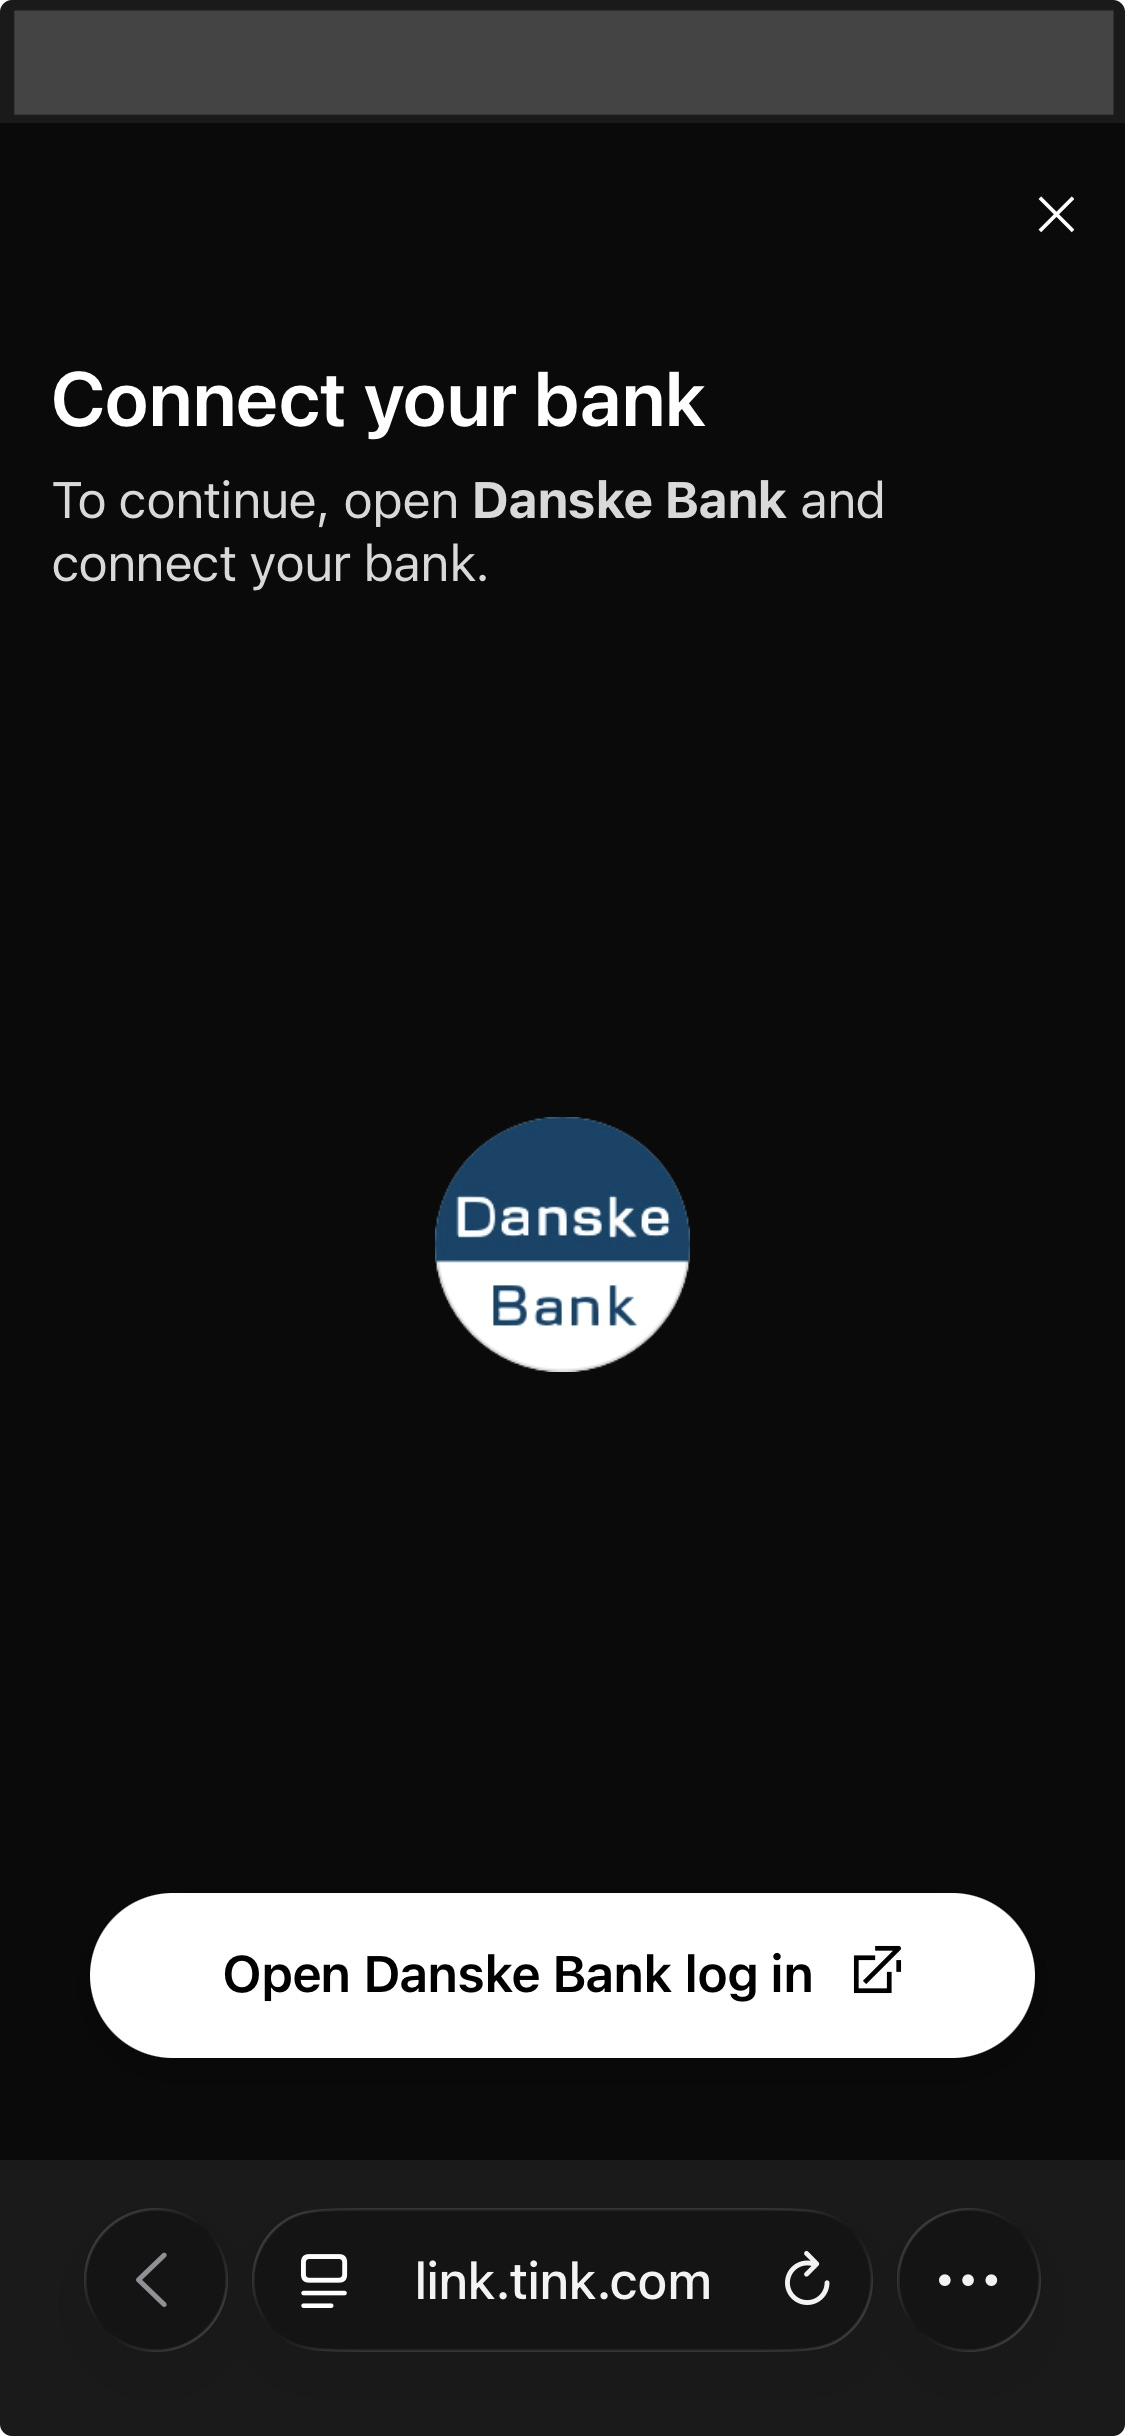
Next, choose the customer's bank from the list shown by the bank connection flow.
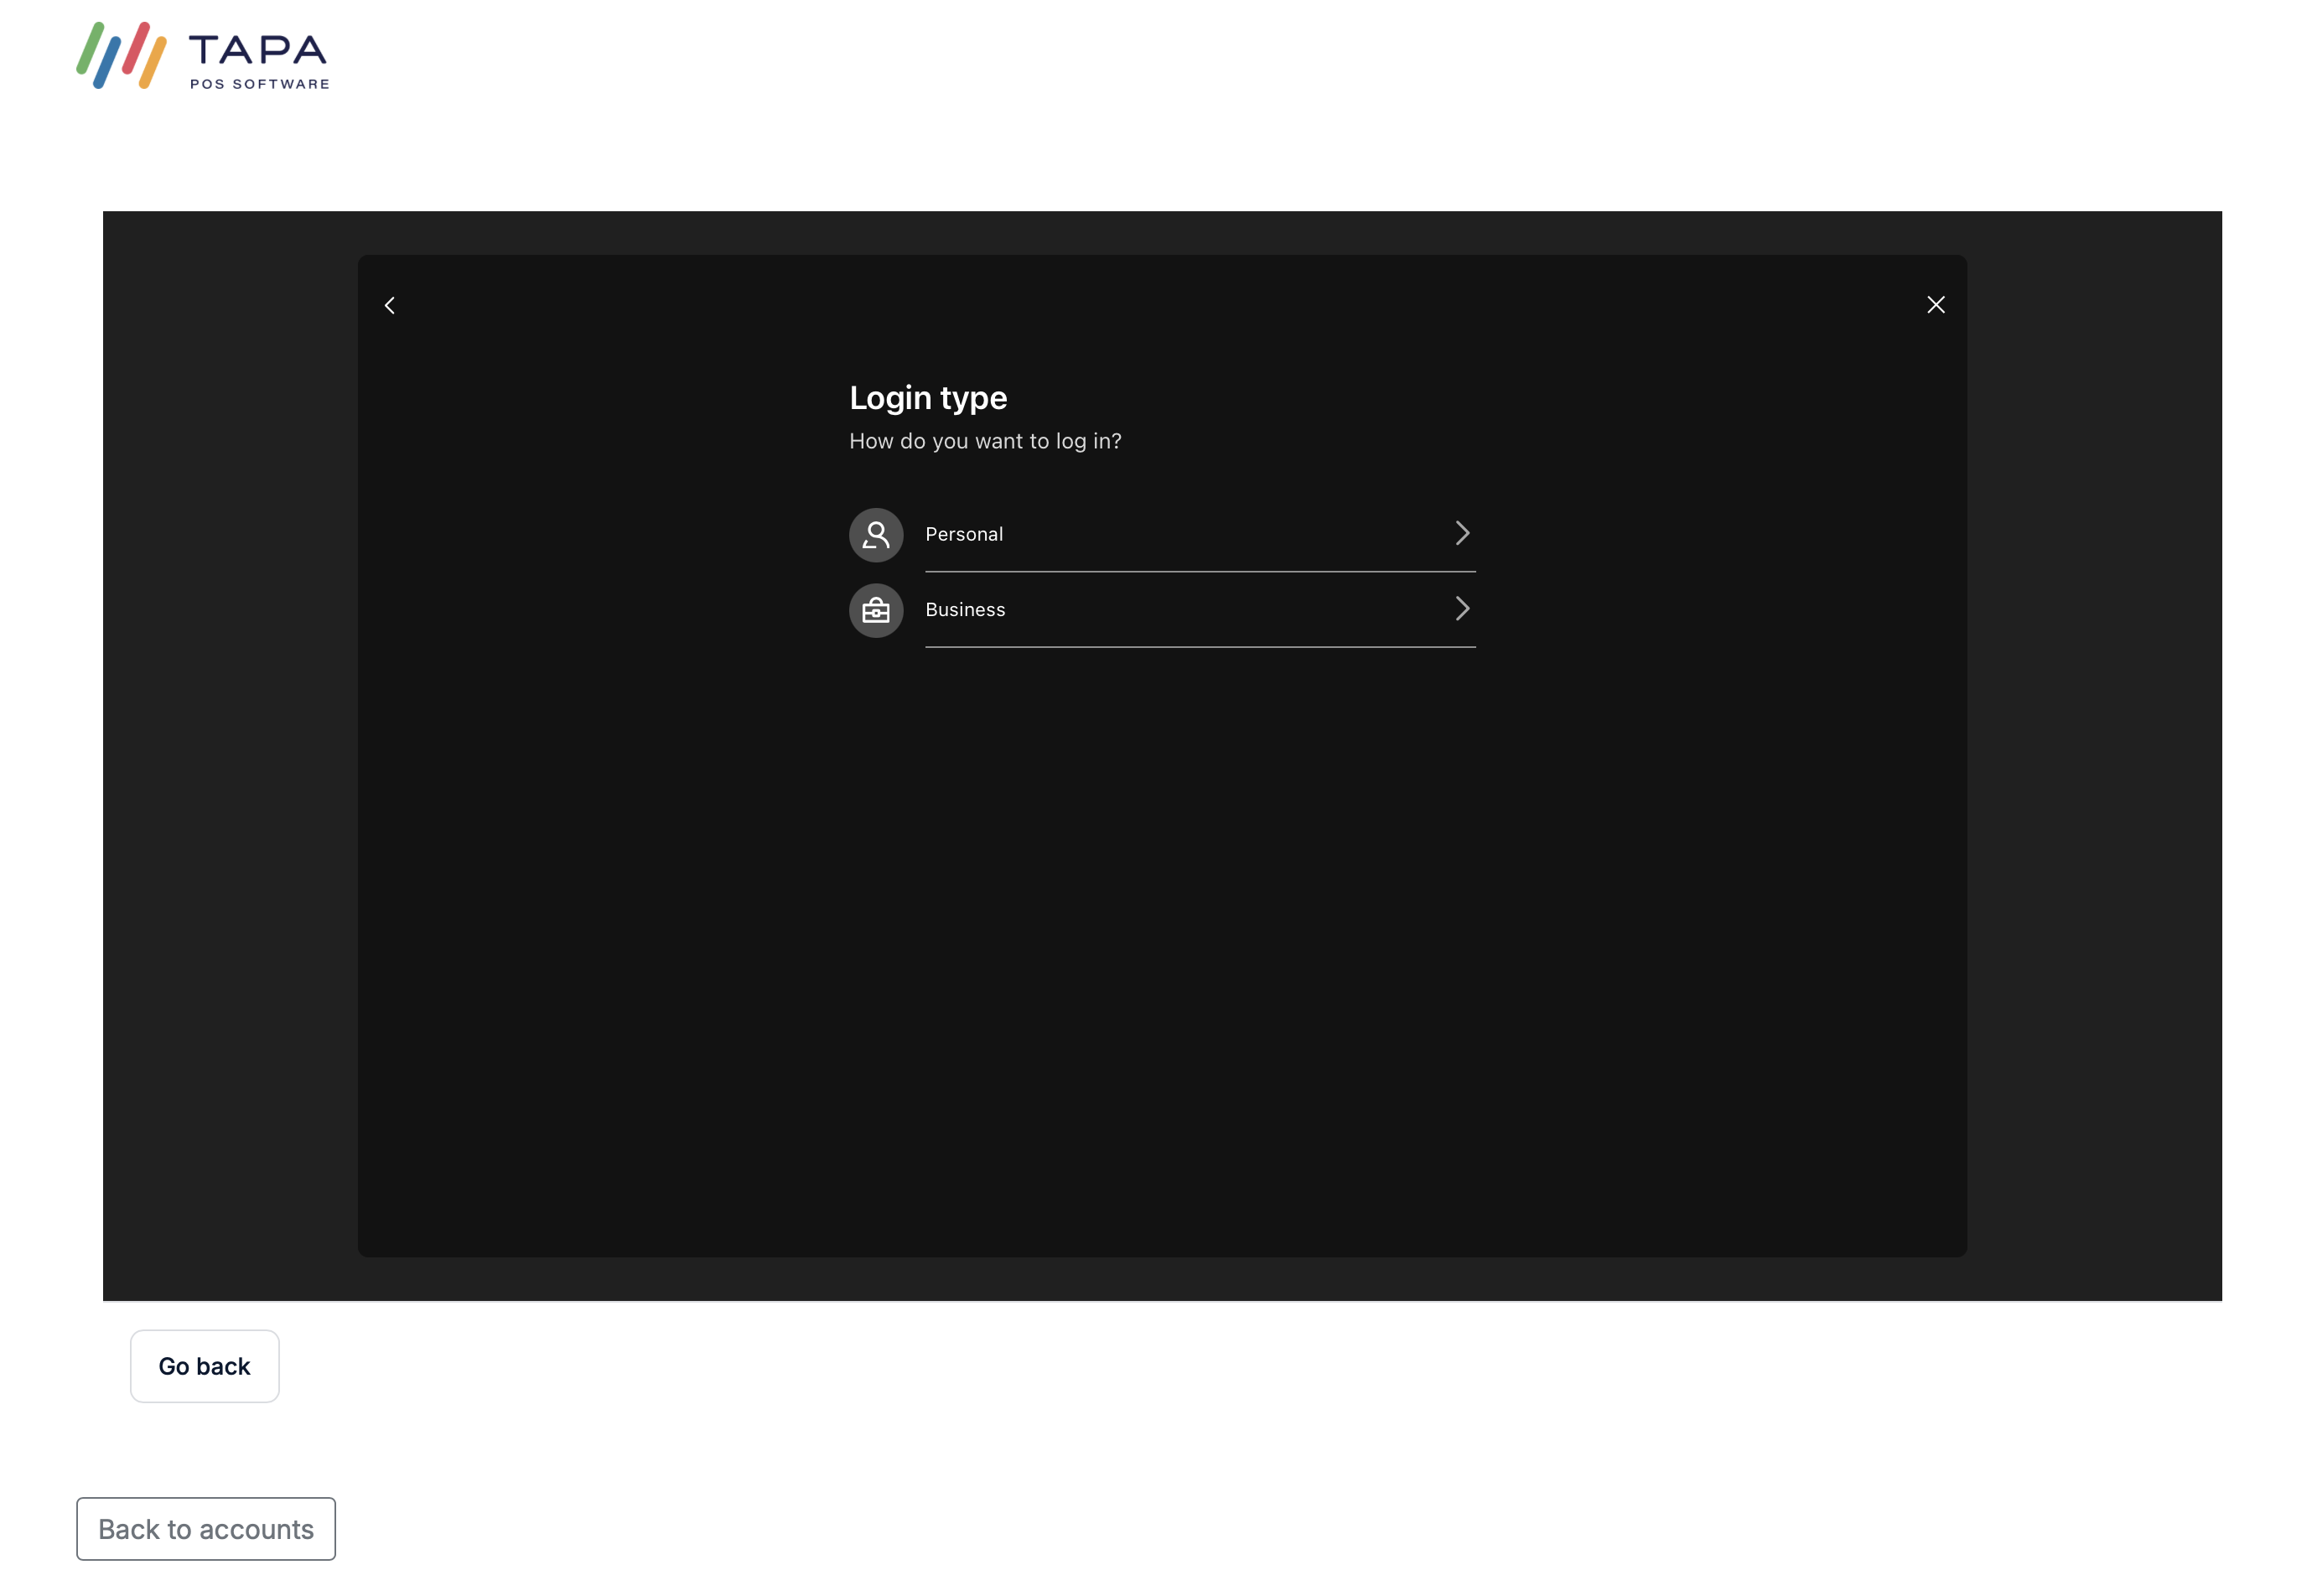
Then choose the account type shown, such as Personal or Business.
On their mobile device scan the QR code to open the mobile banking app so Tink can begin the secure bank connection.
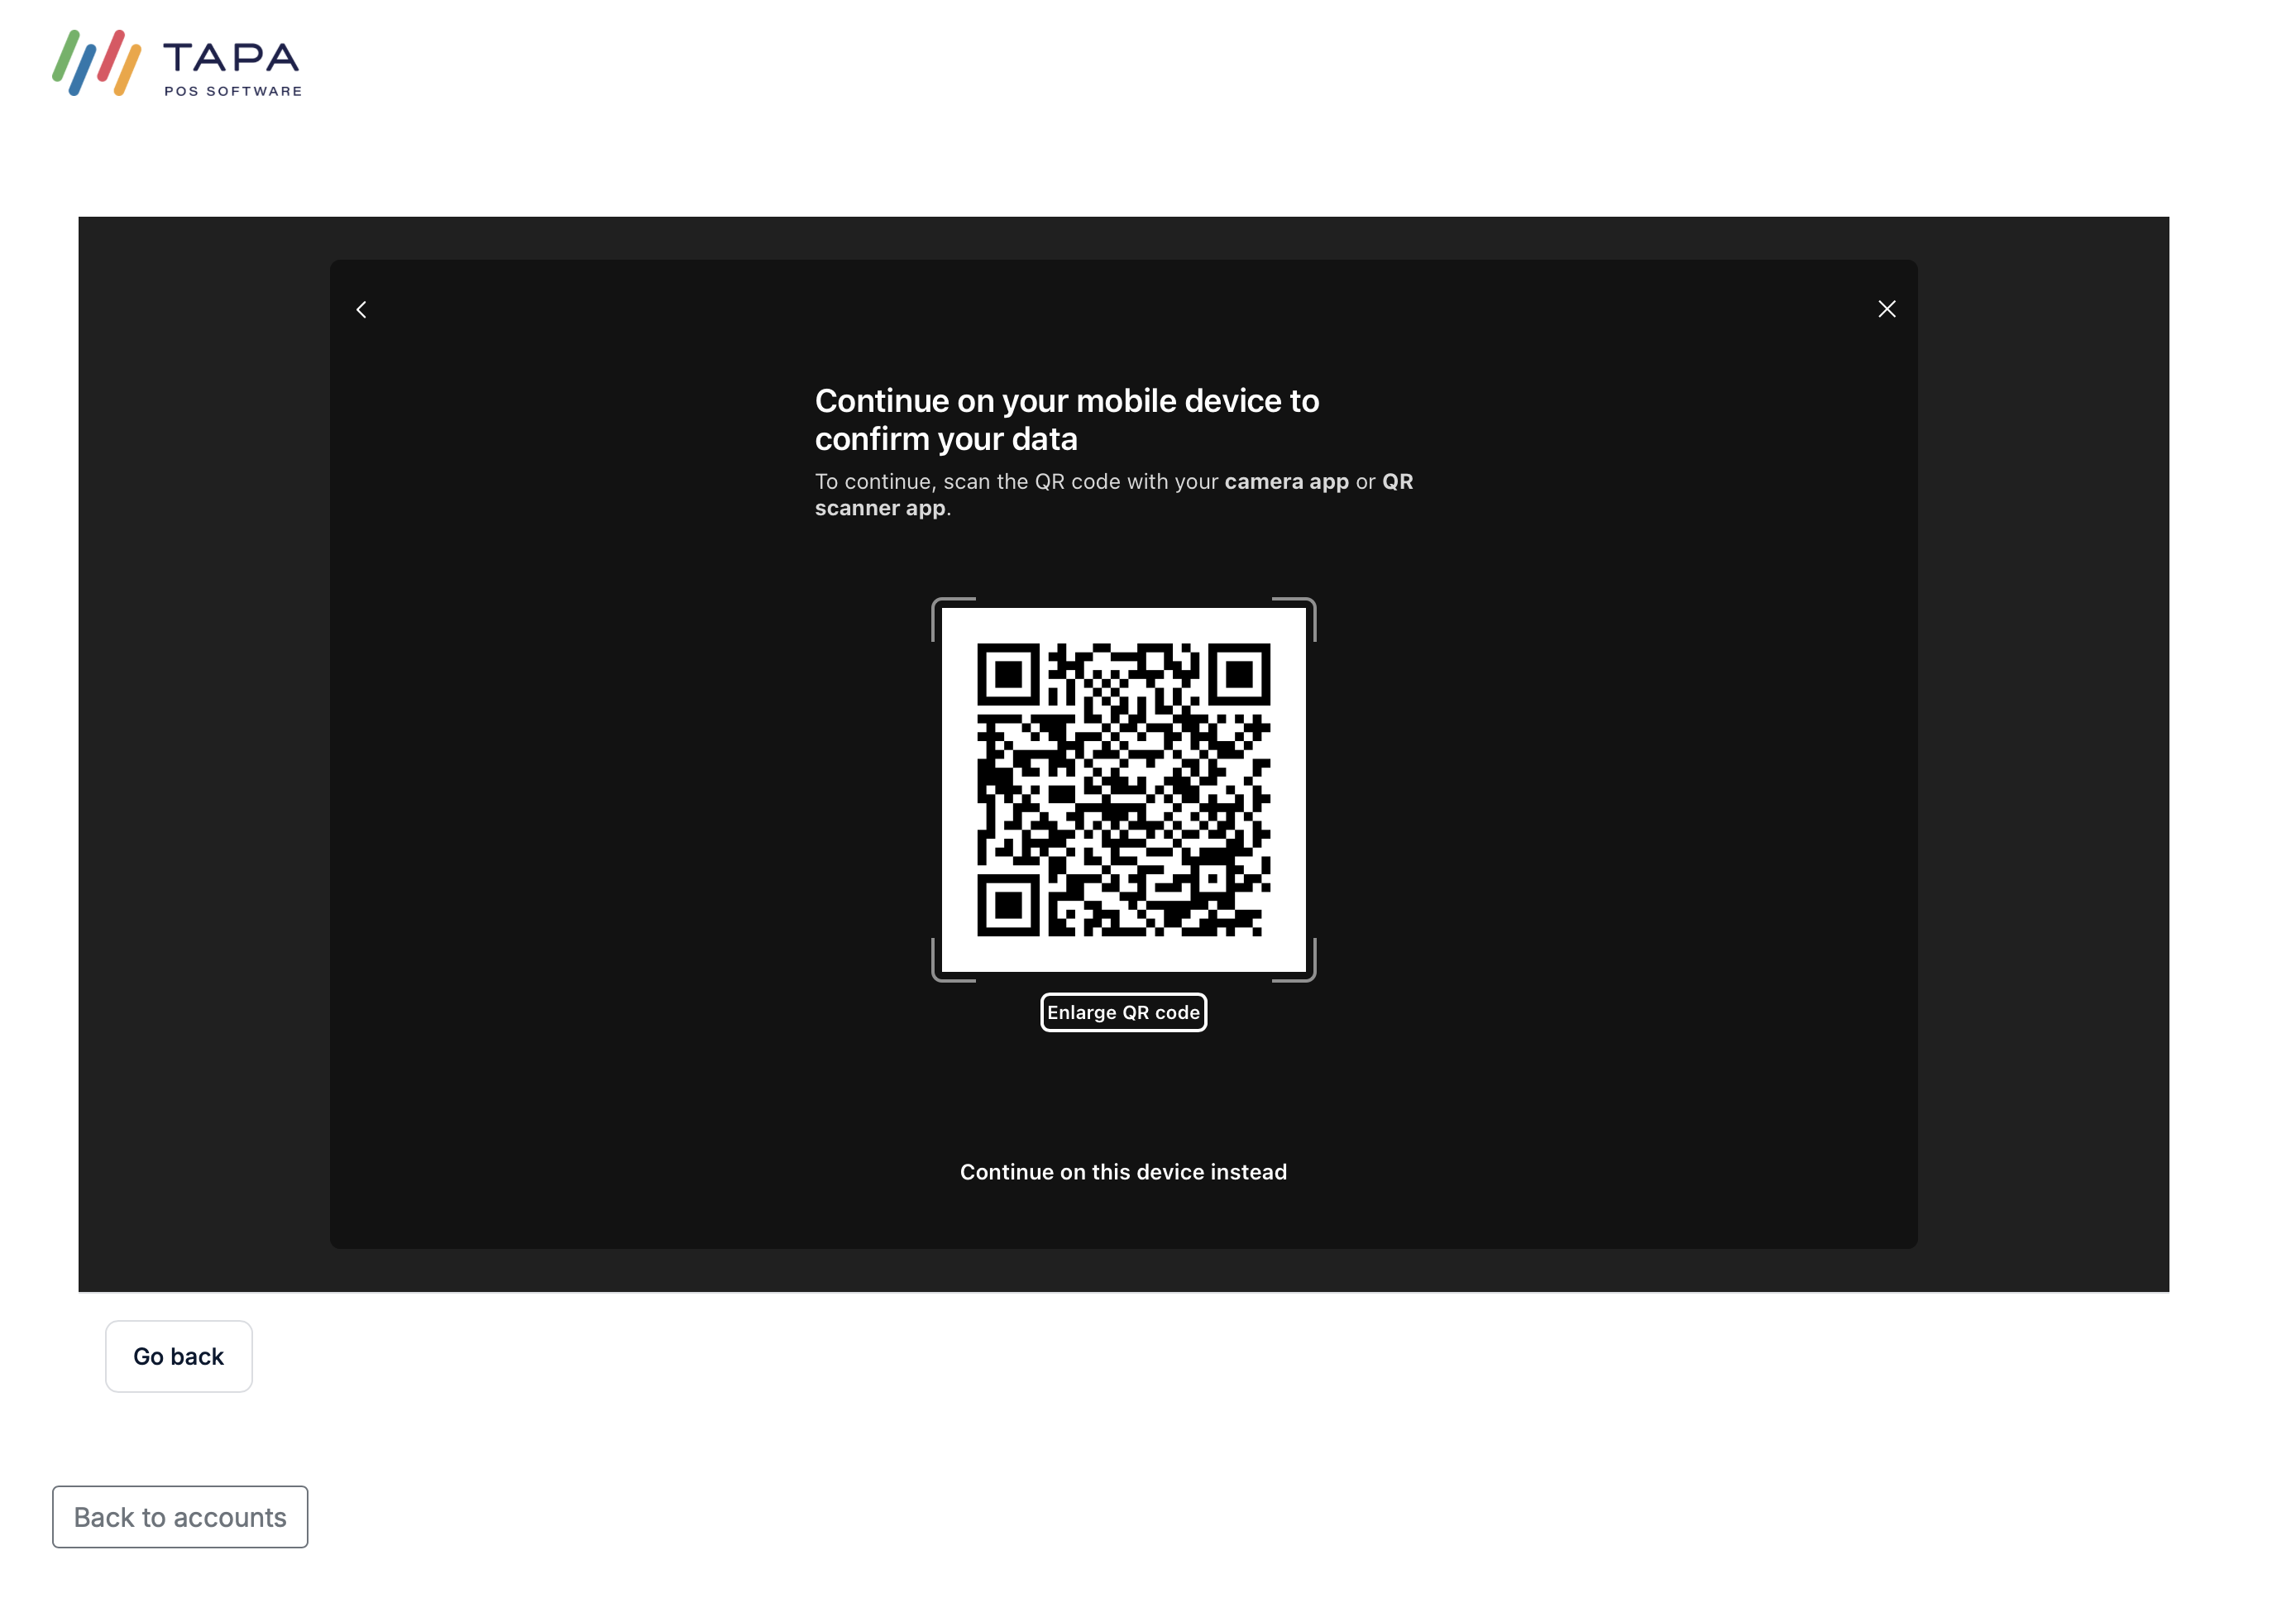
The customer is then shown the bank connection screen and must open their bank login or banking app on their phone to complete verification.
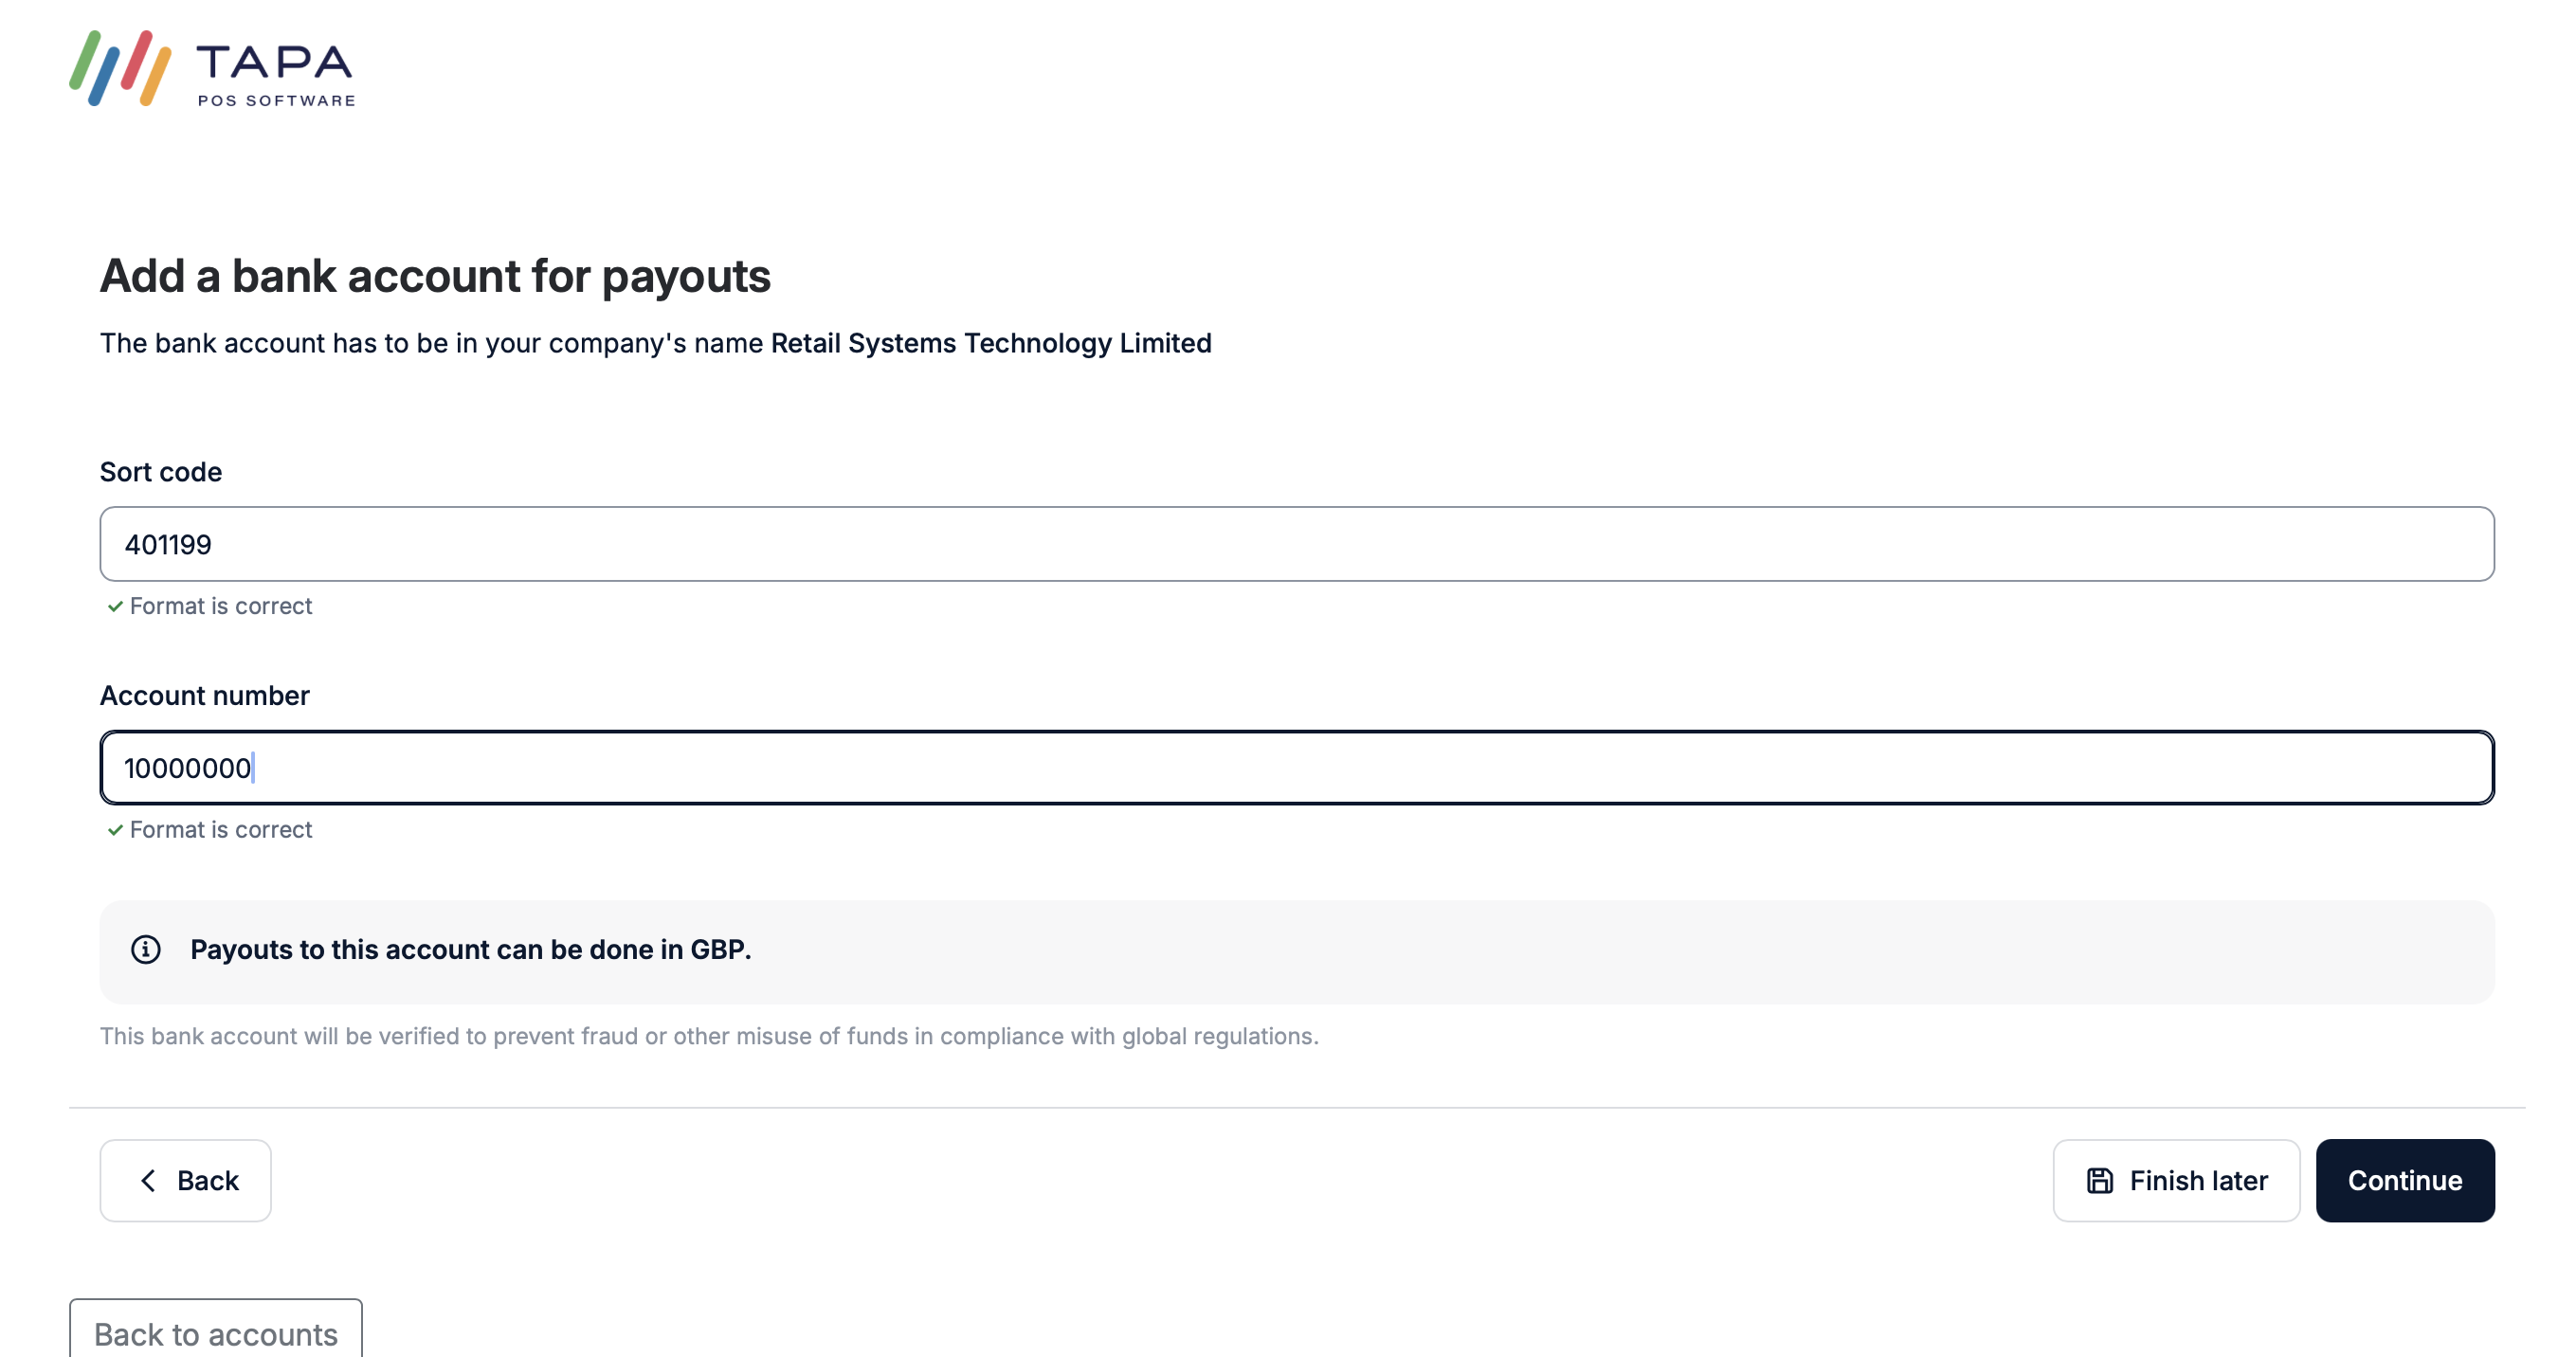
Step 16. Add the bank account manually if needed
If using the document route, enter the payout bank account details such as sort code and account number, then continue.
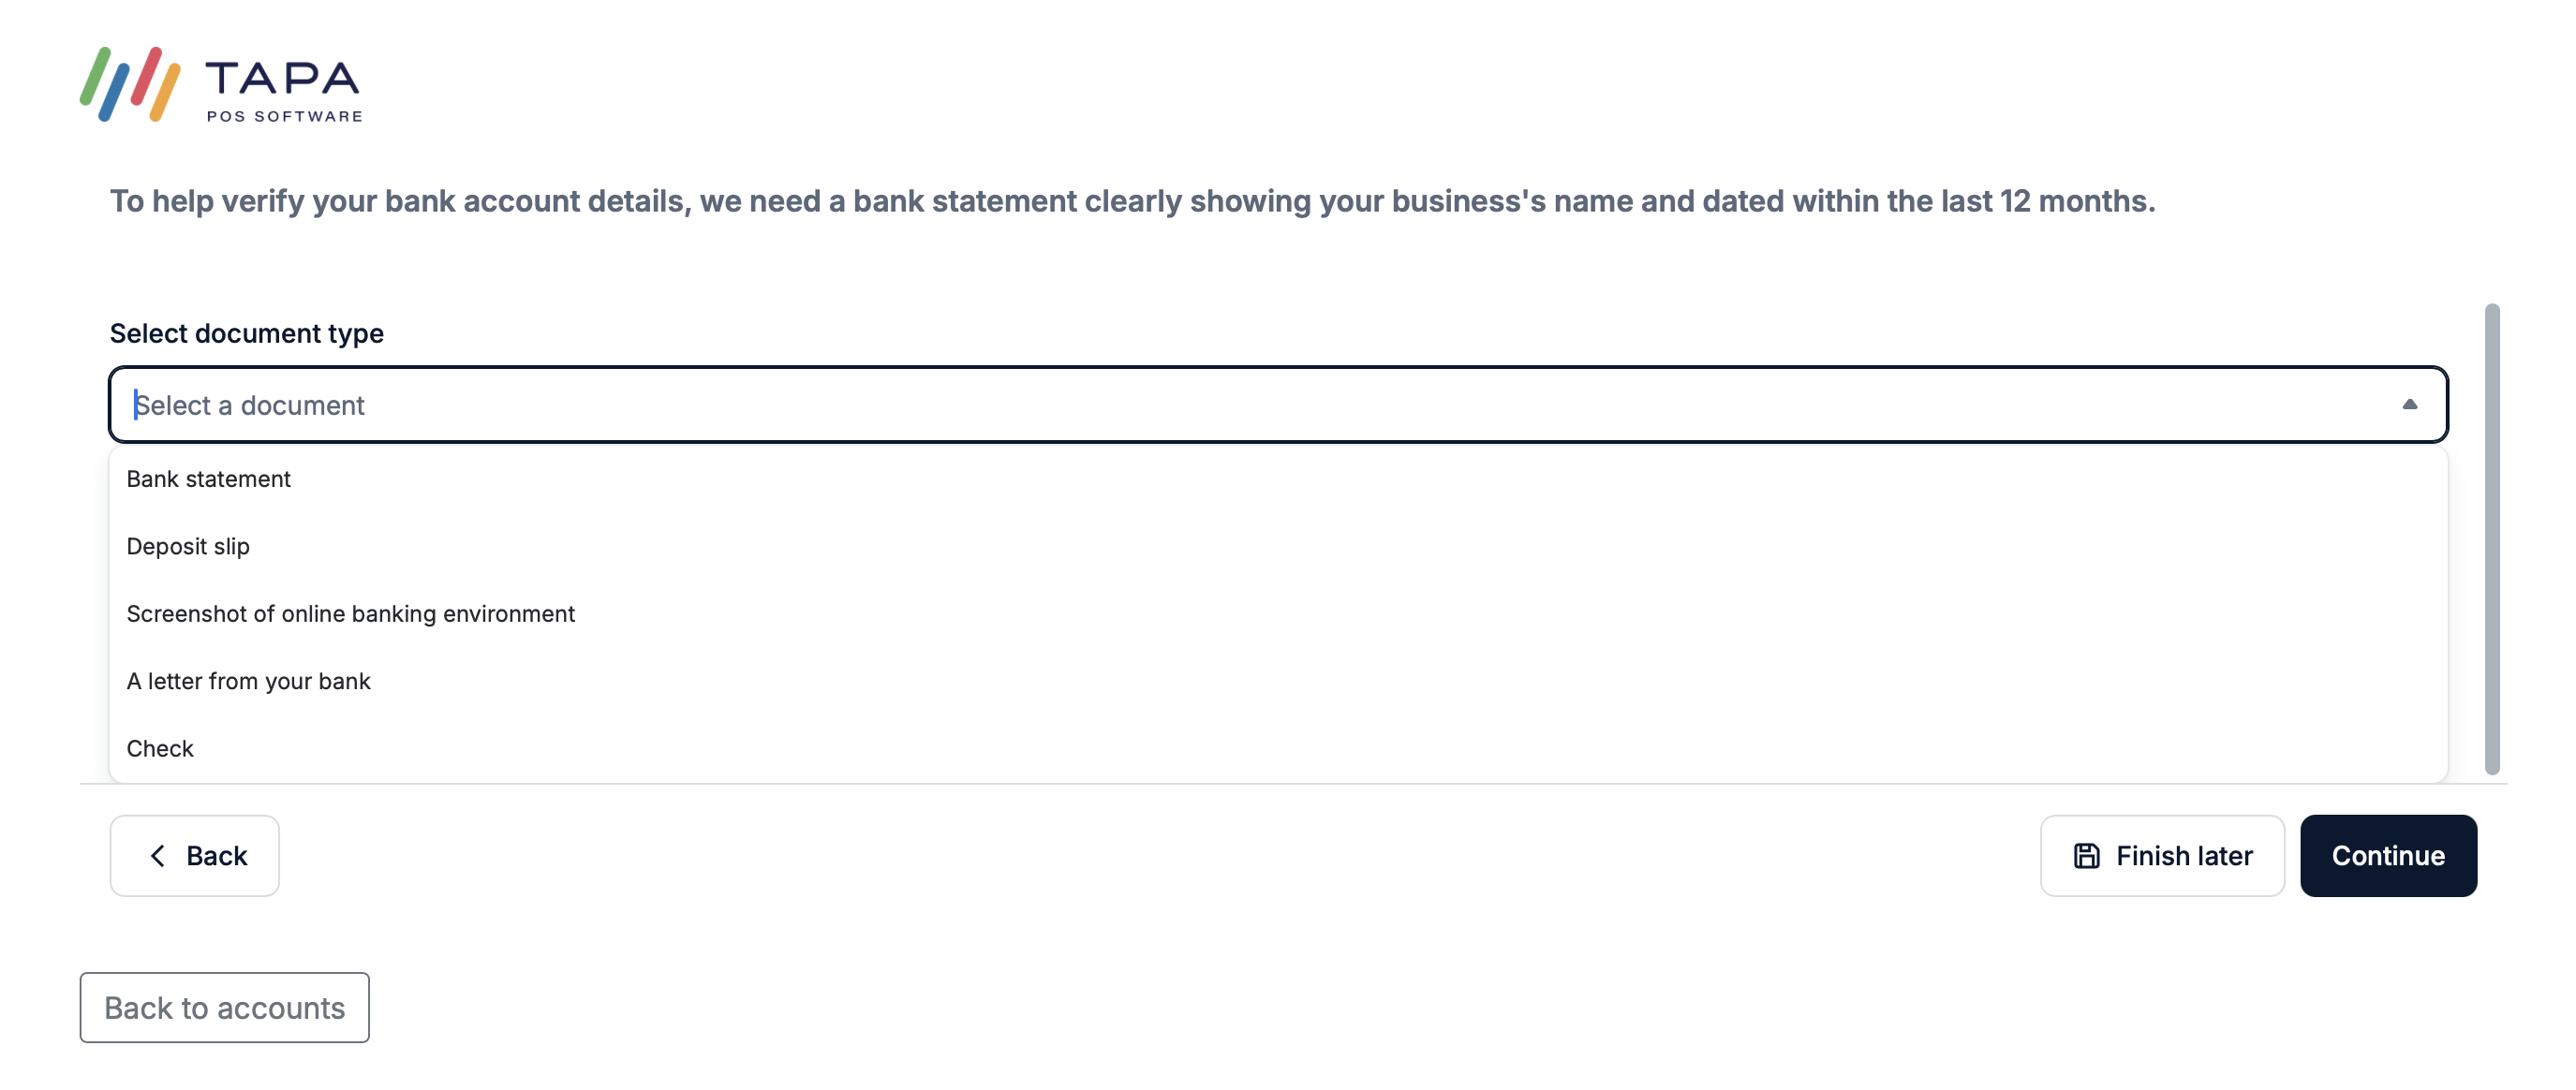
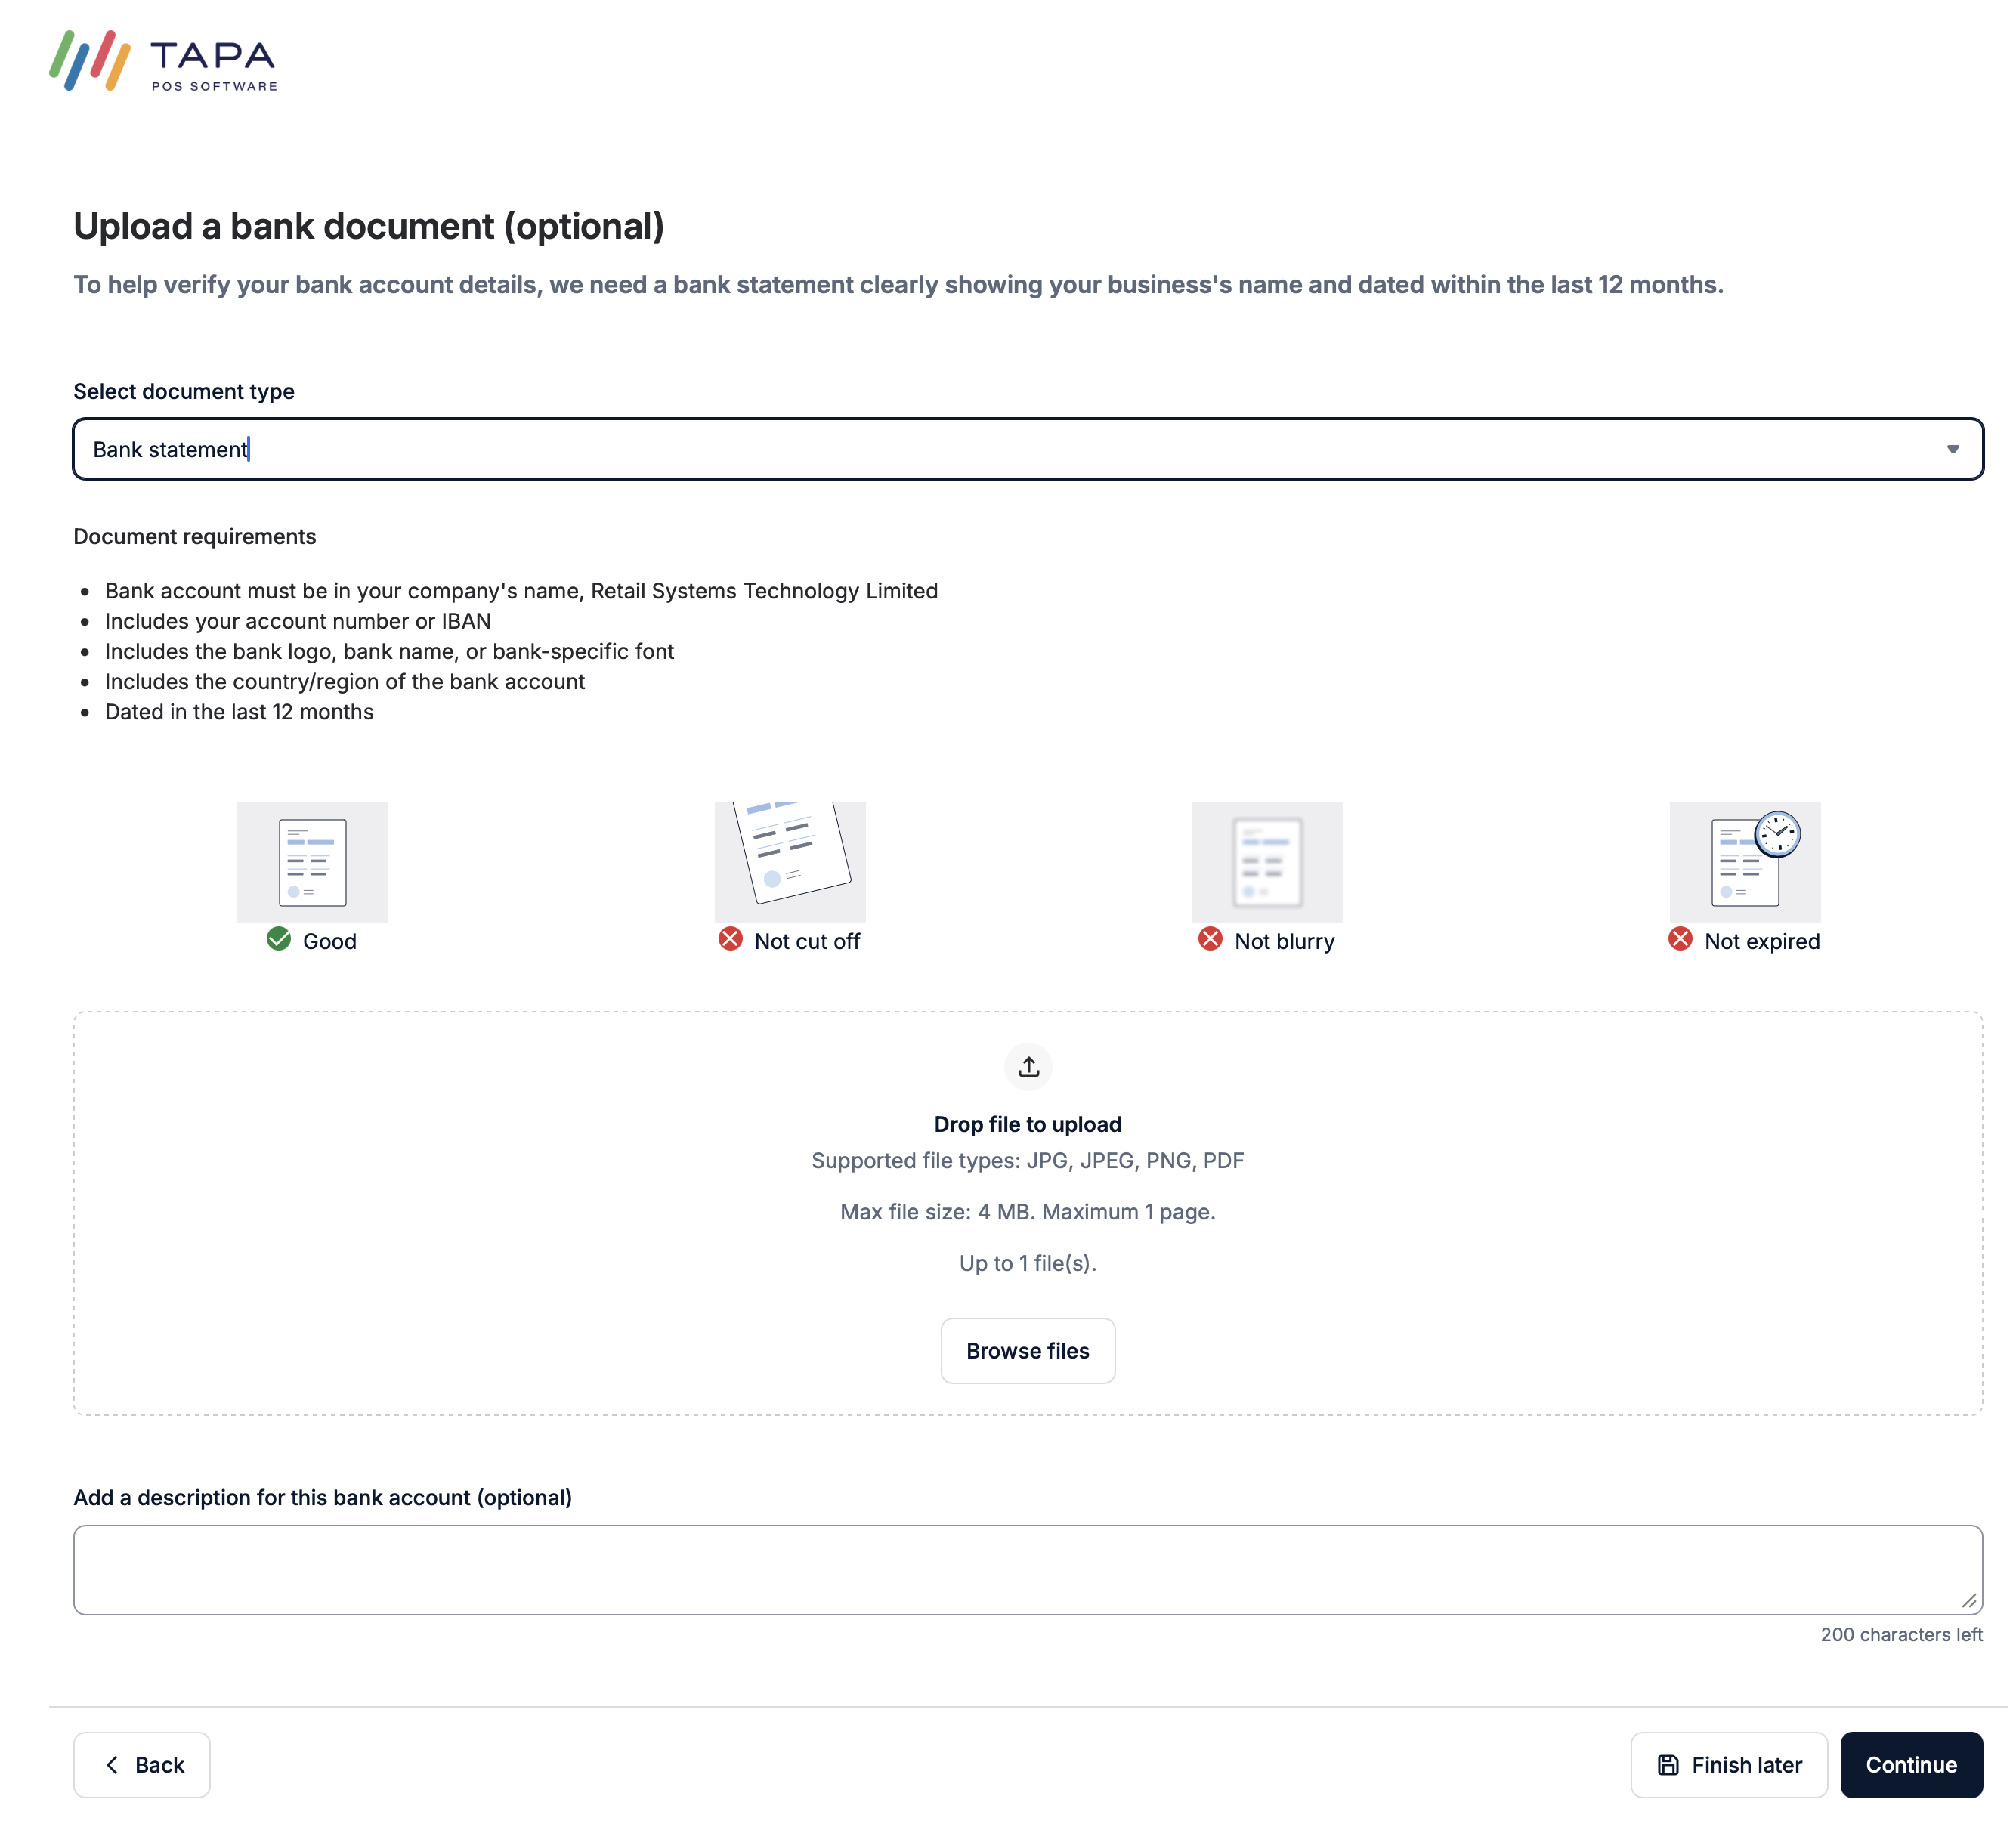
Step 17. Choose the document type
Select the bank document type being uploaded. A bank statement is usually the easiest option.
Step 18. Upload the bank document
Upload a clear document that shows the business name, bank account details, and a recent date. The document must be readable and should usually be dated within the last 12 months.
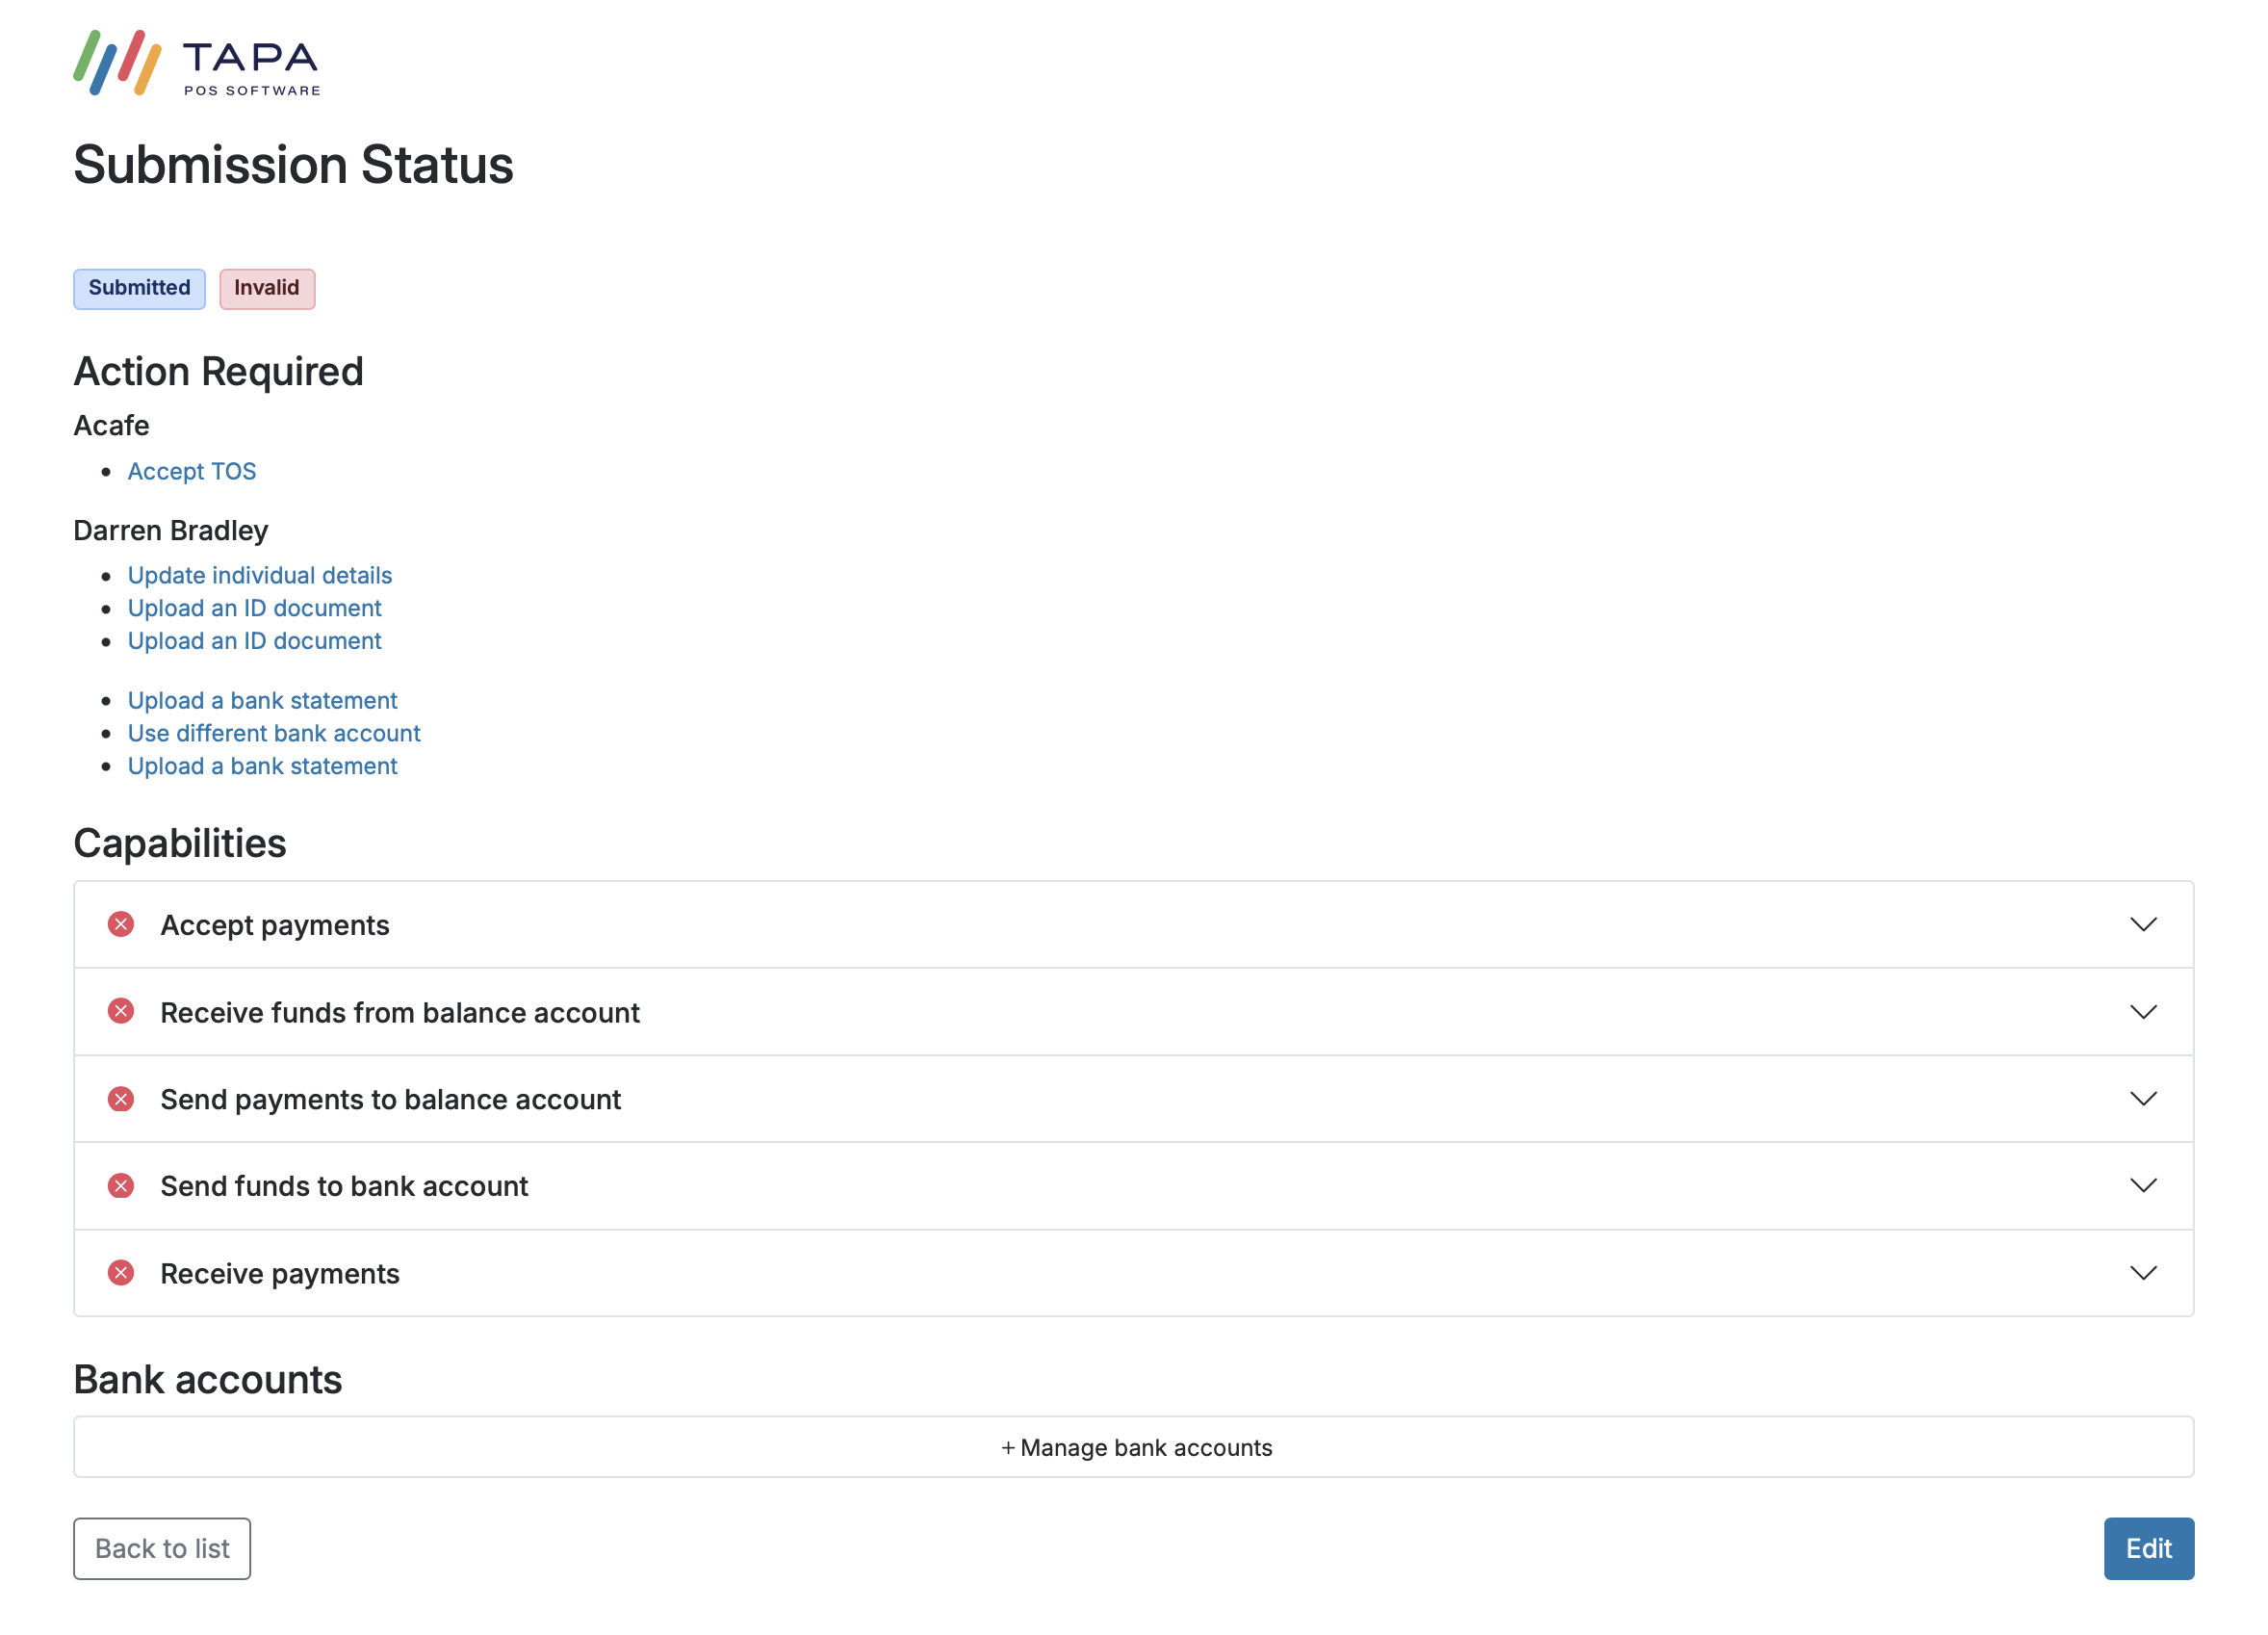
Step 19. Check the Submission Status page
After submission, review the Submission Status page. If anything is still outstanding, use the links under Action Required to complete each item.
This can include accepting terms and conditions, uploading a bank statement, using a different bank account, updating personal details, or uploading an ID document.
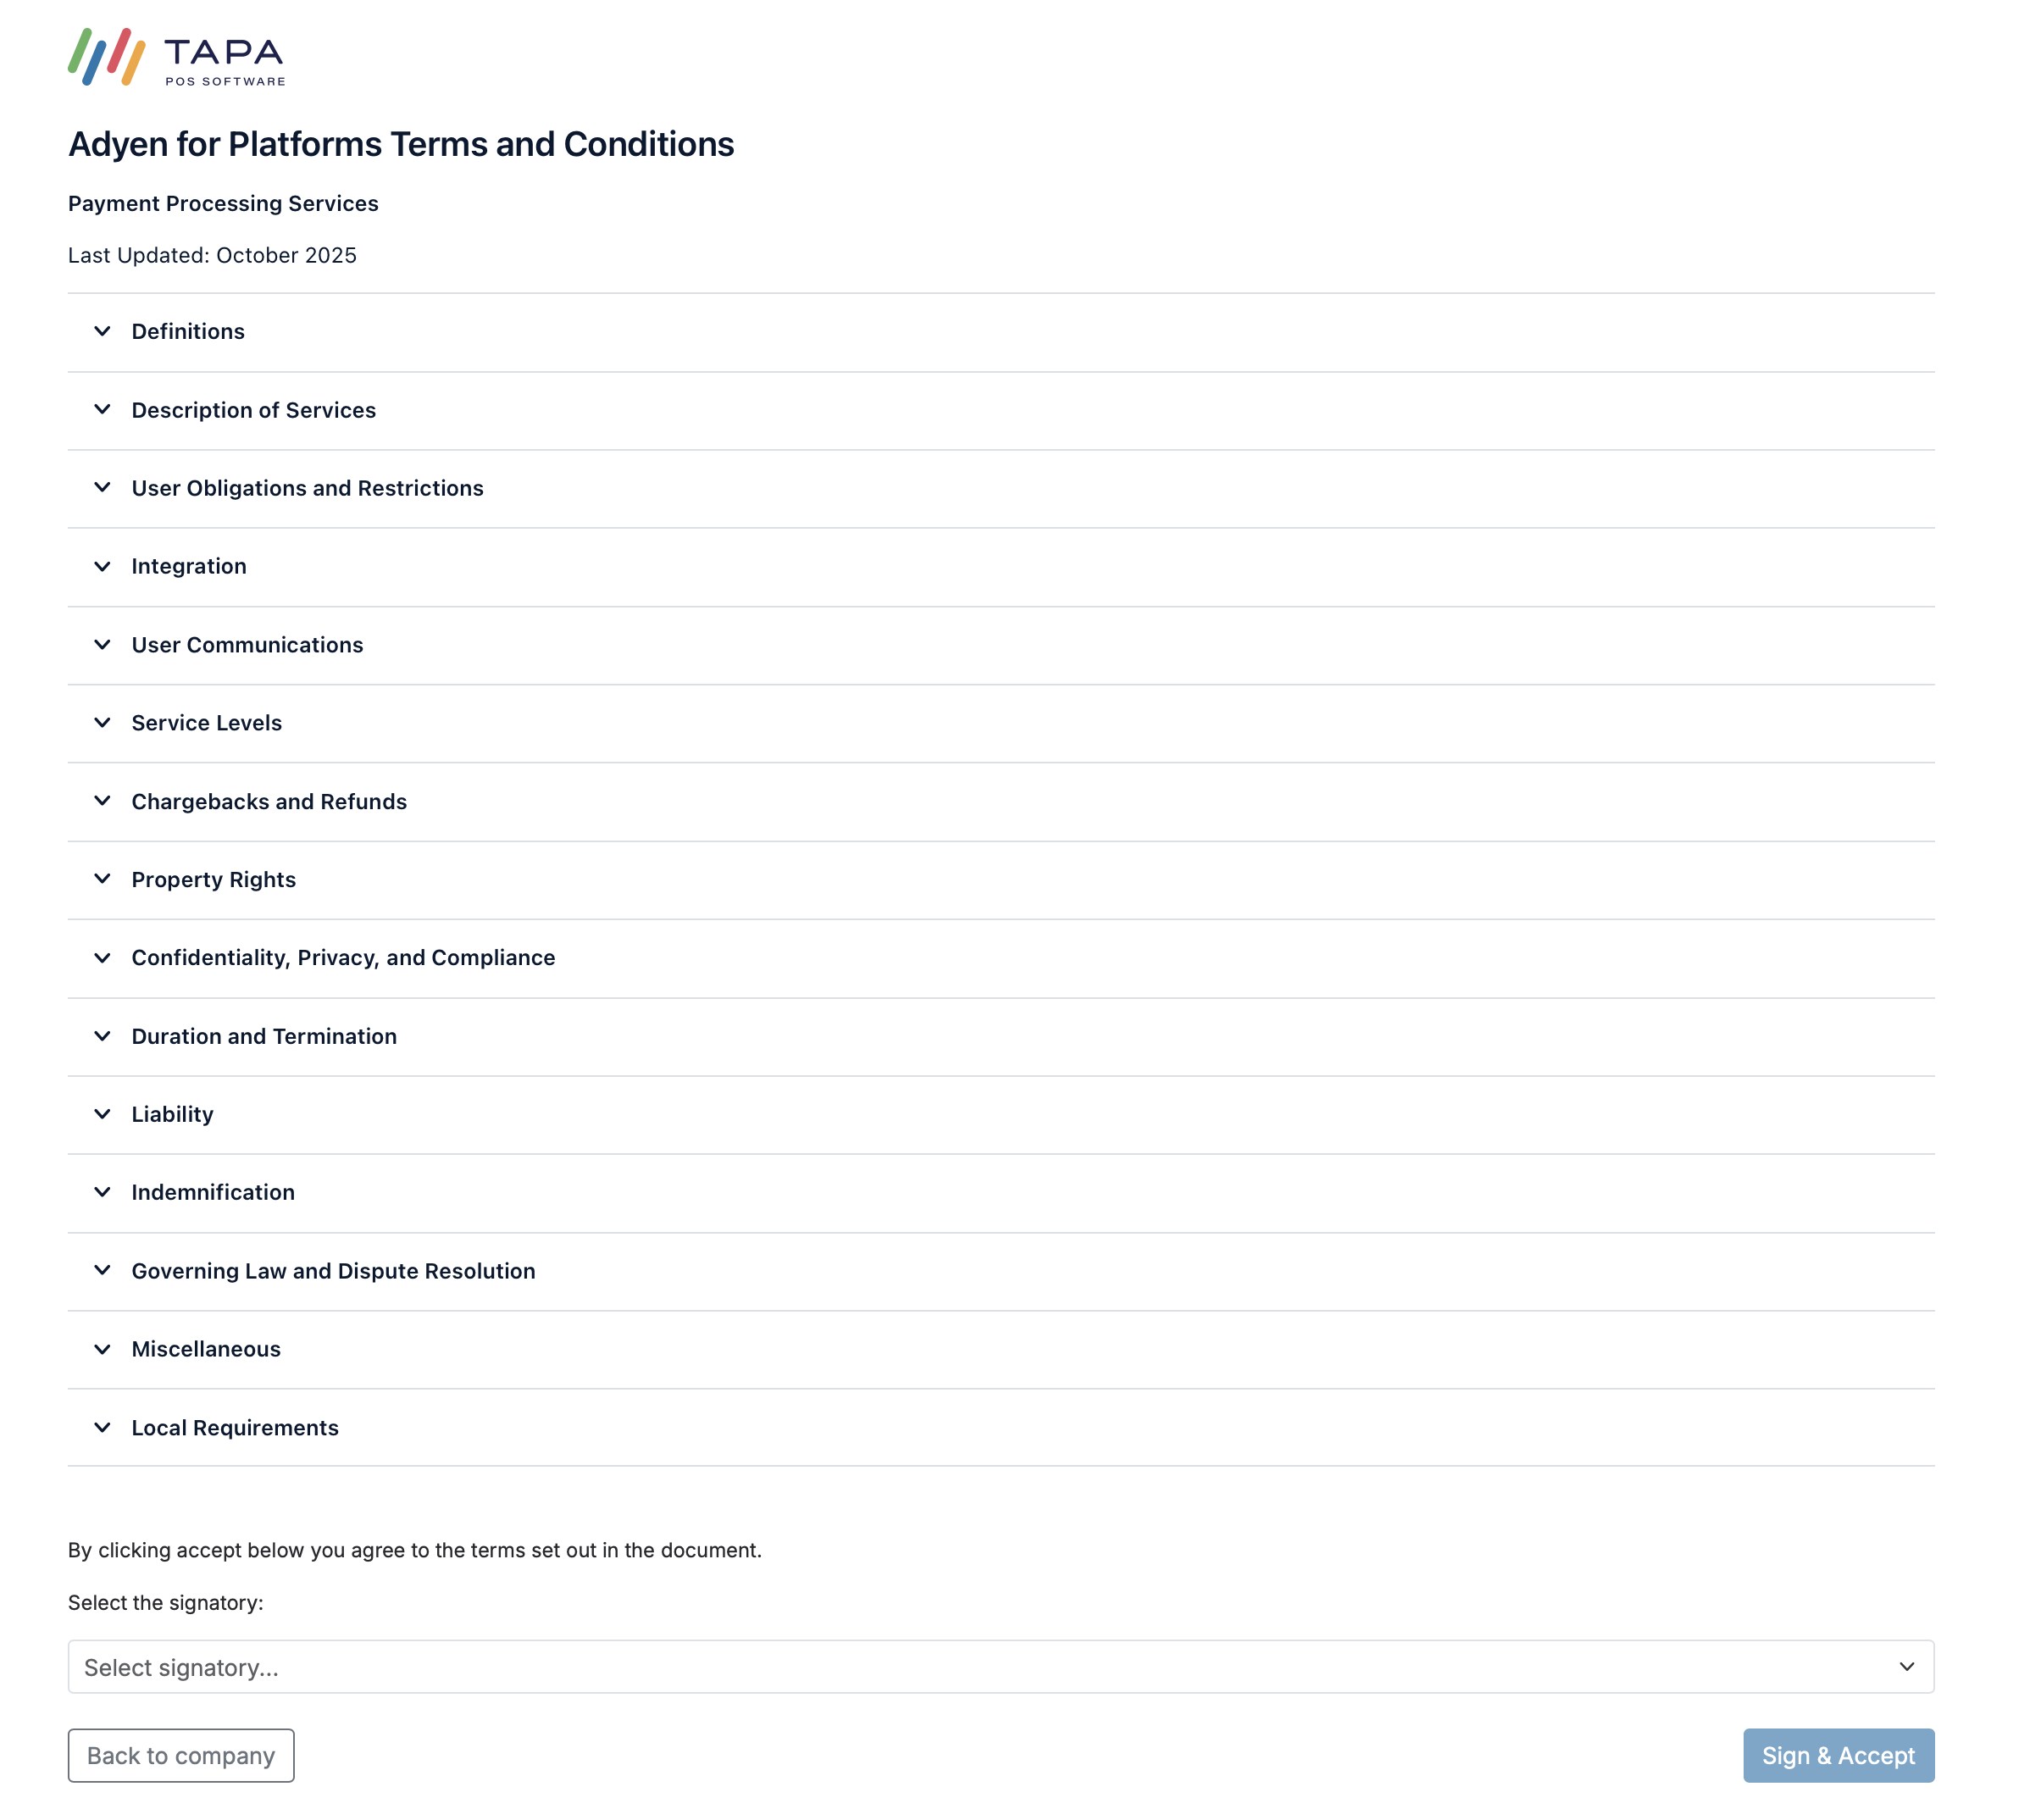
Step 20. Accept the terms and conditions if requested
If Accept TOS appears, open the terms page, choose the correct signatory, then click Sign & Accept.
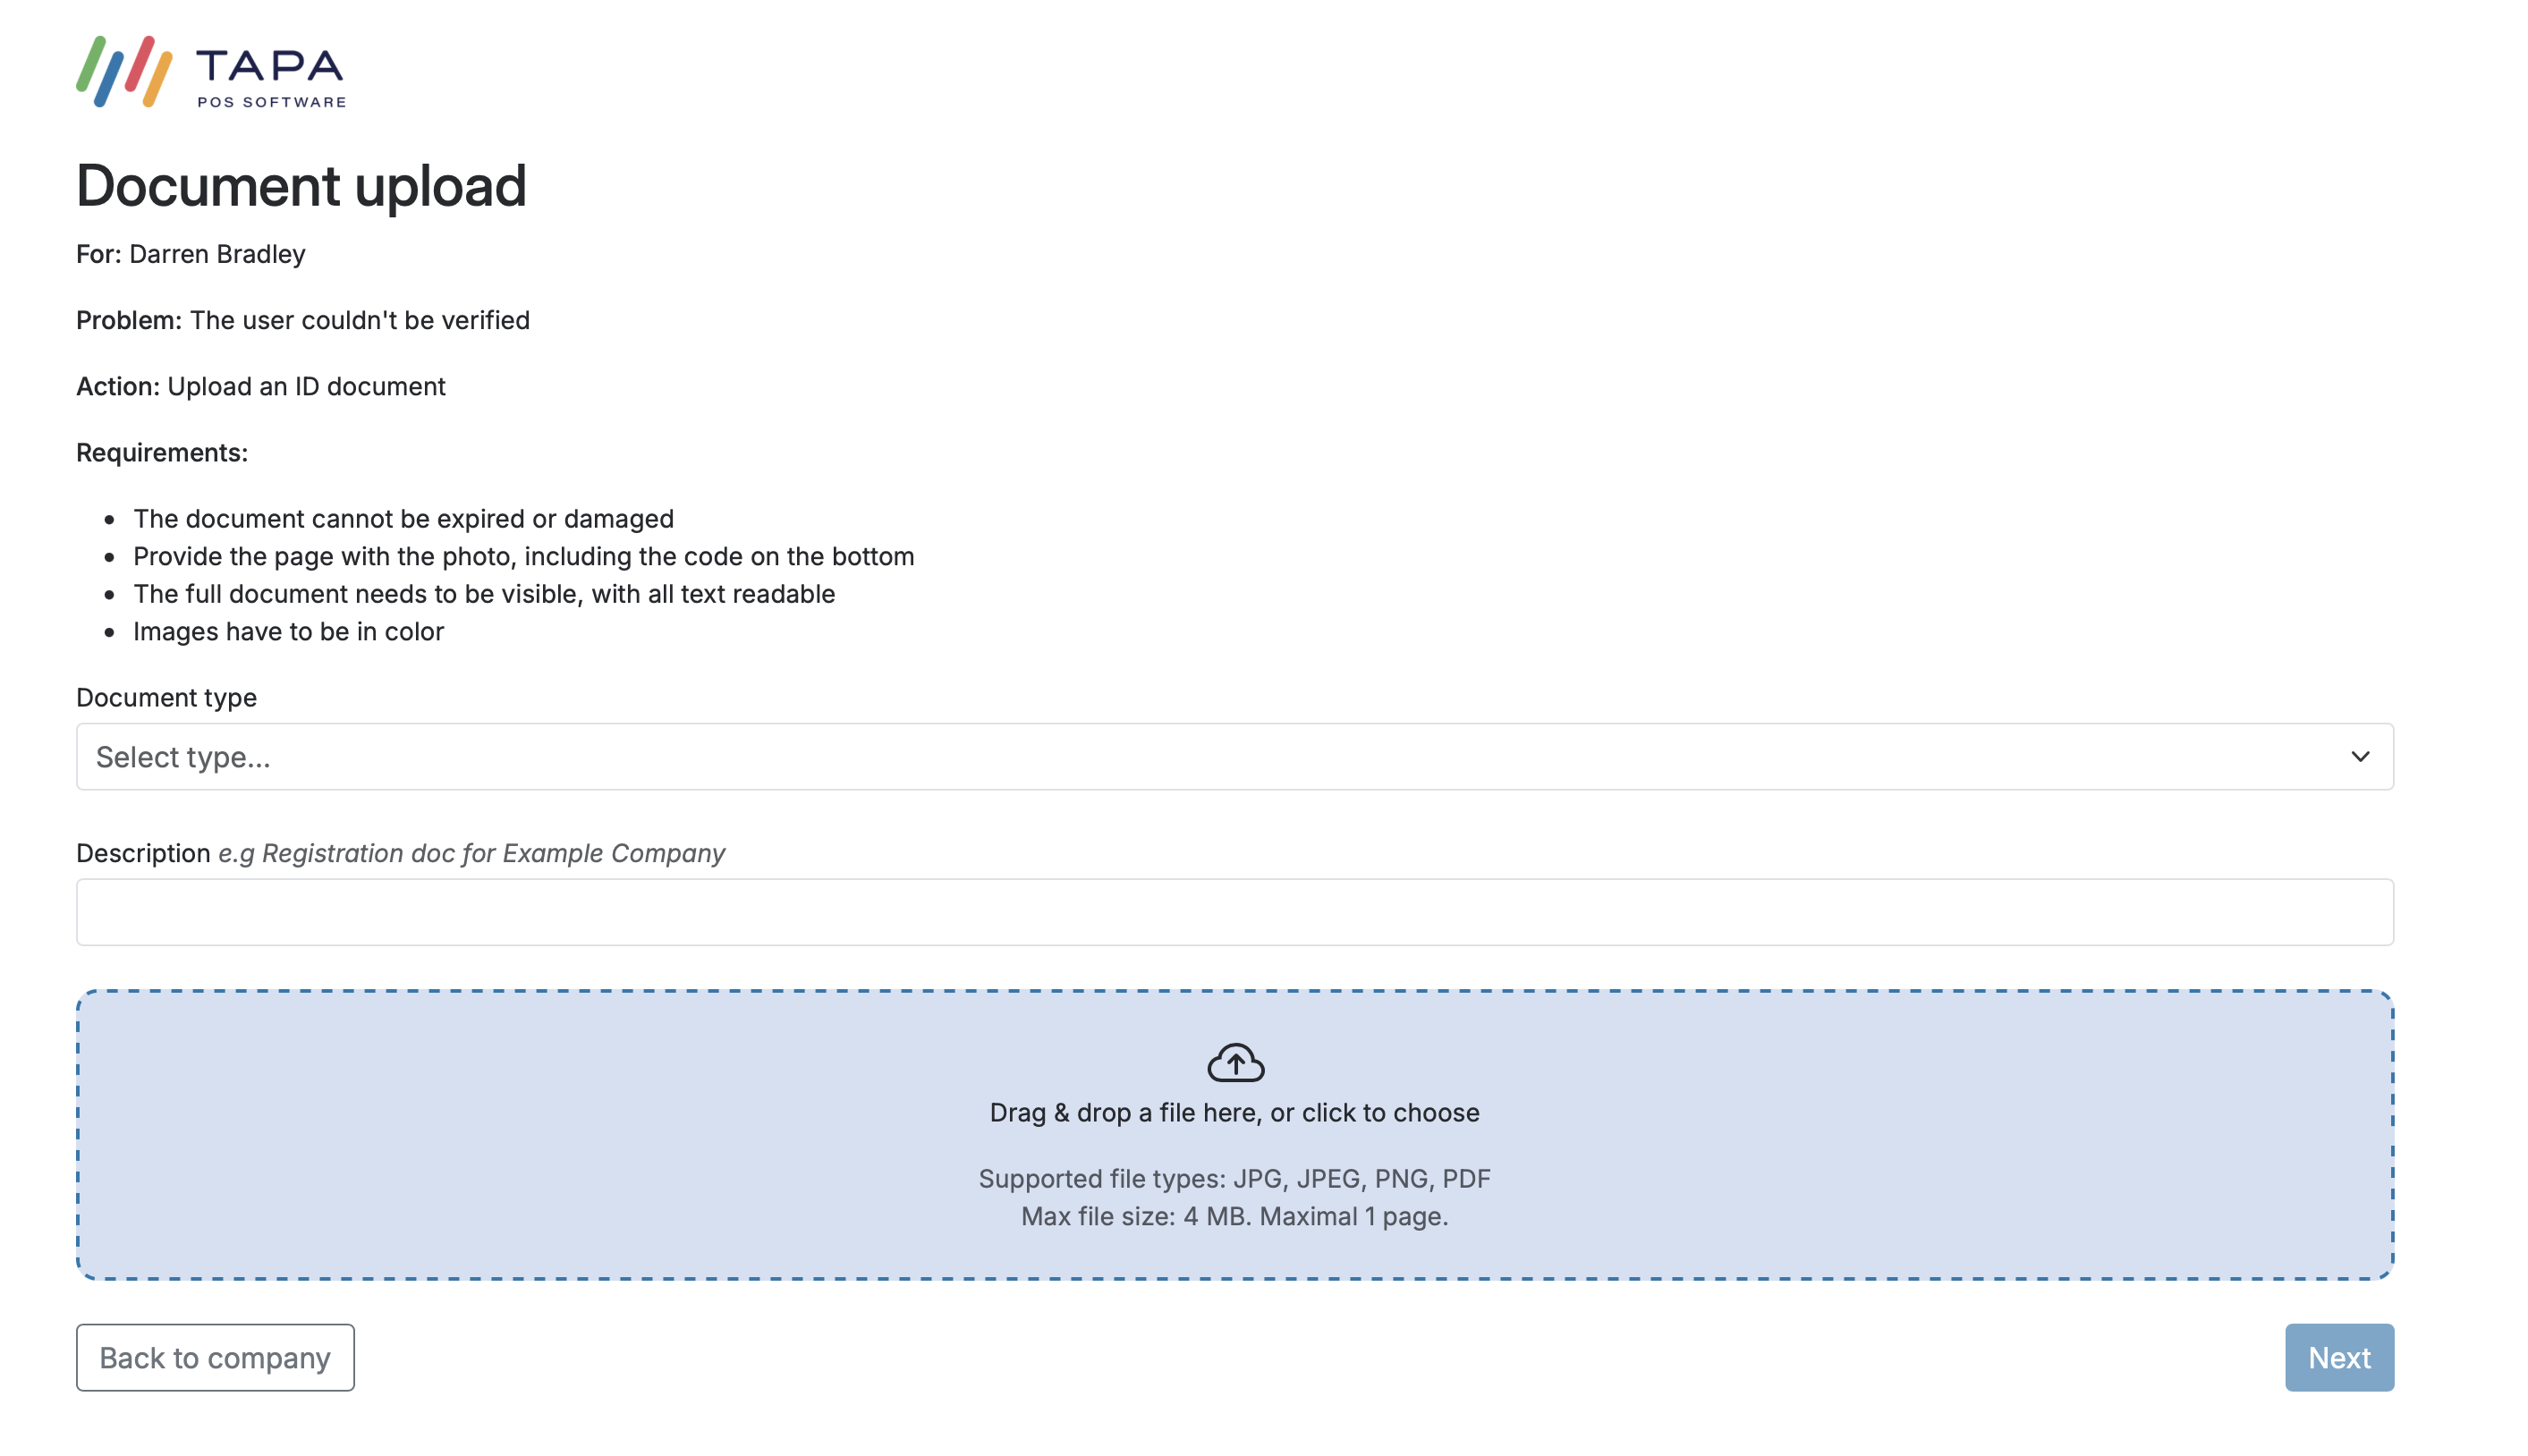
Step 21. Upload ID if requested
If the application asks for ID, upload the requested document and make sure the image is clear, in colour, not expired, and shows the full page including the photo and code area.
This step may not be required if the customer has already been fully verified through the banking app verification flow.
What the customer should have ready
- Exact legal business name and trading name
- Business type and company registration number if applicable
- Business phone number and website or social media page
- Registered company address and branch addresses
- VAT status
- Principal business industry
- Full personal details for the owner, director, or other person of significant control
- Business bank account details for payouts
- A recent bank statement or another accepted bank document if the app route is not used
- A valid ID document in case additional identity verification is requested
Troubleshooting
If the legal name or company number is rejected, check the exact registered record first using UK Companies House at find-and-update.company-information.service.gov.uk or the Irish CRO search at core.cro.ie, then re-enter it without abbreviations or extra punctuation.
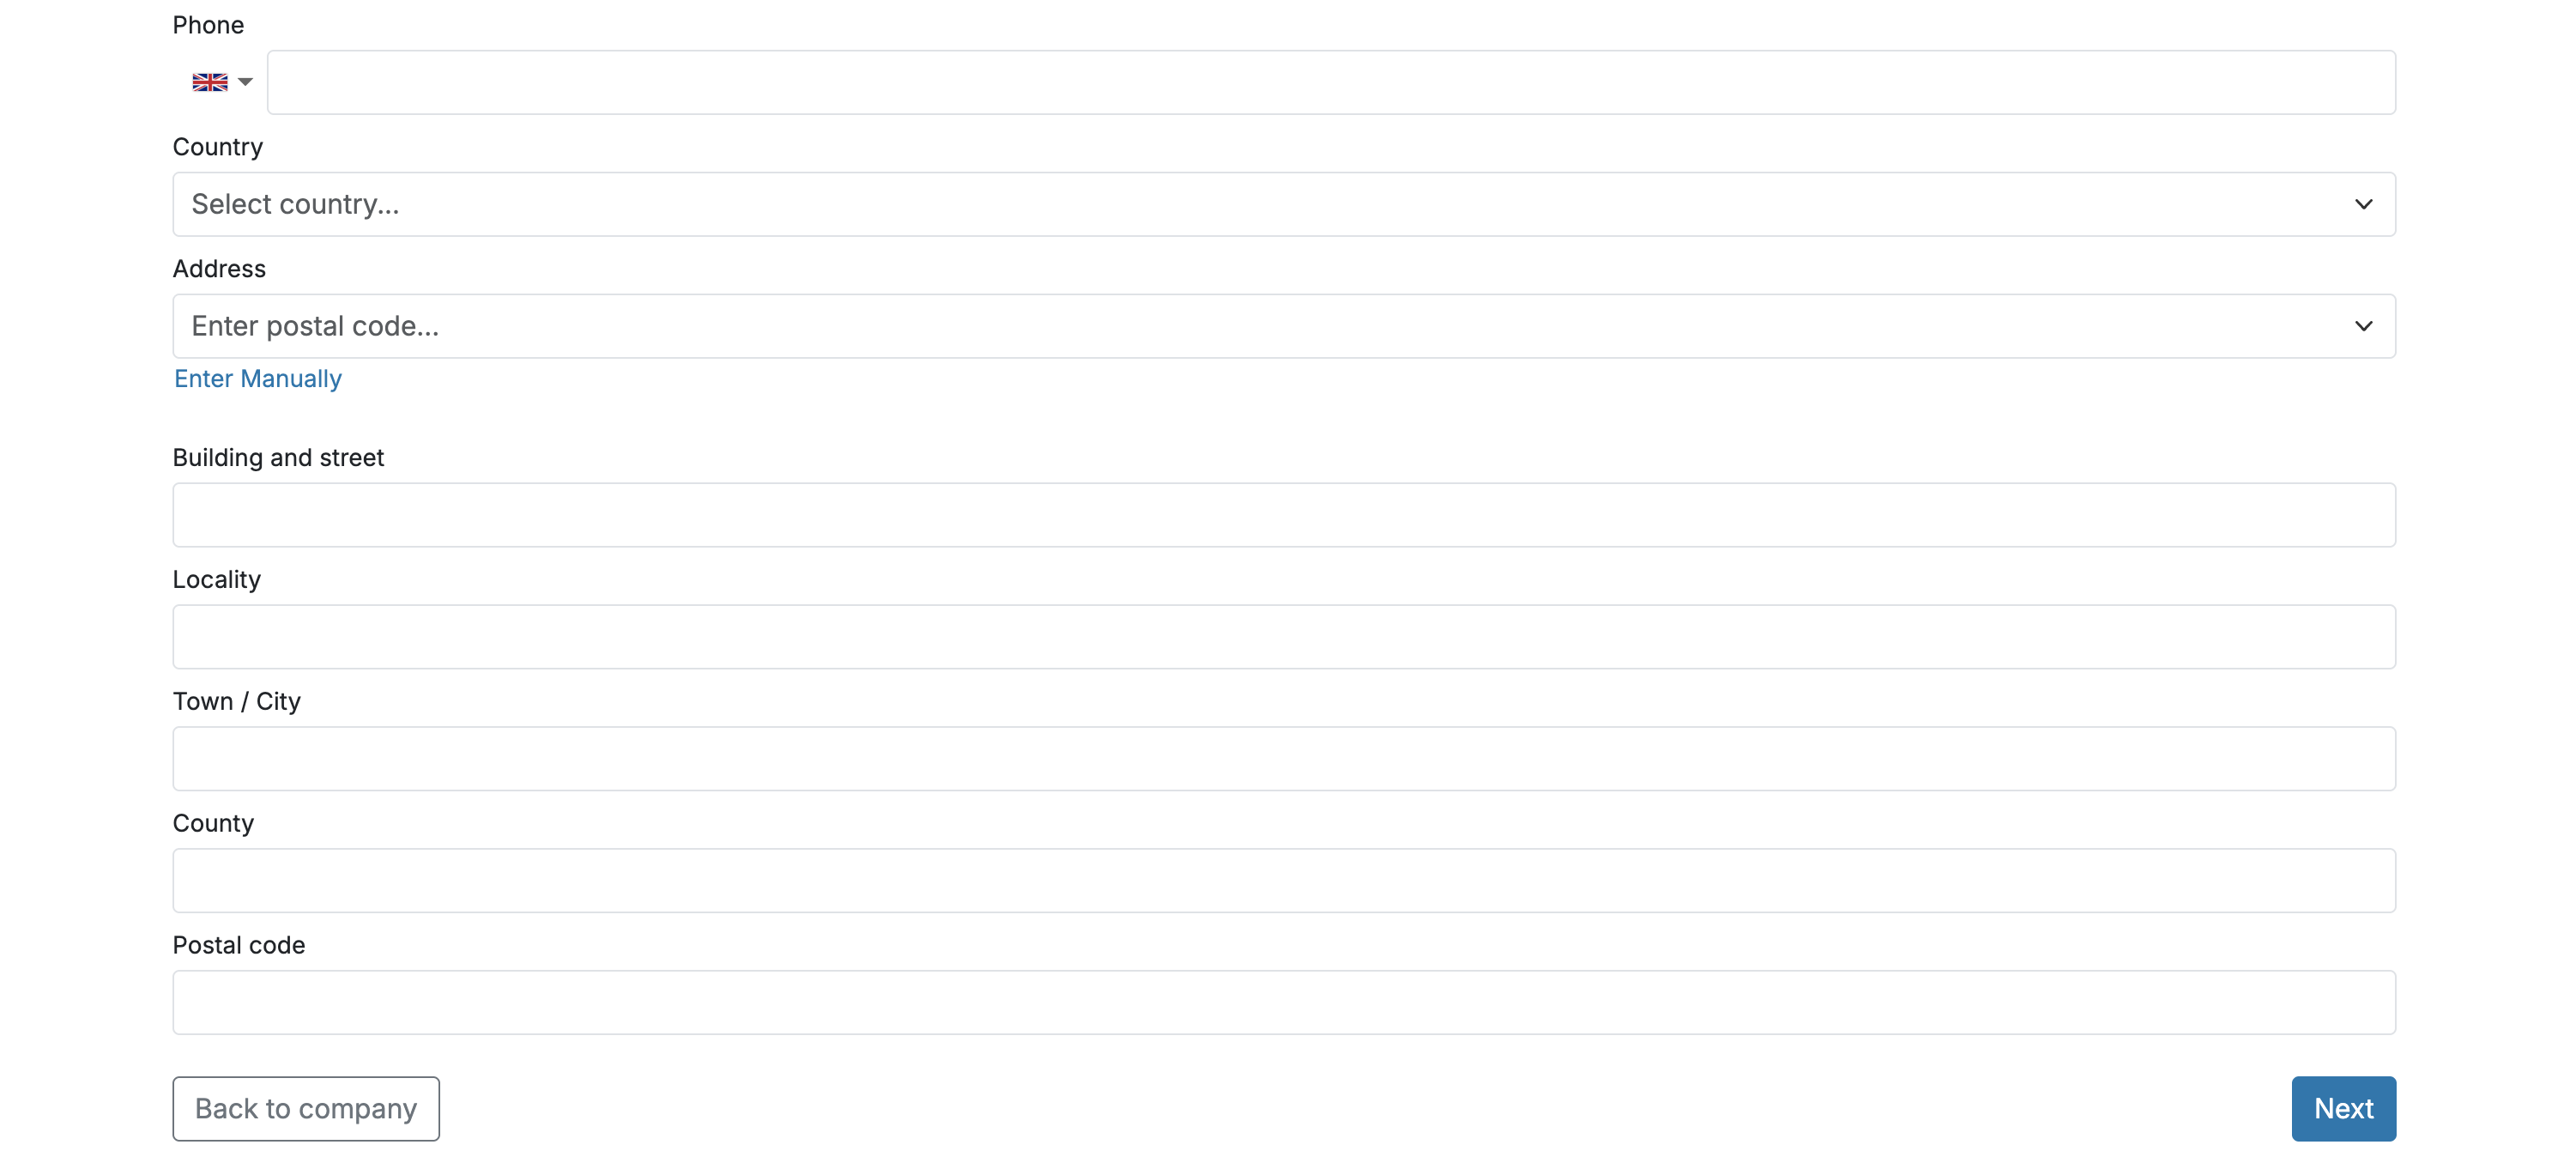
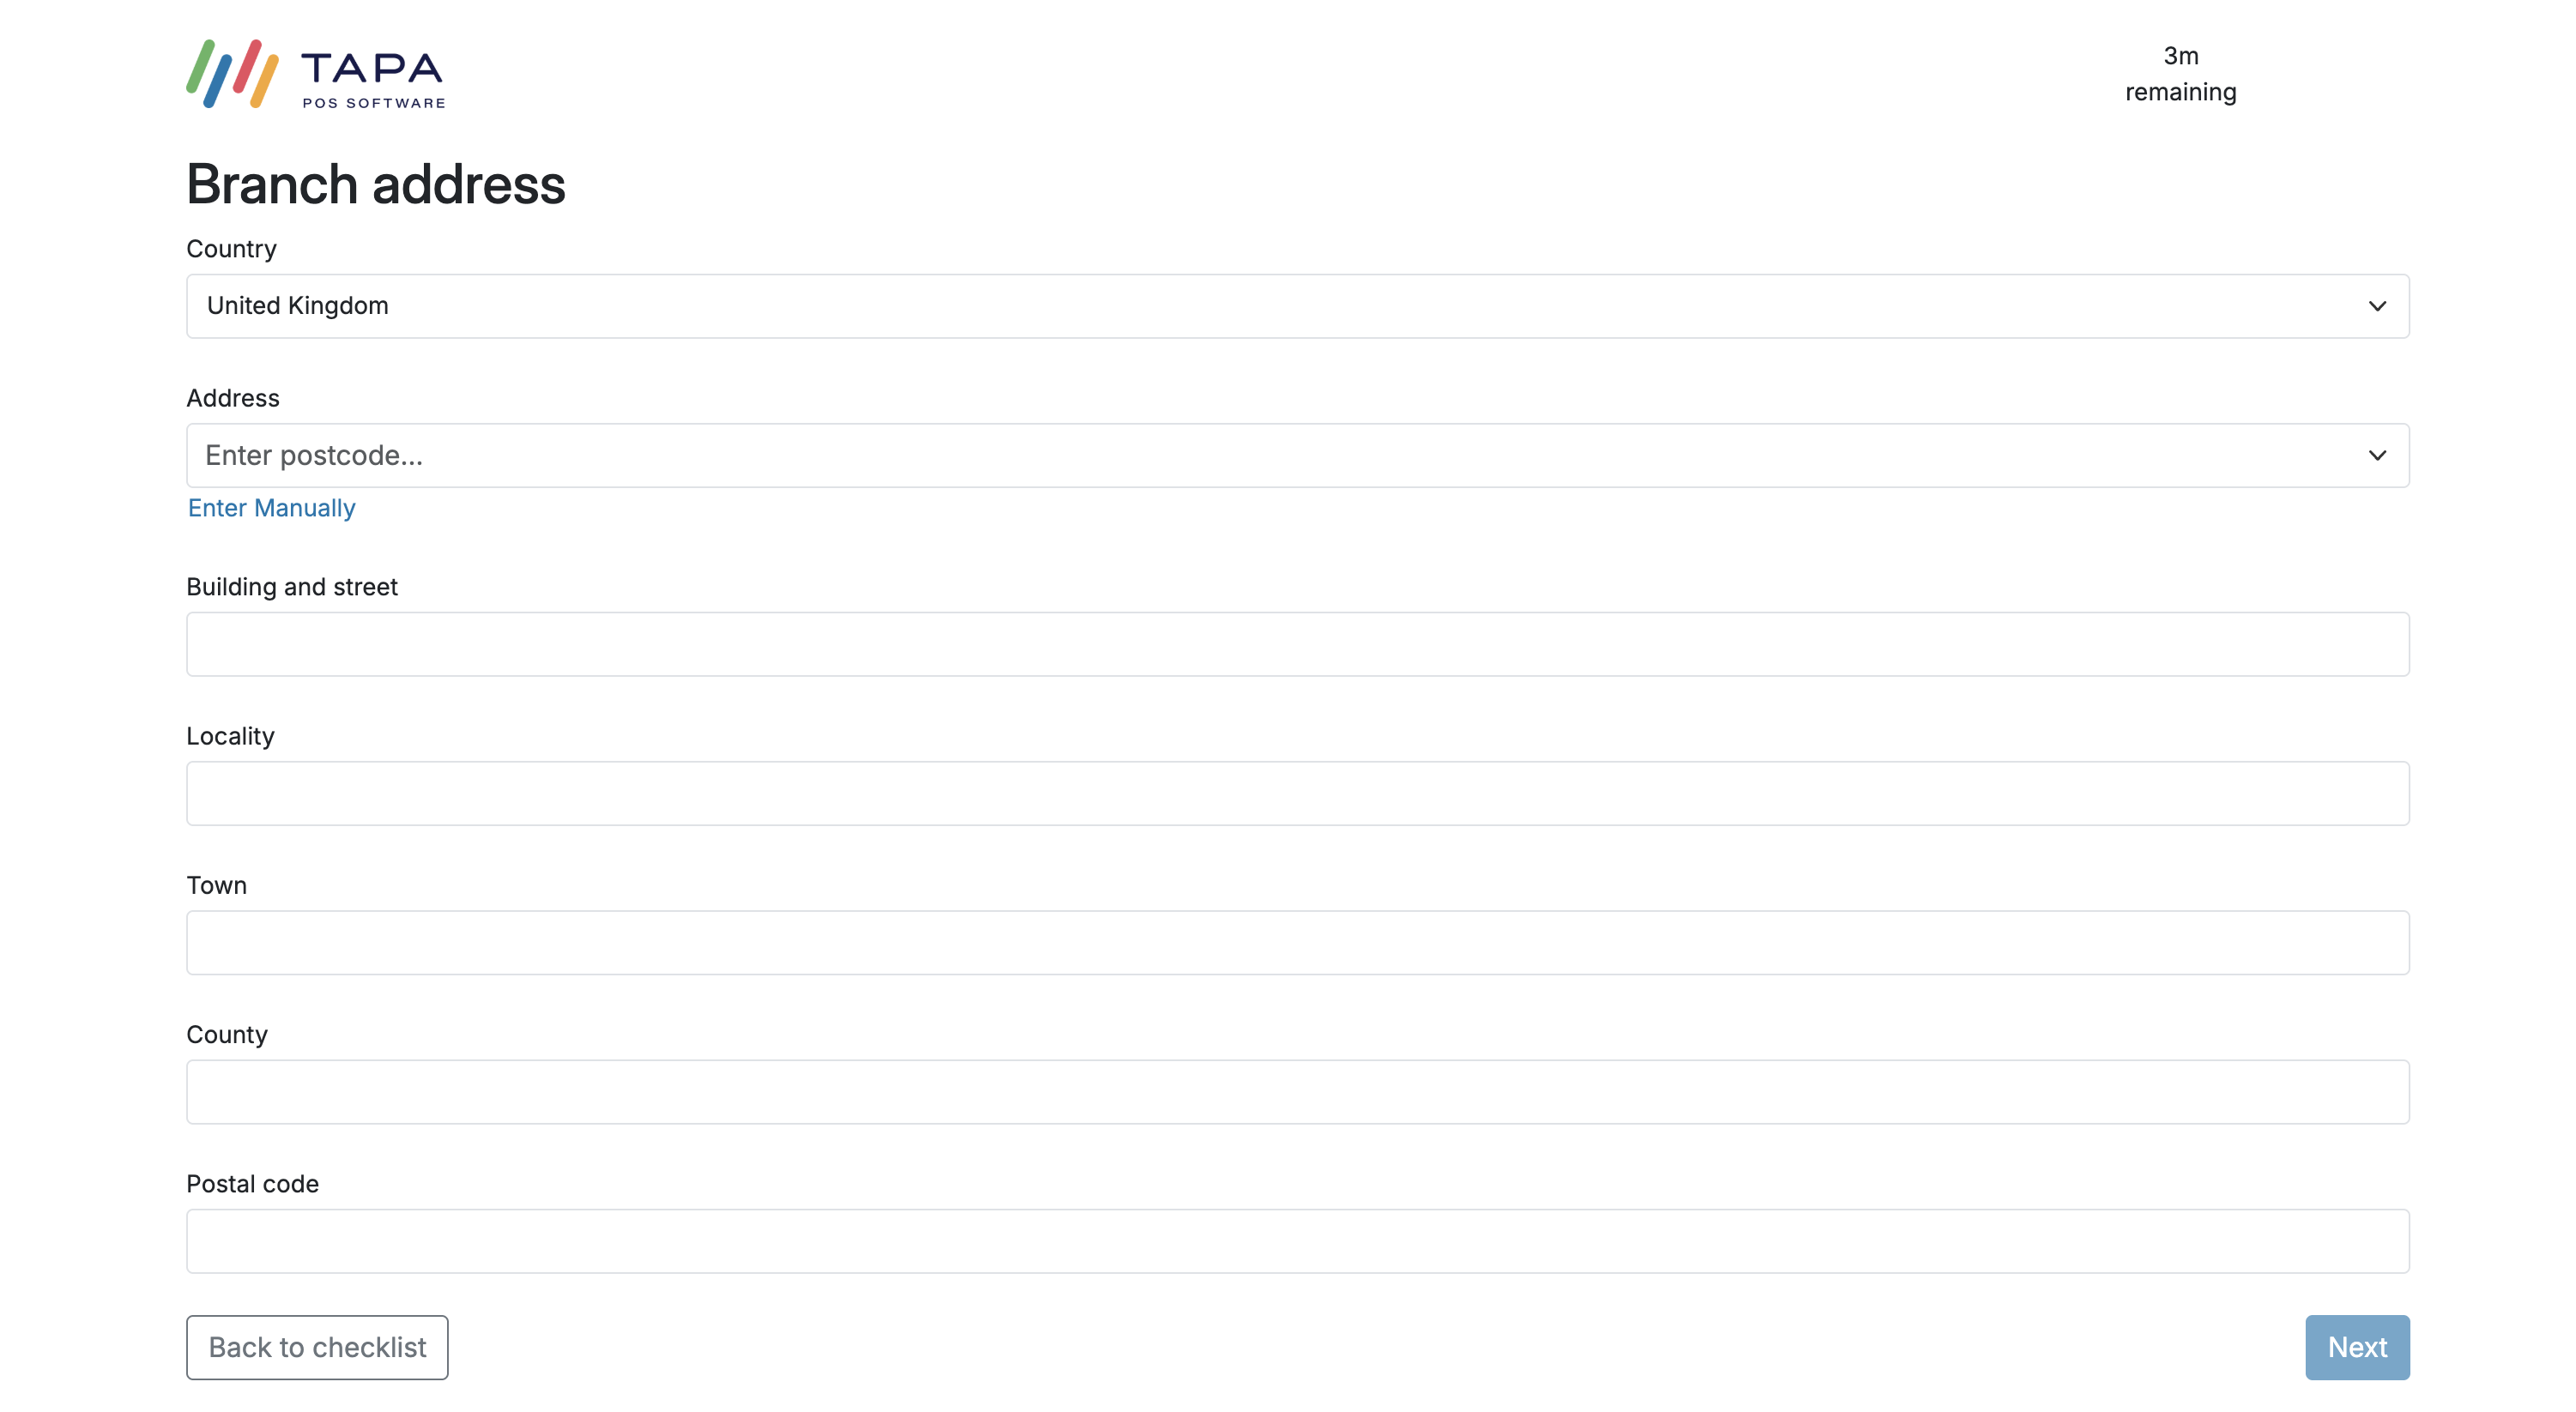
If postcode lookup does not return the correct address, use Enter Manually and complete every address field, including locality if needed.
If the address still shows as incomplete, the Locality field may be blank. In that case, enter the city again in the Locality field.
If instant bank verification does not complete, switch to the bank document route and upload a recent statement or another accepted document that clearly shows the business name and account details.
If the Submission Status page shows Action Required, open each link and complete it before checking the application again.
If the customer cannot submit, return to the checklist and look for any section still marked Add information or any person record missing a Signatory.
FAQ
When should I choose Multiple branches?
Choose Multiple branches when the business needs to add more than one trading premises during onboarding.
Does every company need a person of significant control?
Yes. The application needs at least one relevant person added, and one of them must be marked as a Signatory.
Are bank accounts added before or after submission?
In the current flow shown here, bank accounts are added after the initial application is submitted.
Does the customer always need to upload ID after adding the bank account?
No. ID upload may only appear if extra verification is required. If the bank account is successfully verified through the app flow, there may be no ID step at all.